
Choosing the right capacity for a heavy-duty covered shoe rack requires auditing your household’s current footwear, calculating realistic shelf widths, and matching those needs to a structurally stable frame that fits your physical space. In tropical climates like the Philippines, where high humidity, seasonal rains, and dust can quickly degrade footwear, a covered unit is essential for long-term protection. However, selecting the wrong size can lead to cramped shelves, broken zippers, or an unstable rack that poses a safety hazard.
To find the perfect balance between storage capacity and space efficiency, you must look beyond generic manufacturer estimates and analyze your household’s specific storage habits. A systematic approach ensures you purchase a unit that accommodates your entire collection while keeping your entryway or closet organized and clutter-free.
Assessing Your Household's Shoe Inventory
Start by conducting a thorough inventory of all the footwear currently owned by your household members. Gather every pair of shoes, including daily work shoes, school shoes, athletic sneakers, and casual slippers. Do not forget to account for seasonal items or specialized footwear that might be stored elsewhere, such as hiking boots or sports cleats.
Products mentioned in this guide
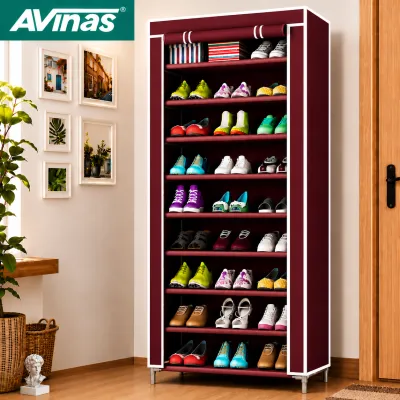
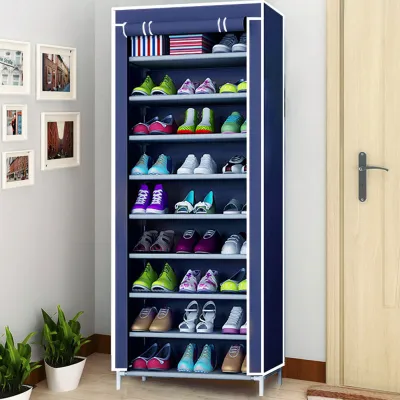
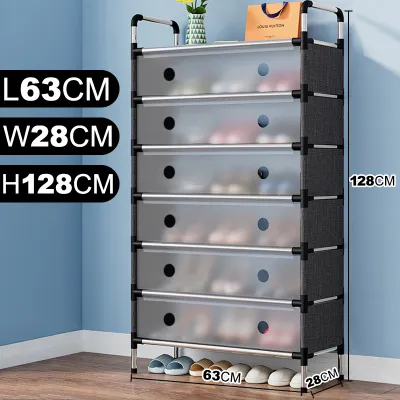
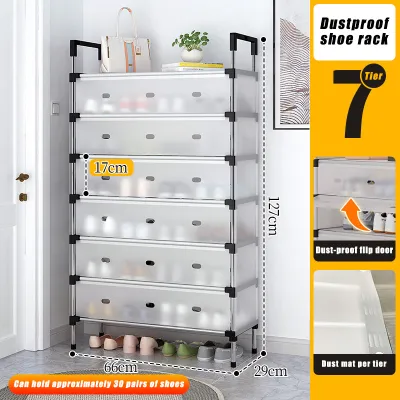
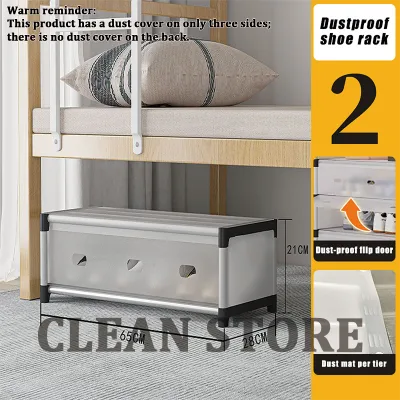
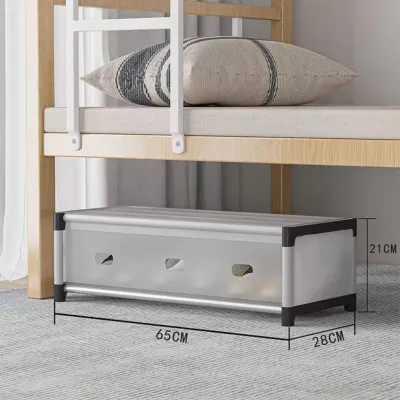
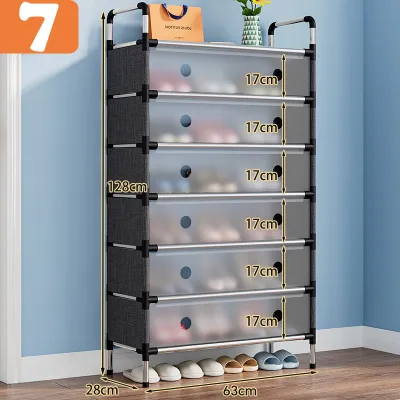
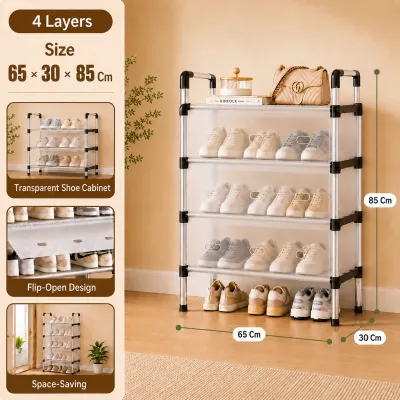
Prices are valid at publication and may change. Please refer to the product page for the latest price.
Next, categorize the shoes by user and type to understand their physical footprint. Adults, children, and frequent guests all have different storage needs. If your household regularly hosts relatives or friends, it is wise to allocate a dedicated shelf or a few slots near the bottom of the rack for visitor footwear to prevent entryway clutter.
Factor in the physical dimensions of different shoe types, as standard capacity estimates often assume slim, low-profile shoes like flats or sandals. Bulky items such as basketball sneakers, heavy work boots, or thick-soled running shoes consume significantly more horizontal and vertical space. Protecting your investment—whether it is a pair of ₱5,000 leather office shoes or specialized athletic sneakers—starts with giving them adequate breathing room rather than squeezing them into tight spaces.
Finally, always build in a buffer for future growth. A practical guideline is to add a 15% to 20% capacity buffer to your current total shoe count. This prevents immediate overcrowding when family members purchase new footwear and ensures the rack remains functional and organized over several years of household changes.
Translating Shoe Count into Rack Capacity and Tiers
Manufacturer labels often advertise high capacity numbers, such as “holds up to 30 pairs,” but these claims are typically based on small, narrow shoes placed tightly together. To find the realistic capacity of a shoe rack with cover heavy duty, you must compare these advertised numbers against the actual horizontal width of the shelves and the average width of your household’s shoes.

To calculate the required number of tiers, divide your total adjusted shoe count—including your future buffer—by the realistic number of pairs that can fit on a single shelf. For example, if a shelf is 80 centimeters wide and your average shoe pair is 20 centimeters wide, you can comfortably fit four pairs per tier. If your target inventory is 24 pairs, you will need a rack with at least six tiers to avoid squeezing shoes together.
Additionally, consider how the design of the outer dust cover affects the usability of the top tier. Many heavy-duty covers feature a curved top, a zipper line, or a flap that drapes over the upper frame. This design can restrict the vertical clearance of the very top shelf, meaning you may only be able to store flat sandals, slippers, or shoe care accessories there rather than high-top sneakers or boots.
Measuring Your Space for a Heavy-Duty Covered Unit
Before committing to a purchase, measure the exact footprint of the area where you plan to place the rack. Check the width, depth, and height of the target zone, leaving a few centimeters of clearance for baseboards, wall trim, and nearby door swings. In tight hallways, entryways, or closet spaces, a shoe rack that is too deep can obstruct foot traffic or prevent closet doors from opening fully.
Do not overlook the logistics of getting the unit into your home. Verify both the fully assembled dimensions and the packaged box size to ensure the unit can pass through entry doors, narrow hallways, stairwells, or condominium elevators. This is especially important for heavy-duty units, which often feature rigid, non-collapsible frame components that cannot be bent or squeezed through tight spaces.
Floor levelness is critical for high-capacity, heavy-duty racks. Uneven tile, warped wooden floors, or thick carpeting can cause a tall rack to wobble, placing uneven stress on the joints and increasing the risk of a tip-over. Review the manufacturer’s footprint specifications and look for units with adjustable leveling feet to ensure the rack remains perfectly stable on uneven surfaces.
Evaluating Heavy-Duty Materials and Structural Stability
A high-capacity shoe rack carries substantial weight, making structural integrity a primary safety concern. Review the product specifications for frame materials, looking for reinforced metal tubes rather than thin, easily bendable aluminum. Pay close attention to the connectors; heavy-duty plastic or metal joints are essential to prevent the frame from sagging or collapsing under a full load.
Examine the shelf support system. Look for designs that feature middle support crossbars or reinforced fabric shelves that resist sagging over time. Additionally, inspect the quality of the cover’s zippers and fasteners, as cheap zippers are prone to splitting when the cover is pulled taut over a fully loaded rack.
Tall, multi-tier configurations loaded with heavy footwear present a serious tip-over hazard. Always confirm whether the manufacturer includes anti-tip hardware, such as wall anchors or straps. Installing these safety features is highly recommended, especially if you have young children or pets in the home who might pull on the fabric cover.
Common Sizing and Capacity Mistakes to Avoid
One frequent mistake is ignoring the extra exterior volume added by the fabric dust cover. The cover, along with its zippers, pockets, and seams, often adds several centimeters to the overall width and depth of the unit, which can prevent it from fitting into tight, pre-measured alcoves.
Another common error is assuming all shelves have uniform height clearances. If you store high-top sneakers, boots, or heels, check if the rack offers adjustable or removable shelves. Without this flexibility, you may find yourself unable to use several tiers for your tallest footwear, wasting valuable storage space.
Finally, do not load the rack to its absolute maximum advertised capacity. Operating at the structural limit strains the joints, bows the shelves, and stretches the fabric cover so tightly that the zippers may break or fail to close, exposing your shoes to dust and humid air.
Frequently Asked Questions (FAQ)
How much weight can a typical heavy-duty covered shoe rack hold?
To determine the weight limit, always check the manufacturer’s product label or manual for both the per-tier and total maximum load specifications. Physical signs of overloading include bowing shelves, leaning vertical poles, or cracked plastic connectors. If you notice any of these signs, immediately redistribute the weight or remove heavier shoes to prevent a structural collapse.
Can I adjust the tiers if my shoe collection grows?
Whether you can expand your rack depends on its connector design and the availability of compatible extension kits from the same manufacturer. If you do add extra tiers to a modular rack, keep in mind that raising the height elevates the center of gravity. You must secure the taller unit to the wall using anti-tip anchoring hardware to maintain stability and safety.

Community discussion
Share your experience or ask a question. Comments are reviewed before publication.