
Selecting the right small shoe rack organizer for your closet requires balancing the physical limits of your storage space with the dimensions of your footwear. By measuring your closet floor or shelving units, calculating the specific space your shoes occupy, and matching these details to the right rack configuration, you can maximize storage without cluttering your room. A well-chosen organizer keeps your shoes accessible, preserves their shape, and fits neatly within your existing closet layout.
Measure Your Available Closet Space Accurately
Before browsing online marketplaces or visiting local home improvement stores, you must establish the exact physical boundaries of your designated closet space. Use a metal measuring tape to find the width, depth, and height of the area where you plan to place the organizer. If you intend to place the rack on the closet floor, measure the distance between the side walls or built-in partitions to ensure a clear fit.
Do not rely on visual estimates, as even a small discrepancy can prevent a rigid shoe rack from sliding into place. Measure the depth from the back wall to the front edge of the closet frame or door track. If your closet has sliding doors, remember that the doors overlap, which can restrict access to one side; measure the usable opening width when one door is fully open.
Products mentioned in this guide
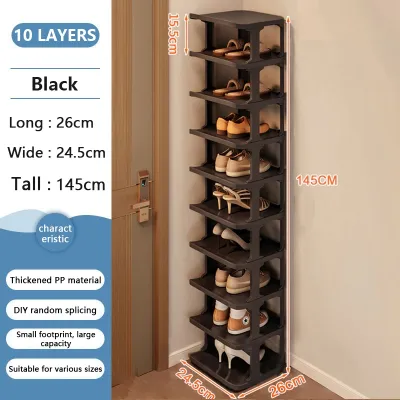
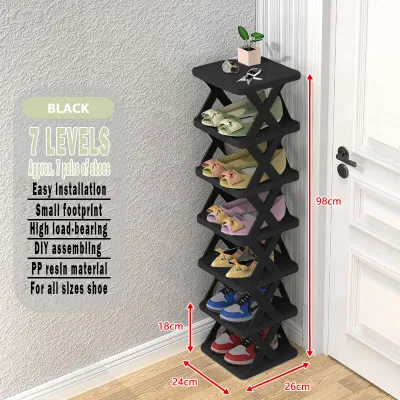
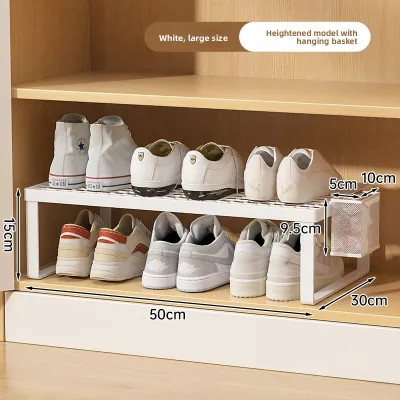
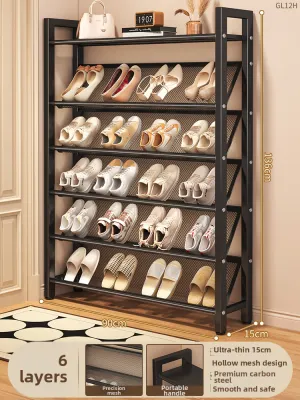
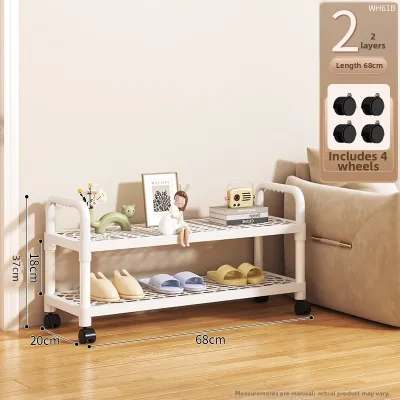
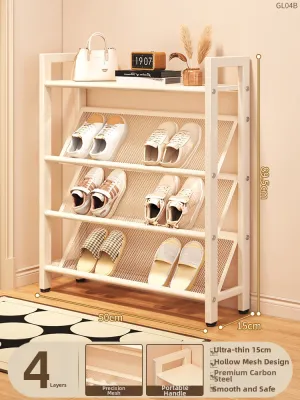
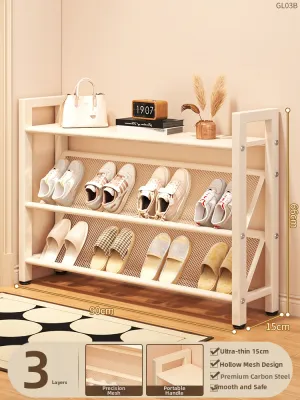
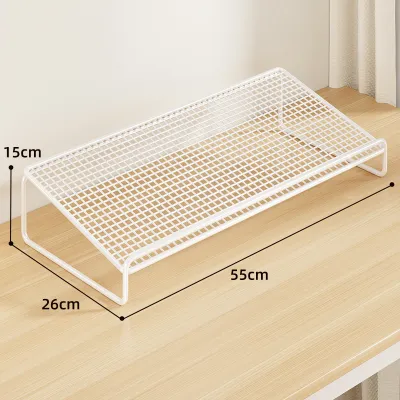
Prices are valid at publication and may change. Please refer to the product page for the latest price.
Vertical clearance is equally critical if you have hanging clothes directly above the floor space. Measure from the closet floor to the bottom hem of your longest hanging garments, such as trousers or dresses. This measurement ensures that your hanging clothes will not drape over your shoes, which can cause wrinkling, transfer dirt, or block your view of the rack.
Finally, inspect the area for hidden physical obstructions. Look for baseboards along the bottom of the wall, which can push a freestanding rack forward and interfere with door closure. Check the location of door hinges, internal drawer frames, or closet system tracks that might catch on the edges of the shoe rack during daily use.
Calculate the Required Capacity for Your Shoe Collection
Once you know how much space you have, you need to determine how many pairs of shoes the organizer must hold. Begin by gathering all the shoes you plan to store in the closet and sorting them by type. In tropical climates like the Philippines, collections often consist of a mix of lightweight footwear like slippers, sandals, canvas sneakers, and formal shoes.

Group your footwear into everyday pairs that require quick access and seasonal or occasional shoes that can be stored elsewhere. If you have limited closet space, prioritize placing your daily-use shoes on the rack and keeping formal or off-season footwear in separate storage boxes on higher shelves. This division prevents your small shoe rack organizer from becoming overcrowded and messy.
To estimate the horizontal space your collection requires, measure the width of your typical shoes. Place three pairs of your average-sized shoes side-by-side on the floor and measure the total width, then divide by three to find the average width per pair. This simple calculation helps you determine how many pairs can realistically fit on a single shelf of a given width.
When planning capacity, decide whether you need an exact-fit solution or if you should leave room for future additions. If you frequently buy new footwear, choosing a rack with slightly more capacity than your current collection is a practical choice. However, if your closet space is strictly limited, you must commit to a “one-in, one-out” rule to maintain an organized and functional closet.
Match Rack Dimensions and Tier Configurations to Your Needs
With your space measurements and shoe capacity requirements in hand, you can evaluate different small shoe rack organizer designs. Single-tier racks are ideal for low-clearance spaces under low-hanging clothes, while multi-tier vertical designs are excellent for maximizing storage in narrow but tall closet sections.
Stackable shoe racks offer excellent long-term flexibility for changing storage needs. You can start with a basic two-tier unit and purchase an identical stackable module later if your collection expands, provided you have the vertical clearance. This modular approach allows you to adapt your storage without needing to buy an entirely new system.
For collections that include a variety of shoe styles, look for organizers with adjustable shelves or removable tiers. Standard flat shelves work well for low-profile shoes like sandals, flats, and low-top sneakers. However, if you need to store high heels, ankle boots, or high-top athletic shoes, the ability to adjust the height of individual shelves prevents you from having to squeeze or bend your footwear to make it fit.
Pay close attention to the depth of the shelves. Most standard shoe racks feature shelf depths between 28 and 35 centimeters. If you or family members wear larger shoe sizes, measure the longest shoe from heel to toe to ensure it will not overhang the front of the shelf. An overhang can prevent sliding closet doors from closing or obstruct walk-in closet pathways.
Evaluate Stability and Installation Requirements
A shoe rack must be stable and safe to use within the enclosed environment of a closet. Check the manufacturer’s specifications for weight limits and structural materials. Even a small organizer can become top-heavy and unstable if you place heavy leather shoes or thick-soled sneakers on the upper tiers while leaving the bottom shelves empty.
Review the assembly instructions and mounting requirements before purchasing. Some lightweight plastic or wire mesh racks snap together without tools, making them easy to assemble directly inside a tight closet space. Heavier wooden or metal organizers may require screws and brackets, which can be challenging to assemble if you have limited room to maneuver inside the closet.
If you select a tall, narrow, or stackable rack, consider whether it needs to be anchored to the wall to prevent tipping. This precaution is especially important if you have young children or pets who might pull on the rack. Many manufacturers include wall-anchoring hardware, but you must verify if your closet walls can support these anchors.
Ventilation is another crucial factor, particularly in humid tropical regions where enclosed closets can trap moisture. Stagnant air combined with damp shoes can lead to mold, mildew, and unpleasant odors. To promote airflow, choose shoe racks with open-slat shelves, wire grids, or breathable mesh rather than solid wood or plastic panels, allowing your footwear to dry properly between uses.
Common Sizing Mistakes to Avoid
One of the most frequent mistakes is ignoring the actual depth of the shoes compared to the rack. Many buyers assume that any rack labeled “small” or “compact” will fit their shoes, only to find that their larger sneakers or heels protrude past the shelf edge, blocking the closet door from shutting. Always compare your longest shoe measurement to the product’s depth specification.
Another common error is overlooking the vertical clearance between the shelves. Standard shoe racks often have a fixed clearance of 15 to 18 centimeters between tiers, which is insufficient for high-top shoes, boots, or high heels. Squeezing tall shoes into tight spaces bends the collars and damages the structural integrity of the footwear over time.
Finally, do not forget to measure the entry pathway to your closet. Even if a fully assembled shoe rack fits perfectly inside the closet’s interior dimensions, it must be able to pass through the closet door opening during installation. If your closet opening is exceptionally narrow or angled, choose a flat-packed model that you can carry inside piece-by-piece and assemble directly within the closet space.
Frequently Asked Questions (FAQ)
How much depth does a standard shoe rack tier need?
A standard shoe rack tier typically requires a depth of at least 30 centimeters to accommodate average adult shoe sizes comfortably. To ensure a proper fit, measure your longest pair of shoes from the back of the heel to the tip of the toe and compare this measurement to the rack’s specifications. If your shoes are longer than the shelf depth, look for angled shelf designs, open-backed racks, or plan to place your shoes at a slight angle on the shelves.
Can I use a freestanding shoe rack inside a built-in closet system?
Yes, you can place a freestanding small shoe rack organizer inside a built-in closet system, provided you verify all clearances beforehand. Measure the width of the built-in compartment carefully to ensure the rack can slide in without scratching the interior finish. Additionally, make sure the freestanding rack does not block access to existing drawers, pull-out trays, or low-hanging clothes rods, and check that the feet of the rack sit flat on the closet floor or shelf.

Community discussion
Share your experience or ask a question. Comments are reviewed before publication.