
Configuring the internal storage of a sliding closet cabinet requires a strategic approach that balances accessibility with physical space constraints. Unlike traditional hinged doors that swing outward to reveal the entire wardrobe at once, sliding doors operate on tracks, meaning at least one section of your closet remains covered at any given moment. To maximize usable space, your internal layout must be designed in complete harmony with the door positions and their overlapping zones. By carefully planning your shelving, hanging rods, and drawers, you can create an organized, highly functional system that prevents frustrating door jams and keeps your wardrobe easily accessible.
Assess Your Cabinet Dimensions and Storage Needs
Before purchasing any organizers, you must obtain precise measurements of your cabinet’s interior. Use a steel measuring tape to record the interior width, height, and depth. Measure the depth from the back panel to the front edge of the side panels, then subtract the space occupied by the sliding door tracks. Sliding door mechanisms typically require about 8 to 10 centimeters of clearance. If your total cabinet depth is 60 centimeters, your actual usable storage depth for hangers and drawers may only be 50 centimeters. Additionally, measure the width of each door panel and identify the exact overlap zone where the doors cross over each other. This overlap area is a common dead zone where drawers and pull-out accessories cannot be fully extended.
Next, take a detailed inventory of your wardrobe to determine your specific storage requirements. Categorize your belongings into groups: long hanging items, short hanging items, folded garments, and smaller accessories. This inventory will dictate the ratio of hanging rods to flat shelves and drawers, ensuring you do not waste vertical space.
Products mentioned in this guide
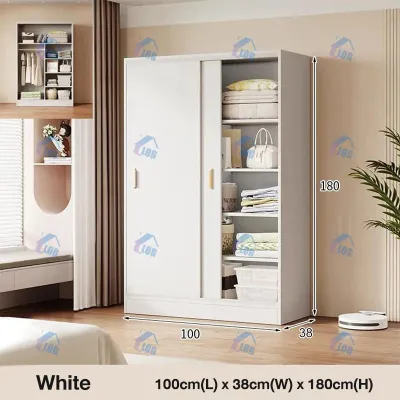
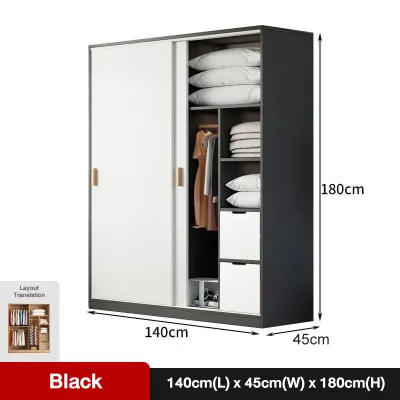
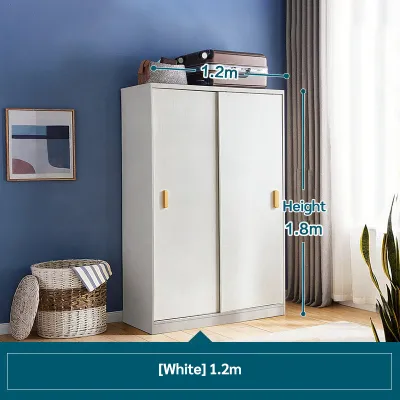
![[On Hand]Nordic Luxury Sliding Door Wardrobe Cabinet Wood Furniture Wardrobe Organizer 180cm Simple Assembly Wardrobe Organizer](https://img.lazcdn.com/g/p/ef4ae0c28e06eece0bf84de55ea8bbc8.jpg_400x400q80.jpg_.webp)
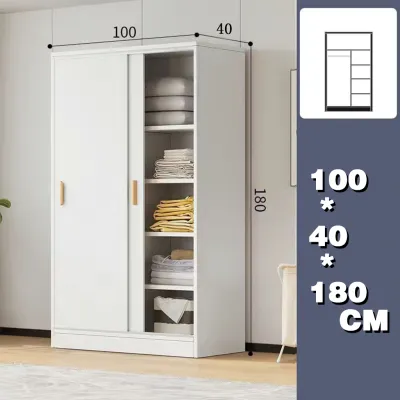
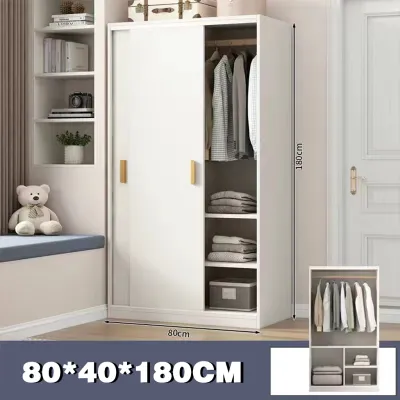
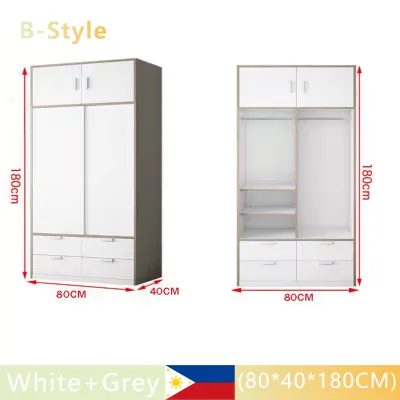
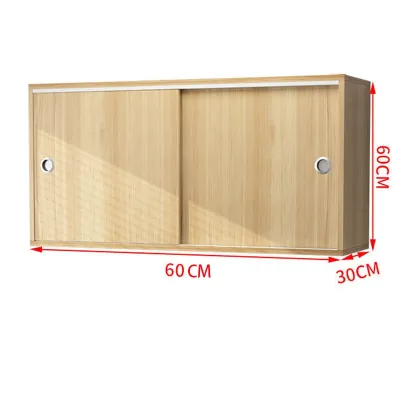
Prices are valid at publication and may change. Please refer to the product page for the latest price.
Finally, inspect the structural composition of your cabinet. Most modern wardrobes are constructed from medium-density fiberboard (MDF), particleboard, or plywood, each with different load capacities. Check if the interior side panels feature pre-drilled system holes, which simplify installing shelf pins and drawer runners. If your cabinet lacks pre-drilled holes, you must measure and drill them yourself, taking care not to pierce through the exterior side panels.
Design the Internal Layout for Maximum Efficiency
A successful sliding closet layout divides the interior into distinct vertical zones that align with the door openings. Place all high-draw components—such as drawers, pull-out trouser racks, and wire baskets—completely clear of the door overlap zone and the outer frame edges. If a drawer is positioned too close to the center overlap or the side panel, the sliding door will block it from opening, leading to scratched door backs or completely unusable storage. Map out your layout so that drawers are centered within the clear opening of each door.

Hanging rods should be positioned based on the specific lengths of your garments. For a double-hanging configuration, allocate approximately 100 to 110 centimeters of vertical space for each rod. If you have long dresses or coats, dedicate a single-hanging section with a vertical clearance of 150 to 170 centimeters. Ensure the hanging rod is mounted at least 5 centimeters below the top shelf to allow easy placement of hangers. If your usable interior depth is less than 50 centimeters, standard hangers may rub against the sliding doors; in such tight spaces, consider transverse wardrobe rails that hang clothes facing forward.
Shelving sections offer excellent flexibility for folded items and storage boxes. Plan for adjustable shelves with a width of 40 to 60 centimeters; wider shelves made of particleboard or MDF may sag over time under heavy loads unless supported by a central divider or heavy-duty brackets. Keep the vertical spacing between shelves around 25 to 35 centimeters for folded clothes. Any larger, and clothing stacks will inevitably topple over, creating clutter. Drawers and pull-out accessories are ideally positioned in the lower to middle zones of the cabinet, between knee and chest height. Placing drawers too low makes them uncomfortable to access daily, while placing them too high makes it impossible to see their contents.
Install Shelves, Rods, and Drawers Step-by-Step
To begin the physical installation, clear out the cabinet and gather your tools: a cordless drill, a spirit level, a pencil, a tape measure, and safety glasses. Before mounting hardware, verify that the screws provided are the correct length for your cabinet walls. Standard side panels are often 15 to 18 millimeters thick; using screws that are too long will puncture the finished exterior of your wardrobe, causing irreversible damage.
Start the installation from the top down, beginning with the hanging rods. Use your tape measure and pencil to mark the exact mounting bracket locations on both side panels. Use a spirit level to ensure the marks are level; a sloped rod will cause all your hangers to slide to one side, creating uneven weight distribution and potential structural failure. Drill small pilot holes to prevent the cabinet material from splitting, then secure the rod brackets with the appropriate wood screws. Fit the rod into the brackets and test its stability by applying firm downward pressure.
Next, install the shelf supports. If your cabinet has pre-drilled holes, simply insert the shelf pins at your desired heights. If you are installing fixed shelves or creating custom supports, mark the positions carefully on both sides, checking with a level before drilling. For wide shelves, install a support bracket in the center of the back wall to prevent bowing. Once the supports are in place, slide the shelves into position and press down on them to ensure they sit flat and do not wobble.
The final and most precise step is installing the drawers or pull-out baskets. Begin by mounting the drawer runners to the interior side panels. It is vital to align the runners parallel to each other and perpendicular to the front frame. Use a spacer block or a level to guarantee exact alignment on both sides. Secure the runners with screws, then slide the drawer box into the tracks. Gently push the drawer in to test the soft-close or glide mechanism. Once the drawers glide smoothly, install any internal dividers or organizers inside the drawers to complete the physical setup.
Organize Your Belongings for Daily Convenience
With the structural components installed, you can begin organizing your wardrobe. Use shallow drawer dividers, small fabric bins, and specialized trays to compartmentalize smaller items like socks, underwear, and accessories. This prevents small items from turning into a chaotic pile at the back of a deep drawer. For open shelves, utilize clear plastic or breathable fabric storage boxes to group similar items together, keeping the visual look clean.
When arranging your clothes, place your most frequently worn items in the active zone—the area between your waist and eye level. This ensures you can grab your daily outfits quickly without bending down or reaching for a step stool. Group your hanging clothes by category and then by color. This systematic arrangement not only looks visually appealing but also helps you locate specific items in seconds. Use slim, non-slip velvet hangers to save horizontal rod space and keep delicate fabrics from slipping off.
In tropical climates like the Philippines, managing humidity and airflow inside a closed sliding wardrobe is essential to protect your clothes from mold, mildew, and musty odors. Avoid packing your hanging garments too tightly together; leave at least a finger’s width of space between each hanger to allow air to circulate freely. Place moisture-absorbing sachets or hanging dehumidifiers inside the cabinet, especially in the corners and lower sections where damp air tends to settle. Avoid storing damp or worn clothes back in the closet, as this introduces moisture that can quickly ruin natural fibers.
Maintain and Adjust the Storage System Over Time
An organized closet requires regular maintenance to preserve its structural integrity. Every six months, inspect the internal hardware. Check the screws on your hanging rods, shelf brackets, and drawer runners, tightening any that have loosened due to daily vibrations. If you notice a shelf starting to bow, adjust the weight distribution by moving heavier items to lower shelves.
As your wardrobe needs evolve, take advantage of your adjustable shelving system by shifting shelf heights to accommodate taller boots, larger storage boxes, or thicker garments. Periodically declutter your wardrobe, donating or storing items you no longer wear to keep the cabinet from becoming overloaded.
Finally, pay close attention to the sliding door tracks. Dust, lint, and hair can easily accumulate in the bottom tracks, causing the doors to stick or grind. Vacuum the tracks regularly using a crevice tool, and wipe them down with a damp cloth. If the doors do not slide smoothly, check the roller wheels at the bottom or top of the doors; many sliding systems allow you to adjust the wheel height with a simple screwdriver turn to realign a sagging door and restore effortless, silent operation.
Frequently Asked Questions (FAQ)
Can I add drawers to a sliding closet cabinet that didn't originally have them?
Yes, you can retrofit drawers into an existing sliding closet cabinet, provided you have sufficient interior depth and clear access. Before purchasing drawer kits, measure the exact interior width of the cabinet section and ensure the drawer slides will clear the sliding door tracks when the door is fully opened. If the door overlap blocks a portion of the opening, you may need to install a wooden spacer block between the cabinet wall and the drawer runner to push the drawer inward, allowing it to clear the door. If permanent mounting is structurally difficult due to thin cabinet walls, a highly practical alternative is to place a freestanding, low-profile drawer chest or a modular plastic drawer unit directly onto the cabinet floor.
How do I prevent clothes from getting caught in the sliding doors?
To prevent garments from snagging or getting caught in the sliding door mechanism, maintain a safe clearance gap of at least 2 to 3 centimeters between the front of your hanging clothes and the inner face of the sliding doors. If your cabinet is shallow, standard 42-centimeter hangers will naturally flare outward, causing sleeves to rub against the doors. You can resolve this by switching to ultra-slim velvet hangers, which keep clothes compact, or by angling the hanging rod slightly backward. For extremely narrow cabinets, replace the traditional longitudinal hanging rod with transverse pull-out valet rods, which allow garments to hang facing forward, completely eliminating door contact.

Community discussion
Share your experience or ask a question. Comments are reviewed before publication.