
A cluttered bookshelf in a home office does more than just look untidy; it actively disrupts your focus and makes finding essential reference materials a daily struggle. Transforming a chaotic bookcase into a structured, visually appealing storage system requires a systematic approach that balances functional accessibility with aesthetic design. By clearing the shelves completely, sorting your collection with clear criteria, and arranging items strategically based on weight and frequency of use, you can create an efficient workspace that inspires productivity.
Prepare Your Workspace and Gather Supplies
Before removing a single book, setting up a dedicated staging area is essential for a smooth organizing process. Clear a generous amount of floor space or set up a sturdy table nearby to serve as your sorting station. Having a wide, open area prevents items from piling up in high-traffic walkways, reducing the risk of tripping over heavy volumes or damaging delicate decorative pieces.
Gather your cleaning and organizing tools beforehand so you do not have to interrupt your workflow. A basic kit should include microfiber cloths, a mild surface cleaner suitable for your shelf’s material, a handheld vacuum or soft brush, and several empty bins labeled for sorting. If you plan to archive old financial papers or sensitive work files, keep a paper shredder or a secure disposal bin close at hand.
Products mentioned in this guide
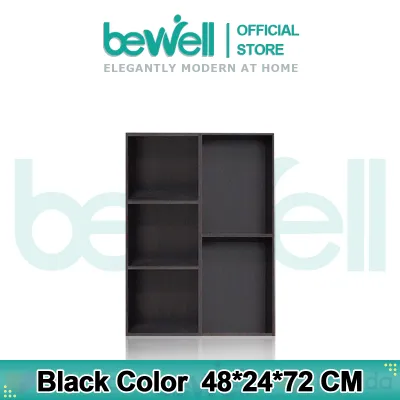
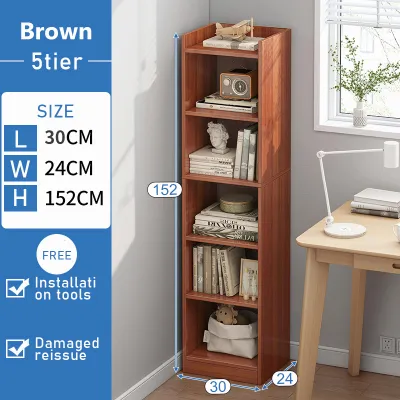
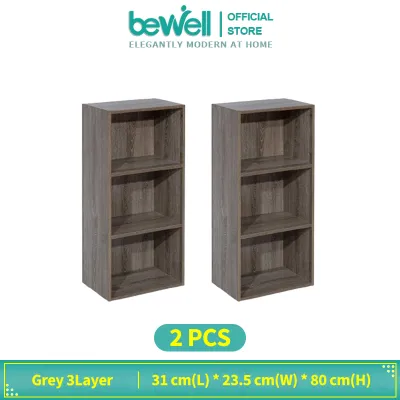
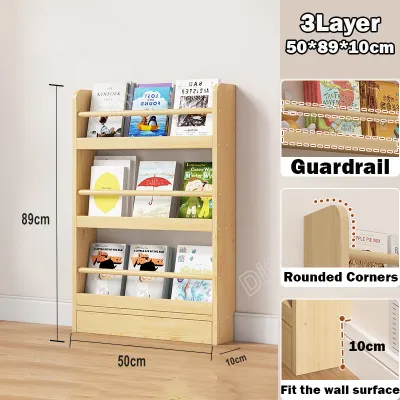
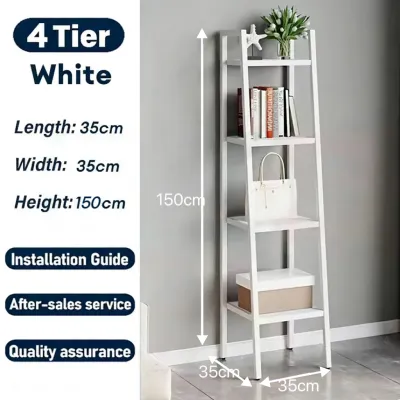
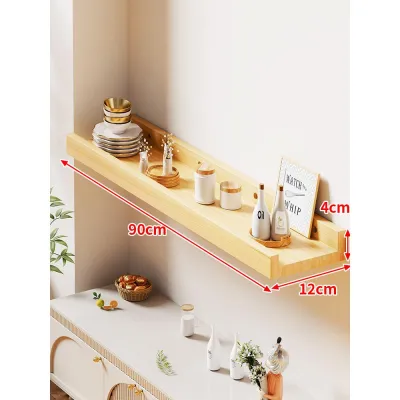
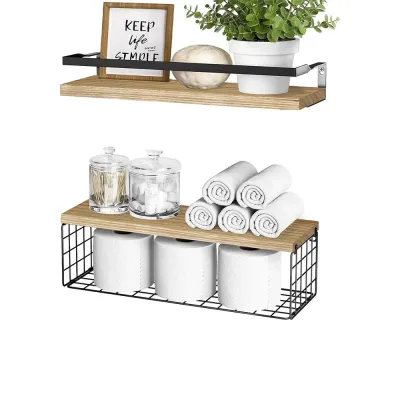
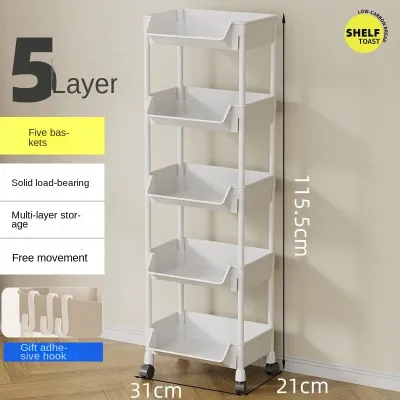
Prices are valid at publication and may change. Please refer to the product page for the latest price.
This preparation stage is also the ideal time to evaluate the physical limits of your furniture. Check the manufacturer’s manual or inspect the back panel of the bookcase to verify its maximum weight capacity per shelf. Overloading shelves can lead to sagging, joint separation, or even catastrophic tip-over accidents, especially in humid tropical climates where wood and composite materials can absorb moisture over time and lose some of their structural rigidity.
Empty, Clean, and Inspect the Bookshelf
To achieve a truly organized setup, you must start with a completely blank canvas. Begin emptying the bookshelf systematically, working from the top shelves down to the bottom. This top-to-bottom approach ensures that any loose dust, debris, or paper fragments falling from higher levels do not settle on items you have already handled or cleaned below.

As you remove each item, place it directly into your designated staging area rather than letting piles accumulate haphazardly around your feet. Once the shelves are entirely bare, use a dry microfiber cloth or a soft-bristled brush attachment on a vacuum to remove loose dust, cobwebs, and paper fibers from the corners and joints. For stubborn grime or fingerprints, wipe the surfaces down with a slightly damp cloth and a mild cleaner, ensuring you dry the area immediately to prevent moisture damage.
With the shelves clean and exposed, conduct a thorough structural inspection of the entire unit. Examine the shelf pins, support brackets, and peg holes for signs of wear, bending, or stripping. Check the joints where the shelves meet the vertical frame, looking for gaps, loose screws, or wobbling. If you detect severe structural damage, deep cracks in load-bearing panels, or significant instability, stop the project immediately and consult a professional furniture repair specialist or replace the unit before reloading it.
Sort and Declutter Books, Documents, and Decor
With all your items spread out in the staging area, you can begin the critical process of sorting and decluttering. Group your belongings into three distinct categories: keep, donate, and discard. Be honest about the utility and sentimental value of each item, keeping in mind that a home office bookshelf should prioritize active reference materials, professional development books, and meaningful inspiration over unused clutter.
Evaluate your books individually, checking for duplicates, outdated editions, or titles you realistically will not read again. Books in good condition that no longer serve your professional or personal goals can be set aside for donation to local libraries, community centers, or second-hand shops. For damaged books with broken spines, missing pages, or severe mold growth—a common issue in high-humidity environments—it is best to discard or recycle them responsibly.
Documents and loose papers require a careful, systematic review to protect your privacy and clear physical space. Separate active project files, tax records, and essential identification documents from expired warranties, old utility bills, and duplicate printouts. Use a cross-cut shredder to destroy any papers containing sensitive personal information, account numbers, or confidential client data before discarding them.
Examine your decorative items, photo frames, and office knick-knacks with a critical eye. While personal touches make a home office feel welcoming, an excess of small decor pieces creates visual noise and leaves less room for functional storage. Select a few high-quality, cohesive pieces that match your current office aesthetic, and store or donate the rest to maintain a clean, professional look.
Assign Zones Based on Accessibility and Weight
An effective bookshelf layout relies on zoning, which organizes items by how often you use them and how much they weigh. This approach not only improves your daily workflow by keeping essential tools within arm’s reach but also ensures the physical safety and stability of the furniture. By distributing weight correctly, you prevent the bookcase from becoming top-heavy and reduce the risk of accidental tipping.
Reserve the lower shelves for your heaviest items, such as thick reference manuals, oversized binders, heavy textbooks, and large storage boxes. Placing these substantial items at the base lowers the unit’s center of gravity, making the entire structure significantly more stable. This is also the most practical spot for items you rarely need to lift high, reducing physical strain when retrieving heavy materials.
The middle shelves, spanning from waist height to eye level, represent your prime real estate. Dedicate this zone to your most frequently accessed books, current project folders, and daily reference guides. Keeping these items at eye level allows you to scan the titles quickly and retrieve what you need without bending down or stretching, keeping your workflow seamless during busy work hours.
Utilize the top shelves for lightweight, infrequently accessed items and decorative elements. This upper zone is ideal for archival storage boxes containing historical records, seasonal decorations, or lightweight decorative objects like small potted plants or framed art. Avoid placing heavy objects or frequently used items on the top shelves, as reaching for them can be awkward and increases the risk of dropping items or destabilizing the shelf.
Arrange Items Using Organizers and Visual Balance
Once you have established your zones, you can begin rebuilding your bookshelf using smart organizing tools and design principles. Start by grouping your books logically, whether by subject, author, or professional category. To keep rows of books upright and prevent them from leaning—which puts uneven pressure on the shelf structure—secure them with sturdy, heavy-duty bookends on both sides.
Incorporate specialized organizers to manage loose papers, pamphlets, and small office supplies that otherwise create visual clutter. Open magazine files, which often cost between ₱150 and ₱300 at local office supply stores, are excellent for holding active project folders, catalogs, and notebooks upright, keeping them accessible yet tidy. For smaller items like sticky notes, paperclips, and charging cables, use small decorative trays or closed storage boxes to keep them out of sight while maintaining a clean exterior.
Achieving a professional, visually balanced look involves mixing different arrangement styles rather than lining up books uniformly from end to end. Try alternating between vertical rows of books and small horizontal stacks. Horizontal stacks not only add visual interest but also serve as built-in bookends or platforms to elevate small decorative items.
Leave some empty space, often called “negative space,” on each shelf to give the eyes a place to rest. A shelf packed tightly from edge to edge looks cramped and heavy, whereas leaving about twenty to thirty percent of the space open creates an airy, modern feel. This intentional spacing makes it easier to retrieve books and allows your carefully chosen decorative accents to stand out without overwhelming the room.
Establish Habits to Maintain a Clutter-Free Shelf
Maintaining an organized bookshelf requires consistent, simple habits to prevent clutter from slowly accumulating over time. One of the most effective strategies is the “one in, one out” rule. Whenever you purchase a new book, receive a professional journal, or add a new decorative piece to your office, commit to donating or archiving an older item of similar size to keep your inventory stable.
Incorporate shelf maintenance into your regular cleaning routine to keep dust and disorganization at bay. Spend just five minutes at the end of each week returning misplaced books to their proper zones, straightening leaning rows, and wiping down exposed surfaces with a microfiber cloth. This quick visual reset prevents minor untidiness from snowballing into a major organizing project down the road.
Set a recurring calendar reminder every six months to review your document storage and archive files. Go through your magazine files and storage boxes to identify completed projects, expired documents, or reference materials that are no longer relevant to your work. By systematically archiving older files to long-term storage or shredding outdated papers, you ensure your active bookshelf remains dedicated solely to the tools that support your daily productivity.
Frequently Asked Questions (FAQ)
How do I manage cables for electronics on a bookshelf?
To keep electronic devices like desk lamps, chargers, or small printers on your bookshelf looking neat, route their power cords along the back edges of the frame. Use adhesive cable clips or hook-and-loop sleeves to secure the cords flat against the wood or metal supports, keeping them hidden from direct view. Ensure that cables have enough slack so they do not pull tightly against delicate decorative items or create tripping hazards along the floor. If your bookshelf lacks built-in cable routing holes, you can use a hole saw to cut a neat opening in the thin back panel, or position the shelf slightly away from the wall to let cords drop down behind the unit safely.
What are the most effective organizers for loose office documents?
For active, daily paperwork, open magazine files or vertical desktop organizers are highly effective because they allow you to slide folders in and out without opening lids. For long-term archiving or sensitive documents, closed storage boxes with secure lids protect papers from dust, light, and humidity. Inside these boxes, use labeled folders or tabbed dividers to keep documents categorized by year or project type. Choosing matching, neutral-colored organizers across your shelves creates a cohesive, professional appearance that minimizes visual distractions in your home office.

Community discussion
Share your experience or ask a question. Comments are reviewed before publication.