
Installing a cap hanging organizer is a practical way to keep your headwear collection organized, clean, and easily accessible. However, a secure installation depends entirely on matching your mounting hardware and techniques to the specific wall material in your home. Whether you are dealing with hollow drywall, solid concrete, or wood paneling, using the incorrect fastener can lead to a sagging organizer, damaged walls, or a sudden collapse under the weight of your caps.
In many homes, especially in tropical climates like the Philippines, walls are constructed from a variety of materials ranging from solid concrete and concrete hollow blocks to lightweight drywall partitions and decorative wood paneling. High humidity levels can also affect how certain materials, particularly wood and drywall, hold up over time. Taking the time to identify your wall type and install the organizer correctly ensures that your display remains stable and safe for years to come.
To achieve a secure installation, you must systematically assess your wall, gather the correct tools, drill precise pilot holes, and set the appropriate anchors. This guide walks you through the step-by-step process for each major wall type, helping you secure your cap hanging organizer with confidence.
Products mentioned in this guide
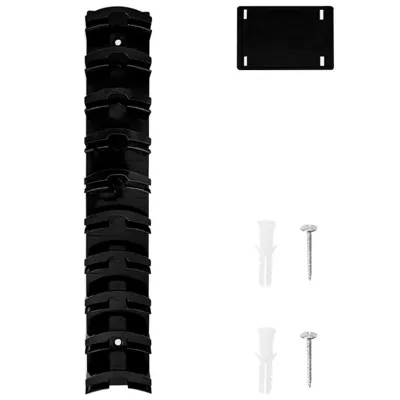
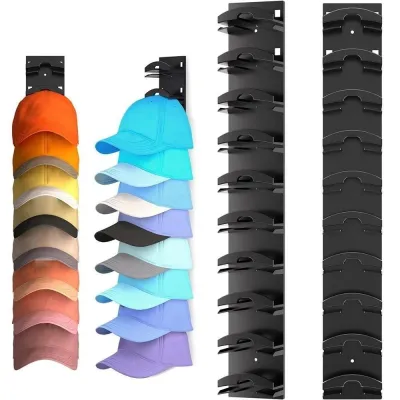
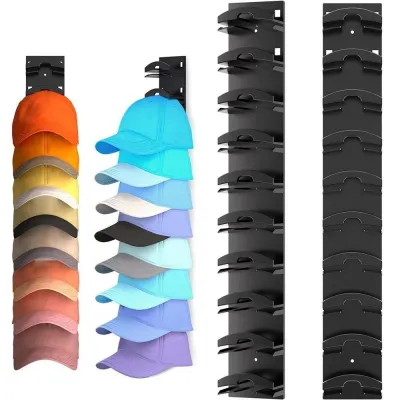
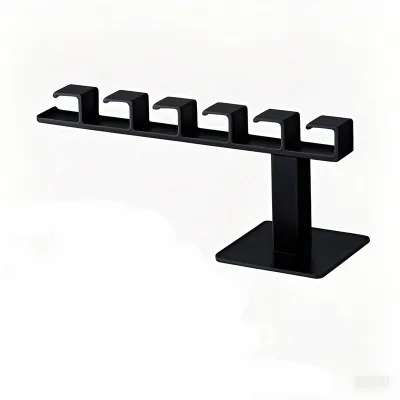

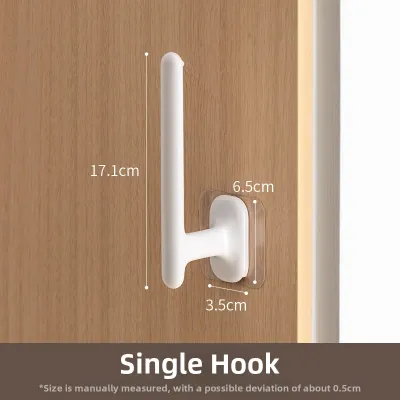
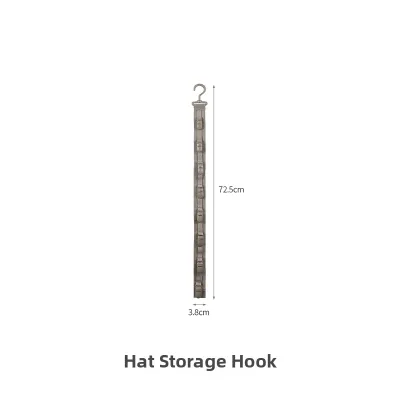
Prices are valid at publication and may change. Please refer to the product page for the latest price.
Gather the Right Tools and Hardware for Your Wall Type
Before you begin drilling, preparing the correct tools and hardware is essential to prevent mid-project delays and avoid damaging your walls. Having everything on hand allows you to work efficiently and ensures that each step of the installation is executed with precision.
The essential tools for almost any wall-mounting project include a reliable power drill, a bubble level to ensure your organizer hangs perfectly straight, a tape measure for accurate positioning, a pencil for marking drill points, and a manual screwdriver. Using a manual screwdriver for the final tightening stage is highly recommended, as it gives you better control and prevents over-tightening.
Your choice of drill bits and wall anchors must match your specific wall type. For concrete or masonry walls, you will need a carbide-tipped masonry drill bit and plastic expansion anchors or metal sleeve anchors. For drywall, standard wood or metal drill bits work well, paired with threaded drywall anchors or toggle bolts. If you are mounting directly into solid wood, you will only need standard wood drill bits and coarse-thread wood screws, as anchors are generally unnecessary in solid timber.
Safety should always be your top priority when performing any home improvement task. Always wear safety glasses to protect your eyes from flying dust and debris, especially when drilling overhead or into concrete. Additionally, using a reliable stud finder with deep-scanning capabilities is crucial; this tool helps you locate wooden framing studs behind drywall and can often warn you of hidden electrical wiring or plumbing pipes running through the wall cavity.
How to Mount Securely on Drywall
Drywall, often used for interior partitions and ceilings, consists of a gypsum plaster core pressed between heavy sheets of paper. Because drywall is relatively soft and brittle, it cannot reliably support the weight of a loaded cap hanging organizer on its own without proper reinforcement.

The most secure way to mount any organizer on a drywall surface is to fasten it directly into the underlying wooden studs. Use your stud finder to locate the edges and center of the studs behind the drywall. Once located, mark these positions clearly with a pencil. If your organizer’s mounting brackets align with these studs, you can screw directly into the wood using standard wood screws, bypassing the need for drywall anchors entirely. This method provides the maximum possible holding strength.
However, because cap organizers come in various widths, the mounting holes will not always align perfectly with your wall studs. In these cases, you must use hollow wall anchors to distribute the load across the drywall sheet. For light to medium loads, heavy-duty threaded drywall anchors (often called self-drilling anchors) are highly effective. For heavier setups or if you want maximum security, toggle bolts are the preferred choice because they expand behind the drywall, clamping the organizer tightly against the wall surface.
To install these anchors, begin by holding your organizer against the wall, using a bubble level to ensure it is straight, and marking the mounting holes with a pencil. Drill a pilot hole at each marked spot, ensuring the drill bit matches the exact diameter specified on your anchor packaging. If using threaded anchors, screw them gently into the drywall until they are flush with the surface. If using toggle bolts, insert the bolt through the organizer’s bracket first, thread the toggle wing onto the bolt, squeeze the wings closed, push them through the drilled hole until they spring open behind the wall, and then tighten the bolt with a manual screwdriver until snug. Avoid over-torquing, as this can strip the drywall core and compromise the anchor’s grip.
How to Drill and Anchor into Concrete or Masonry
Concrete, brick, and concrete hollow blocks are incredibly common in residential construction. While these materials offer exceptional structural strength, they are hard and brittle, requiring specialized tools and techniques to drill into without causing cracking or crumbling.
To drill into concrete or masonry, you must use a hammer drill paired with a carbide-tipped masonry drill bit. A standard rotary drill will struggle to penetrate concrete and can quickly overheat and dull your drill bits. Set your drill to the hammer mode, hold it firmly with both hands perpendicular to the wall, and apply steady, moderate pressure. Let the tool do the work; forcing the drill can damage the bit or cause the concrete to spall around the hole.
Once you have drilled the hole to the depth recommended by your anchor manufacturer, it is critical to clear out all the concrete dust. Leftover dust acts as a lubricant and can prevent your wall anchor from expanding and gripping the sides of the hole properly. You can blow the dust out using a straw (while wearing safety glasses), use a narrow brush, or vacuum the hole thoroughly.
For concrete walls, plastic expansion anchors or light-duty metal sleeve anchors are ideal. Gently tap the anchor into the clean hole using a hammer until it sits flush with the concrete surface. Position your cap hanging organizer over the anchors, insert the screws, and tighten them until they are snug. Stop turning immediately once the screw is tight; over-tightening can strip the plastic anchor or cause the concrete surrounding the hole to crack, which will ruin the hold and require you to patch and relocate the mount.
How to Fasten to Wood Studs or Paneling
Mounting a cap hanging organizer onto solid wood studs or decorative wood paneling is a straightforward process, but it still requires care to prevent the wood from splitting or stripping. Wood fibers provide excellent grip, but they can easily crack if a screw is driven in without proper preparation.
When mounting directly into solid wood studs or thick wooden trim, always drill a pilot hole first. The pilot hole should be slightly smaller than the core diameter of the screw (the solid shaft inside the threads). This removes a small amount of wood material, allowing the screw threads to cut cleanly into the surrounding wood without creating excessive outward pressure that could split the timber.
If your walls are finished with thin decorative wood paneling, you must exercise extra caution. Thin paneling veneers are usually not thick or strong enough to support a loaded organizer on their own. In this scenario, you must ensure that your mounting screws are long enough to pass completely through the decorative paneling and penetrate at least an inch into the structural framing studs behind it. Relying solely on thin paneling can cause the wood to warp, crack, or pull away from the wall framing over time.
Use coarse-thread wood screws for these installations, as they bite deeply into wood fibers and offer superior holding power compared to fine-thread drywall screws. Drive the screws in slowly using a manual screwdriver or a drill with a low clutch setting. Stop as soon as the screw head is flush against the mounting bracket; over-tightening can strip the wood fibers inside the pilot hole, drastically reducing the screw’s holding capacity and causing the mount to become loose.
Verify Weight Capacity and Perform Safety Checks
Once your cap hanging organizer is mounted, you must verify its stability and weight capacity before loading it with your collection. While caps are individually lightweight, a large collection of structured baseball caps, snapbacks, or heavy winter beanies can add up to a significant cumulative weight, especially when combined with the weight of the organizer itself.
Start by checking the manufacturer’s stated weight limit for the organizer. Compare this limit with the estimated weight of your caps. Additionally, ensure that the wall anchors and screws you selected are rated to handle a load that exceeds this total weight. It is always safer to use hardware with a higher load rating than the bare minimum required.
Proper load distribution is also key to maintaining a secure mount. When organizing your headwear, place heavier items closer to the wall or near the bottom of the organizer. This reduces the leverage and outward pull-out force exerted on the top wall anchors, which bear the majority of the tension. Keeping the heaviest items low minimizes the risk of the organizer pulling away from the wall at the top.
Perform a gentle post-installation test before fully loading the organizer. Apply gradual downward and outward pressure with your hands to simulate the weight of the caps. Watch the mounting brackets closely for any signs of movement, shifting, or squeaking. Over the first few days of use, monitor the surrounding wall area for any hairline cracks, plaster dust, or gaps forming between the organizer and the wall.
Finally, know when to stop and seek assistance. If you encounter unexpected metal plates while drilling (which often protect electrical wires or plumbing pipes), if the wall material crumbles excessively, or if you feel unsure about the structural integrity of your mounting surface, halt the installation immediately. Consulting a qualified professional can prevent costly damage to your home’s infrastructure and ensure a safe, lasting installation.
Frequently Asked Questions (FAQ)
Can I use adhesive strips instead of screws for a cap hanging organizer?
While adhesive strips are convenient and require no drilling, they are generally not recommended for multi-cap hanging organizers. The dynamic weight of adding and removing caps, combined with high indoor humidity levels common in tropical climates, can cause adhesives to fail suddenly over time. When an adhesive mount fails, it can damage your wall by peeling away paint or tearing the outer paper layer of drywall. Adhesive strips should only be used for very lightweight, single-cap hooks mounted on smooth, non-porous, and thoroughly cleaned surfaces, and even then, they should be monitored regularly for signs of peeling.
What should I do if the wall anchor spins or will not grip?
A spinning wall anchor usually occurs when the pilot hole was drilled too large, the wrong anchor type was used, or the internal wall material has crumbled. To fix this, you can remove the spinning anchor and replace it with a larger anchor size that fits snugly in the enlarged hole. Alternatively, you can fill the stripped hole with a high-quality structural wall filler, allow it to cure completely, and then re-drill a correct-sized pilot hole. If the wall material is severely compromised, it is best to abandon that specific hole, patch it properly for aesthetics, and shift your organizer’s mounting position slightly to a fresh, structurally sound section of the wall.

Community discussion
Share your experience or ask a question. Comments are reviewed before publication.