
In tropical climates like the Philippines, keeping your caps organized on a wall-mounted rack does more than just save closet space. High humidity levels can trap moisture in stacked hats, leading to musty odors or mold growth. A wall-mounted cap display rack elevates your collection, allowing continuous airflow around each cap to keep the fabric fresh and dry. However, a poorly installed rack can easily pull away from the wall, damaging your plaster or drywall and risking damage to your valuable headwear. Securing your display rack properly ensures it remains a stable, attractive, and functional part of your room for years to come.
Achieving a stable mount requires understanding your wall structure, selecting the appropriate hardware, and executing each installation step with precision. By taking the time to prepare your space and use the correct tools, you can create a durable display that keeps your caps clean, accessible, and neatly organized.
Assess Your Wall and Rack Specifications
Before drilling any holes or purchasing hardware, you must evaluate the structural characteristics of your wall and the physical specifications of your cap display rack. Most residential structures feature solid concrete, concrete hollow blocks (CHB) finished with plaster, or lightweight drywall partitions. Identifying your specific wall type is the most critical step because it dictates the type of drill bits, anchors, and fasteners you must use to achieve a secure hold.
Products mentioned in this guide
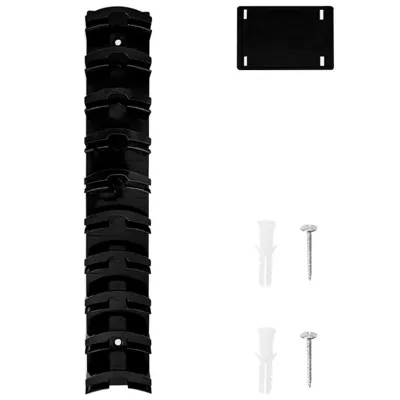
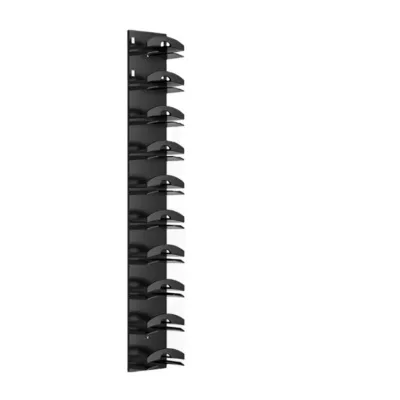
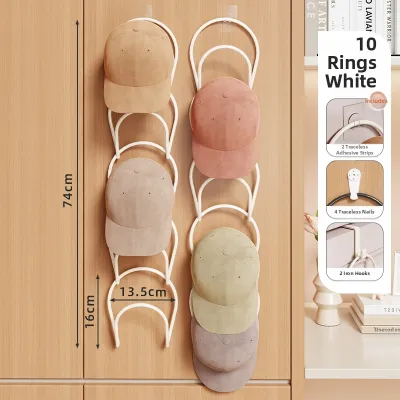
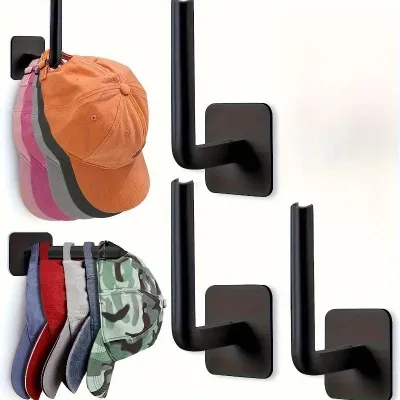
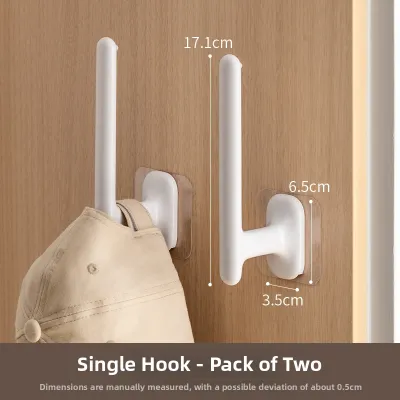
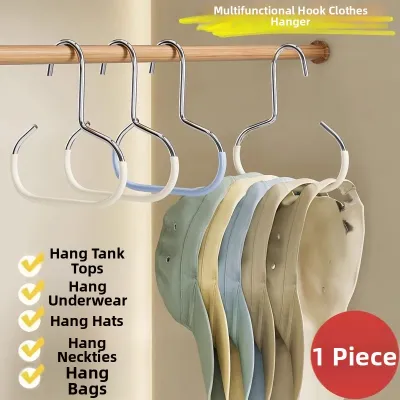
Prices are valid at publication and may change. Please refer to the product page for the latest price.
If you are mounting the rack on a drywall partition, locating the wooden or metal studs behind the wall is essential for supporting heavier loads. While caps themselves are relatively lightweight, the cumulative weight of a large collection, combined with the weight of the rack itself, can easily pull standard screws out of unsupported drywall. For concrete or masonry walls, which are highly common in local construction, you do not need to worry about finding studs, but you must prepare for the physical resistance of drilling into solid material.
Next, examine the manufacturer’s specifications for your cap display rack. Look closely at the rated weight capacity and the recommended clearance space. A rack designed for ten caps will have different structural demands than a heavy-duty metal grid designed for dozens of hats. Calculate the total weight of the caps you plan to display, keeping in mind that thick wool caps, leather snapbacks, or heavy-front trucker hats weigh more than simple running caps. Ensure this total weight, plus a safety margin, falls well within the rack’s certified limits.
Gather the Right Tools and Hardware
Having the correct tools on hand before you begin prevents unnecessary delays and minimizes the risk of damaging your wall surface. For a standard installation, you will need a reliable measuring tape, a pencil for marking, a spirit level to ensure accurate alignment, and a power drill. If you are working with drywall, a stud finder is highly recommended to locate the structural framing. For concrete or plaster-covered brick walls, ensure your power drill has a hammer function and that you are using a dedicated masonry drill bit.

Selecting the right wall anchors is where many DIY installations succeed or fail. Never rely solely on the screws provided in the packaging unless they are explicitly rated for your specific wall type. For concrete walls, plastic wall plugs (often referred to locally as tox plugs) are the standard choice, as they expand tightly against the solid concrete when a screw is driven into them. For drywall, heavy-duty toggle bolts or self-drilling threaded anchors are far superior to standard plastic plugs, which can easily slip out of gypsum board under tension.
Always inspect the hardware supplied by the manufacturer before starting. If the provided screws appear too short or the plastic anchors feel brittle, do not hesitate to purchase high-quality replacements from a local hardware store. Investing in robust, corrosion-resistant screws is especially wise in humid environments, as moisture can cause low-grade metal fasteners to rust and weaken over time. Matching your screws precisely to the diameter of your wall anchors ensures a tight, permanent fit.
Step-by-Step Installation Guide
Installing your wall-mounted cap display rack is a straightforward process when broken down into logical, sequential steps. By working methodically, you can avoid common mistakes such as crooked shelves, misaligned brackets, or oversized drill holes. Always keep the manufacturer’s instruction manual nearby to verify any unique assembly steps or specific locking mechanisms unique to your product model.
Mark and Measure the Mounting Points
Begin by deciding on the ideal height and location for your display. Consider accessibility; you want to reach your favorite caps easily without needing a step stool, while keeping the rack high enough to avoid accidental bumps from passing shoulder traffic. Hold the rack or its mounting brackets against the wall at your chosen height, and use a pencil to lightly mark the general position of the mounting holes.
Once you have your initial marks, place a spirit level directly across them or along the top edge of the mounting bracket. Adjust the bracket until the bubble in the level is precisely centered between the indicator lines. This step is crucial, as even a minor tilt of a few millimeters will look highly noticeable once the rack is fully loaded with caps. Mark the exact center of each screw hole onto the wall with your pencil, making a small ‘X’ to guide your drill bit.
Before you put the level down, use your measuring tape to double-check the distance between your pencil marks against the physical distance between the mounting holes on the rack itself. Measuring twice at this stage prevents the frustration of drilling holes that do not align with the rack’s pre-drilled brackets. If your marks align accurately with both the level and the physical hardware, you are ready to proceed to drilling.
Drill and Prepare the Wall
Select a drill bit that matches the exact diameter of your wall anchors. If you are drilling into a concrete wall, fit your drill with a masonry bit and set the tool to hammer mode. For drywall or wood studs, a standard twist drill bit is appropriate, and hammer mode must be turned off to prevent tearing the wall material. Hold the drill straight and perpendicular to the wall surface; tilting the drill will create an angled, oversized hole that prevents the anchor from gripping securely.
Apply steady, moderate pressure as you drill straight into your marked points. Avoid forcing the drill forward, especially when working on concrete, as letting the bit do the work prevents overheating and ensures a clean hole. Drill slightly deeper than the length of the wall anchor to ensure the screw can penetrate fully without bottoming out. Once the hole is drilled, pull the bit straight out while it is still spinning to help clear out loose dust and debris.
Clearing the dust from the drilled holes is a small but vital step; excess dust can prevent wall anchors from expanding fully or seating properly. You can use a hand pump, a vacuum cleaner, or a simple straw to blow the dust out of the hole. Next, press the plastic wall anchor or tox plug into the hole. It should fit snugly; if it is slightly tight, tap it gently with a hammer until the collar of the anchor sits completely flush with the plaster or drywall surface.
Secure the Brackets and Mount the Rack
With the anchors securely in place, position your mounting brackets over the holes. Insert the screws through the bracket openings and thread them into the wall anchors by hand for the first few turns to ensure they are properly aligned. Use a manual screwdriver or a power drill on a low torque setting to drive the screws in. Tighten them until the bracket is held firmly against the wall, but avoid over-tightening, which can strip the plastic anchor or crack the surrounding drywall.
Once the brackets are securely fastened, attach the main body of the cap display rack to the brackets. Depending on the design, this may involve sliding the rack down onto mounting pegs, hooking it into keyhole slots, or securing it with small set screws. Take your time to ensure the rack is fully seated in its designated slots and that it does not wobble or tilt when handled.
Finally, check for any secondary locking mechanisms or safety screws specified in the manufacturer’s manual. Some racks use small locking pins or bottom screws to prevent the rack from being accidentally lifted off its brackets. Tighten these components fully to complete the physical installation. Your rack should now feel like a solid, seamlessly integrated extension of your wall.
Verify Stability and Load Capacity
Before placing your entire cap collection onto the newly installed rack, you must verify its stability and load-bearing capacity. This step ensures that the installation is safe and that there are no hidden weaknesses in the wall anchors or brackets. Start by applying gentle downward and outward pressure on the rack with your hands, simulating the weight and pull of daily use. The rack should not shift, flex, or creak under this light pressure.
Inspect the connection points closely while applying pressure. Look for any visible gaps opening up between the mounting brackets and the wall surface. If you notice the bracket pulling away even slightly, or if the plaster around the anchor begins to crumble, stop immediately. This indicates that the anchor is not gripping properly, the hole is oversized, or the wall material is too weak to support the load, requiring you to reinstall the hardware using a different anchor type.
If the rack passes the initial physical check, begin loading your caps onto the display. Distribute the weight evenly across the rack rather than clustering all your hats on one side. Start by placing your lightest caps on the display first, observing how the structure responds. Gradually add the rest of your collection, checking periodically to ensure the rack remains accurately level and firmly anchored to the wall.
Maintenance and Safety Checks
A secure installation requires occasional maintenance to remain safe over the long term, especially in tropical environments where temperature and humidity fluctuations can cause materials to expand and contract. Periodically inspect the mounting brackets and the wall area surrounding the screws. Look for any hairline cracks in the plaster, paint flaking around the anchors, or signs of the screws backing out of their plugs.
Always respect the verified weight limits of your display rack. It can be tempting to hang other items, such as heavy jackets, backpacks, or umbrellas, on the edges of the rack, but these items can easily exceed the design capacity and cause a sudden structural failure. Educate household members to use the rack strictly for its intended purpose of displaying lightweight headwear.
If you ever notice the rack shifting, sagging, or showing signs of loose hardware, remove all caps immediately to prevent accidental damage or injury. Do not attempt to simply tighten a screw that has stripped its anchor hole. Instead, remove the rack, assess the damage, and reinstall it using a larger anchor, or consult a professional carpenter or handyman to repair the wall section and secure the mount professionally.
Frequently Asked Questions (FAQ)
Can I install a cap display rack on tiles or glass?
Mounting a cap display rack directly onto tiles or glass carries a high risk of cracking or shattering the surface during drilling. Standard drill bits will slip or crack these materials instantly. If you must install a rack on a tiled wall, such as in a modern bathroom or utility area, you must use specialized diamond-tipped or carbide-tipped glass and tile drill bits, drilling at a very slow speed without hammer action. For glass surfaces, drilling is generally not recommended for DIY projects. Always check the manufacturer’s guidelines to see if they offer specialized, high-strength adhesive mounting options or suction systems designed specifically for non-porous surfaces. If the surface is not explicitly rated for drilling, it is highly recommended to consult a professional glazier or tile installer to avoid costly damage.
What should I do if the wall anchors keep spinning?
A spinning wall anchor is a common installation issue that indicates the drilled hole is slightly too large, or the anchor type is incorrect for your wall material. When an anchor spins, it cannot expand properly, meaning it will fail to hold any weight. To fix this, do not attempt to force the screw in, as this will only strip the anchor further and damage the wall. Instead, carefully pull the spinning anchor out of the wall using a pair of needle-nose pliers. Replace it with a slightly larger anchor that fits tightly into the existing hole, or switch to a heavy-duty toggle bolt or self-drilling drywall anchor that grips the back of the wall. If the wall material has crumbled significantly, you may need to patch the hole with wall filler, let it dry completely, and drill a new hole a few centimeters away.

Community discussion
Share your experience or ask a question. Comments are reviewed before publication.