
To install a wall-mounted cap hanger securely, you must match your mounting hardware and drilling method to the specific material of your wall. Whether your home features solid concrete, concrete hollow blocks (CHB), or gypsum drywall, using the wrong anchor or drilling technique can lead to loose mounts, sagging racks, and unsightly structural damage.
By identifying your wall type first and preparing the correct tools, you can ensure your cap collection remains safely displayed without risking wall failure. This guide provides a clear, step-by-step roadmap to mounting your cap hanger on the three most common wall types found in modern residential spaces.
Gather the Right Tools and Wall Anchors
Before starting your installation, gathering the correct tools and hardware prevents mid-project delays and ensures a structurally sound mount. Using makeshift tools or incorrect anchors is the primary cause of loose wall fixtures.
Products mentioned in this guide
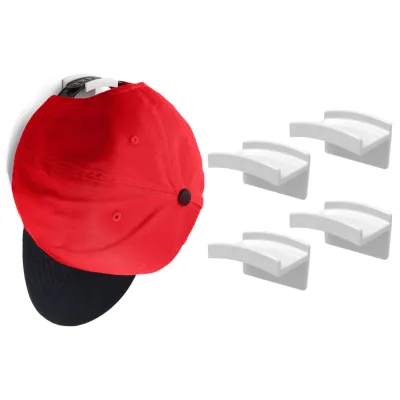
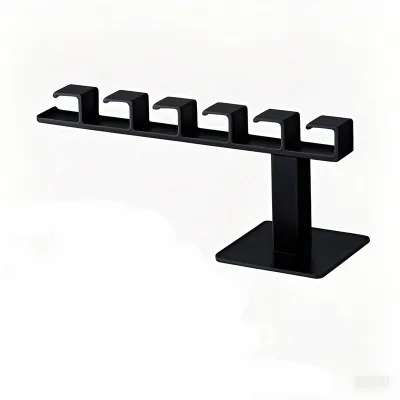
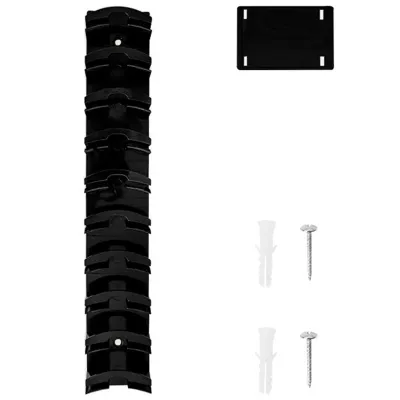
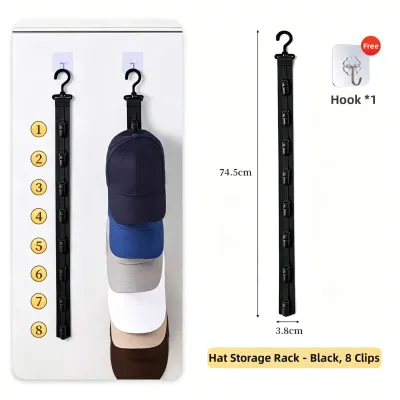
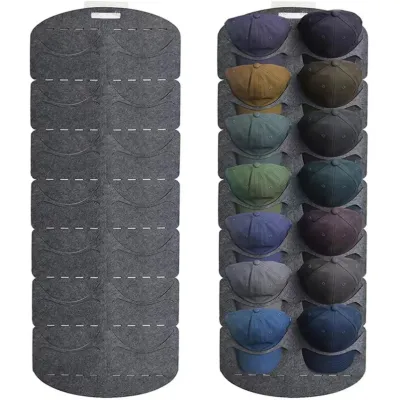

Prices are valid at publication and may change. Please refer to the product page for the latest price.
Every wall-mounting project requires a core set of layout and safety tools. You will need a reliable tape measure, a pencil for marking drill points, a spirit level to prevent a slanted display, and safety glasses to protect your eyes from falling debris. If you are working on drywall, a electronic stud finder is also essential to locate the hidden framing behind the gypsum boards.
Your choice of drilling equipment depends entirely on your wall material. For solid concrete and concrete hollow blocks, you must use a dedicated power hammer drill paired with high-quality masonry drill bits. Standard rotary drills lack the hammering action required to break through tough aggregate and will quickly overheat or ruin your drill bits. For drywall, a standard rotary drill or even a cordless drill-driver is perfectly sufficient.
Matching the correct wall anchor to your specific wall type is critical for long-term stability:
- Solid Concrete: Requires plastic expansion plugs (often locally referred to as Tox plugs) or steel sleeve expansion anchors. These expand outward against the solid walls of the drilled hole to create a high-friction hold.
- Concrete Hollow Blocks (CHB): Requires specialized hollow-block anchors, heavy-duty toggle bolts, or plastic toggles. These are designed to expand or pop open inside the hollow cavity of the block, gripping the back of the outer concrete shell.
- Drywall: Requires threaded self-drilling anchors for light to medium loads, or metal toggle bolts for heavy cap hangers. Standard expansion plugs should never be used in drywall, as they cannot grip the soft gypsum core.
Before purchasing your anchors, check the cap hanger manufacturer’s packaging for the recommended screw diameters and lengths. Your chosen anchors must be compatible with these screw dimensions to ensure a tight, secure fit within the hanger’s mounting brackets.
Step-by-Step Installation for Concrete and Hollow Block Walls
Masonry walls are the standard in Philippine residential construction, offering excellent durability but requiring careful drilling and anchoring techniques. Follow these steps to mount your cap hanger securely to solid concrete or concrete hollow blocks.

Step 1: Marking and Leveling
Begin by positioning your cap hanger bracket against the wall at your desired height. Place your spirit level on top of the bracket and adjust it until the level’s bubble is perfectly centered between the indicator lines. Once aligned, use your pencil to mark the exact center of each mounting hole directly onto the wall surface.
Step 2: Drilling Pilot Holes
Equip your hammer drill with a masonry bit that matches the exact diameter specified on your anchor packaging. Hold the drill perfectly perpendicular to the wall to prevent the hole from widening unevenly. Drill to a depth slightly deeper than the length of your anchor, using a piece of tape wrapped around the drill bit as a depth guide. Once drilled, clear out all concrete dust from the hole using a hand blower or a thin brush; remaining dust can prevent the anchor from sitting flush or expanding correctly.
Step 3: Inserting Anchors
Insert your chosen masonry anchor into the cleaned hole. It should fit snugly; if it resists, tap it gently with a hammer until the collar of the anchor sits completely flush with the wall surface. For solid concrete, the anchor will expand and grip the solid walls as the screw is driven in. For hollow blocks, ensure the expanding portion of the anchor aligns with the block’s outer shell or deploys fully inside the hollow cavity to establish a secure hold.
Step 4: Securing the Bracket
Align the mounting holes of your cap hanger bracket with the installed wall anchors. Insert the screws through the bracket and drive them into the anchors using a manual screwdriver or a drill-driver set to a low torque. Tighten the screws until the bracket is firmly pressed against the wall, but avoid over-torquing. Over-tightening can strip the plastic threads of the anchor or crack the surrounding masonry, ruining the mount.
Safety Boundary: If you encounter sudden, extreme resistance while drilling into concrete, stop immediately. You have likely hit steel rebar. Continuing to drill will damage your masonry bit and weaken the structural reinforcement. Shift your mounting location slightly higher, lower, or to the side, and consult a structural professional if you are unsure of your wall’s internal layout.
Step-by-Step Installation for Drywall
Drywall is highly popular in modern condominiums and partition walls, but it lacks the structural density of masonry. Mounting a cap hanger on drywall requires finding internal studs or utilizing specialized hollow-wall anchors to prevent the gypsum from tearing under weight.
Step 1: Locating Studs
Whenever possible, mounting your cap hanger directly into the wall’s structural framing—either wooden studs or metal furring channels—provides the strongest possible installation. Slide your electronic stud finder horizontally across the wall area and mark the edges and center of any detected studs. In many high-rise developments, these studs are made of light-gauge steel, which still offers significantly more support than drywall alone.
Step 2: Mounting to a Stud
If the mounting holes on your cap hanger align perfectly with your marked studs, you do not need wall anchors. Drill a small pilot hole through the drywall and into the stud using a standard drill bit. Drive wood screws (for wooden studs) or self-tapping sheet metal screws (for metal studs) directly through the hanger bracket and into the framing to secure the rack.
Step 3: Using Drywall Anchors
If your desired mounting location does not align with a stud, you must use specialized drywall anchors. For threaded self-drilling anchors, screw them directly into the drywall using a manual Phillips screwdriver until they sit flush with the surface. For heavy-duty toggle bolts, drill a hole matching the diameter of the folded toggle wing, compress the wings, push them completely through the hole until they spring open behind the drywall, and pull back slightly to tighten the bolt.
Step 4: Attaching the Hanger
Position your cap hanger bracket over the installed anchors. Insert the mounting screws and tighten them carefully. Ensure the anchor and bracket sit completely flush against the wall surface without crushing, denting, or breaking the fragile gypsum outer paper.
Limitation Note: Drywall has significantly lower weight capacities than concrete or brick walls. Always check the packaging of your drywall anchors to verify their maximum load ratings, and distribute your caps evenly across the hanger rather than overloading a single hook or section.
Verify Mounting Security Before Hanging Your Caps
Once your cap hanger is mounted, performing a series of simple safety checks prevents unexpected structural failures that could damage your wall, the hanger, or your cap collection.
Visual and Physical Checks
Inspect the installed hanger from multiple angles. The mounting bracket must sit completely flat against the wall with no visible gaps or tilting. Grasp the hanger firmly near its mounting points and apply a gentle, steady downward tug; there should be absolutely no wiggling, sliding, or movement within the wall anchors.
Gradual Weight Testing
Avoid loading your entire cap collection onto the rack immediately. Begin by hanging just one or two lightweight caps. Monitor the mount over the next 24 to 48 hours, checking for any signs of sagging or loosening. If the mount remains perfectly stable, gradually add the rest of your caps over the following days to allow the wall and anchors to settle under the sustained load.
Routine Maintenance
In humid tropical environments, constant moisture and temperature fluctuations can cause materials to shift, expand, or contract. This environmental stress can slowly loosen screws over time. Make it a habit to check the tightness of your mounting screws every few months, gently tightening any that have backed out slightly.
When to Stop
If you ever notice hairline cracks forming in the concrete plaster, bulging or crushing around your drywall anchors, or the hanger bracket pulling away from the wall surface, remove all caps immediately. Take down the hanger and reassess your installation. You may need to upgrade to a heavier-duty anchor type, relocate the hanger to a stronger section of the wall, or seek professional assistance.
Frequently Asked Questions (FAQ)
Installing Without a Power Drill
If you are mounting your cap hanger on gypsum drywall, you can easily complete the installation without a power drill by using threaded, self-drilling drywall anchors. These can be driven directly into the drywall using a manual screwdriver. However, if your walls are made of concrete or concrete hollow blocks, a power hammer drill is absolutely mandatory to create the pilot holes. Attempting to manual-drill or nail into concrete will crack the plaster and damage your wall; if you do not own a hammer drill, consider renting one from a local hardware store or hiring a local handyman.
Fixing a Spinning or Loose Wall Anchor
If a wall anchor spins in place when you try to tighten the screw, the pilot hole was drilled too large or the anchor has stripped. To resolve this, remove the screw and pull the loose anchor out of the wall. For drywall, you can replace it with a larger toggle bolt that grips a wider area behind the wall. For masonry walls, clean the dust out of the hole, fill it completely with a suitable masonry repair epoxy or filler, let it cure fully according to the manufacturer’s instructions, and then re-drill the hole to the correct size. Never force a screw into a spinning anchor, as this will permanently damage the wall.
Using Adhesive Hangers in Rented Spaces
If you live in a rental property where drilling holes is prohibited, heavy-duty adhesive mounting strips or hooks can be a viable alternative for lightweight cap hangers. However, these adhesives require a completely smooth, clean, and painted surface to bond effectively. They are highly susceptible to failure in high-humidity areas, on textured walls, or under heavy loads. Always follow the adhesive manufacturer’s weight limits and removal instructions carefully; pulling adhesive strips off incorrectly can peel the wall paint and damage the drywall surface, potentially impacting your security deposit.

Community discussion
Share your experience or ask a question. Comments are reviewed before publication.