
Mounting a wall-mounted cap hanger organizer is an excellent way to keep your headwear collection organized, preserved, and easily accessible. Achieving a secure, sag-free installation depends entirely on matching your mounting hardware and drilling techniques to the specific wall material in your home.
Whether you are dealing with the solid concrete typical of external residential walls, hollow concrete blocks common in partition walls, or modern gypsum drywall partitions, using the correct approach ensures your organizer remains firmly anchored over time.
Assess Your Wall Type and Weight Capacity
Before drilling any holes, you must identify the exact composition of the wall where you plan to mount your cap hanger organizer. In the Philippines, residential construction heavily relies on masonry.
Products mentioned in this guide
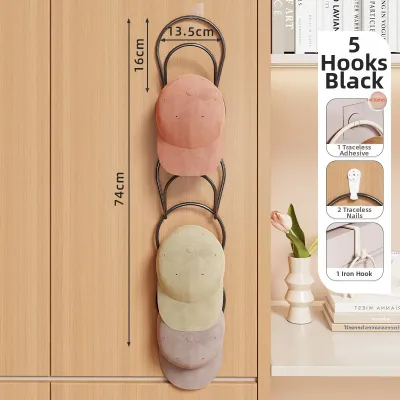
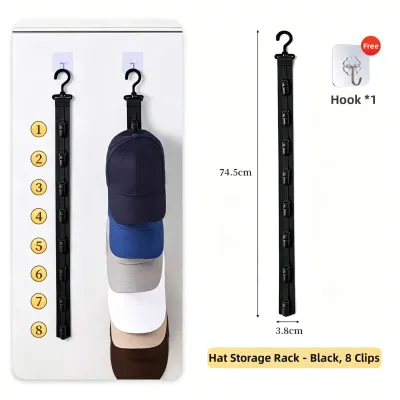
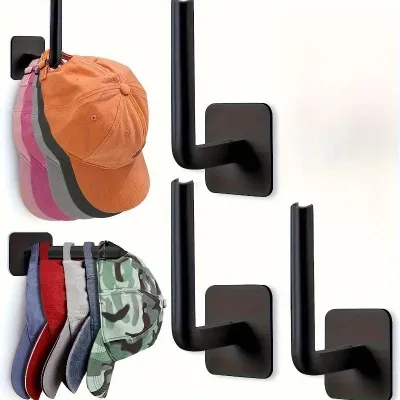
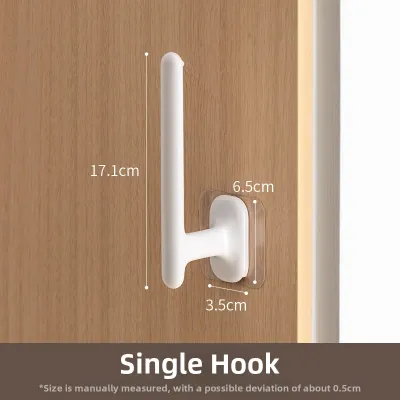

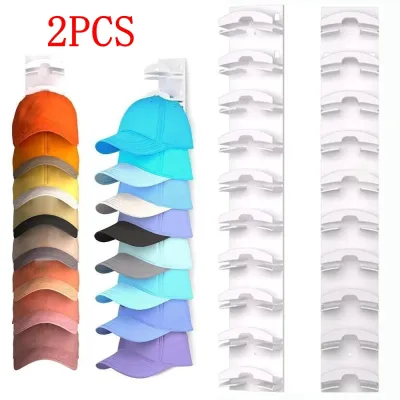
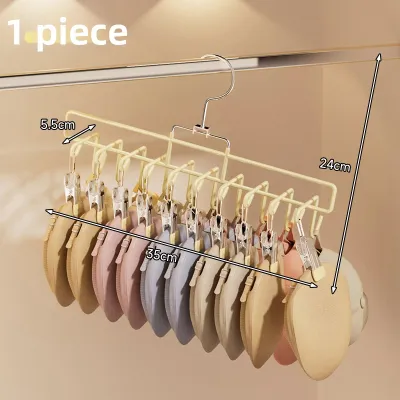
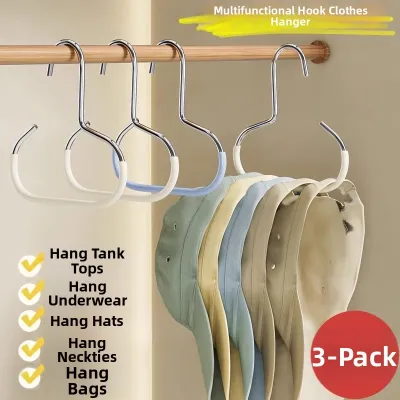
Prices are valid at publication and may change. Please refer to the product page for the latest price.
External walls and structural pillars are almost always solid poured concrete, while interior partition walls are frequently built using concrete hollow blocks finished with a layer of plaster. Modern condominiums and renovated homes also commonly feature drywall or gypsum board partitions supported by light metal or wooden studs.
You can determine your wall type by tapping on the surface; a dull, solid thud indicates concrete or hollow blocks, while a hollow, resonant sound points to drywall.
Once you have identified the wall material, consult the manufacturer’s installation manual to find the maximum weight capacity of the organizer frame. This rating assumes the organizer is mounted using the recommended hardware on a compatible surface.
You must also estimate the total weight of the caps you intend to store. While a single baseball cap or snapback is relatively light, a large collection of twenty or thirty structured caps, heavy winter beanies, or thick strapbacks can accumulate significant weight.
Always ensure that the combined weight of the organizer frame and your entire cap collection remains well below the maximum load limit of both the organizer itself and the wall anchors you select.
If you plan to mount a heavy metal rack or a wooden display board, the weight of the organizer itself must be factored into this equation. Choosing anchors rated for at least double the estimated total weight provides a safe buffer against accidental pulling or tugging when grabbing a cap in a hurry.
Gather the Right Tools and Hardware
Having the correct tools on hand prevents damage to your walls and ensures a clean, level installation. For any wall type, you will need a reliable power drill, a measuring tape, a pencil for marking, a screwdriver that matches your mounting screws, and a spirit level to guarantee the organizer hangs perfectly straight.

The choice of drill bits and wall anchors, however, must be strictly tailored to the specific wall material you identified during your assessment.
For solid concrete and hollow concrete block walls, a standard rotary drill is often insufficient; a hammer drill is highly recommended to penetrate the tough masonry. You will need a carbide-tipped masonry drill bit that matches the exact diameter of your wall anchors.
The ideal hardware for these masonry surfaces includes plastic expansion anchors, masonry screws, or specialized sleeve anchors.
For hollow blocks, specialized hollow-block anchors or toggle-type masonry anchors are preferred, as they expand or toggle inside the block’s hollow core to provide a secure grip that standard plastic plugs cannot achieve.
For drywall or gypsum boards, a standard rotary drill paired with a wood or multipurpose drill bit is perfectly adequate.
When mounting on drywall, standard lightweight plastic expansion plugs should be avoided entirely for loaded organizers, as they easily pull out under downward tension.
Instead, opt for heavy-duty self-drilling threaded drywall anchors or metal toggle bolts. Toggle bolts are particularly effective because they feature spring-loaded wings that expand behind the drywall sheet, distributing the weight across a much larger surface area and preventing the organizer from tearing through the gypsum core.
Step-by-Step Installation Guide by Wall Type
Installing on Concrete and Hollow Block Walls
Begin by holding the cap hanger organizer against the concrete or hollow block wall at your desired height. Place a spirit level on top of the organizer frame to ensure it is perfectly horizontal, then use a pencil to mark the exact center of each mounting hole onto the wall surface.
Double-check your marks by measuring the distance between them and comparing it to the mounting holes on the organizer.
Set your hammer drill to the hammer function and insert the correct size masonry drill bit. When drilling into hollow concrete blocks, try to position your holes away from the mortar joints between the blocks, as mortar is more brittle and less stable than the concrete block itself.
Hold the drill perfectly perpendicular to the wall and apply steady, firm pressure. If you hit a hollow cavity within the block, you will feel the drill suddenly push forward easily; stop drilling immediately once you have reached the required depth to avoid damaging the back of the block.
Use a vacuum or a hand blower to clear all concrete dust out of the drilled holes.
Insert your masonry anchors into the clean holes, tapping them gently with a hammer until they are flush with the plastered wall surface. Align the organizer’s mounting holes with the installed anchors and insert the screws.
Tighten the screws using a manual screwdriver or a power drill set to a low torque limit. If you feel the anchor spinning freely inside the hole without tightening, stop immediately to avoid stripping the plaster or enlarging the hole.
Installing on Drywall or Gypsum Boards
When mounting on drywall, your primary goal is to locate the structural studs behind the gypsum board, as securing the organizer directly to wood or metal studs provides the strongest possible hold. Use a stud finder to locate these supports and mark their positions.
If the mounting holes of your cap hanger organizer align perfectly with the studs, you can screw directly into them using standard wood screws without the need for specialized anchors.
If the organizer’s mounting holes do not align with the studs, you must use heavy-duty toggle bolts or threaded drywall anchors. Mark your mounting points using a spirit level, then drill holes that match the diameter specified by your anchor manufacturer.
For toggle bolts, the hole must be large enough to accommodate the folded wings of the bolt. Thread the toggle wing onto the screw, insert it through the organizer’s mounting bracket, fold the wings flat, and push the assembly through the drilled hole until you hear the wings spring open behind the drywall.
Gently pull the organizer toward you to create tension, keeping the expanded wings pressed firmly against the back of the drywall sheet while you tighten the screw.
Use a manual screwdriver to tighten the screws carefully. Avoid over-tightening, as excessive force can crush the fragile gypsum core of the drywall, weaken the anchor’s hold, or cause visible cracking on the painted wall surface.
Verify Stability and Arrange Your Caps
Once the installation is complete, you must verify the structural integrity of the mount before placing your caps on the organizer. Perform a manual stability check by gently pulling downward and shaking the organizer frame.
There should be absolutely no movement, sliding, or wobbling, and you should not observe any fine plaster dust falling from the anchor points or hairline cracks forming around the mounting holes.
When arranging your cap collection, distribute the weight strategically to minimize stress on the wall anchors. Place your heaviest headwear, such as structured baseball caps, thick fitted hats, or heavy winter beanies, closest to the primary anchor points or studs.
Lighter items, such as unstructured dad hats, visors, or lightweight running caps, can be placed on the outer edges or suspended sections of the organizer. This balanced distribution prevents uneven leverage that could warp the organizer frame or loosen the wall anchors over time.
In tropical climates with high humidity levels, such as in the Philippines, building materials naturally expand and contract. This environmental shift can gradually loosen screws or weaken drywall cores over time.
Make it a habit to perform periodic maintenance checks every few months. Gently wiggle the organizer to ensure the anchors remain tight, and use a screwdriver to snug up any screws that may have loosened due to daily use or seasonal humidity changes.
Frequently Asked Questions (FAQ)
Can I install a cap hanger organizer using adhesive strips instead of drilling?
Adhesive strips are generally not recommended for multi-cap organizers or heavy display racks. While damage-free adhesive hooks can successfully support a single, lightweight cap on a completely smooth, non-porous surface like glass or polished tile, they struggle on painted or textured residential walls.
The weight of multiple caps, combined with the constant pulling force when retrieving or hanging hats, creates dynamic tension that easily shears the adhesive bond. Additionally, high indoor humidity can degrade the adhesive backing, leading to sudden failures that can damage both your wall paint and your cap collection.
What should I do if the anchor spins or won't grip in a hollow block wall?
If a wall anchor begins to spin freely during installation, stop tightening immediately to prevent further damage to the plaster or the concrete block. Remove the failed anchor from the wall.
You can resolve this issue by drilling a slightly larger hole and upgrading to a larger diameter anchor, or by switching to a specialized knotting anchor designed to bunch up behind hollow cavities.
Alternatively, you can inject a high-strength masonry epoxy resin into the cleaned hole before reinserting the anchor, allowing the adhesive to cure fully according to the manufacturer’s instructions before mounting the organizer.

Community discussion
Share your experience or ask a question. Comments are reviewed before publication.