
Installing a wall-mounted cap holder is an excellent way to organize your headwear, preserve its shape, and transform a cluttered pile of hats into a clean, visual display. Whether you are dealing with a solid concrete wall in a typical suburban home or lightweight gypsum board in a modern condominium, the key to a lasting installation lies in choosing the correct anchoring method for your specific wall type. By taking the time to measure accurately, select the right fasteners, and secure the brackets properly, you ensure your cap collection remains safely displayed for years.
In tropical climates like the Philippines, where humidity levels fluctuate throughout the year, choosing the right mounting hardware is especially important. Moisture can weaken certain wall materials over time, making proper installation techniques critical to prevent sagging or wall damage. This guide provides a comprehensive, step-by-step approach to mounting your cap holder securely on any wall type.
Tools and Materials You Will Need
Before starting your installation project, gathering the correct tools prevents unnecessary interruptions and ensures a clean, professional finish. Having everything on hand allows you to work efficiently and avoids the frustration of realizing you are missing a critical drill bit mid-way through the task.
Products mentioned in this guide
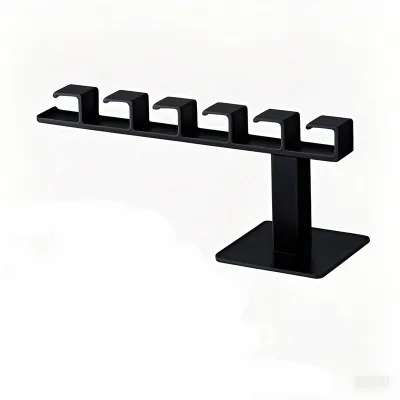
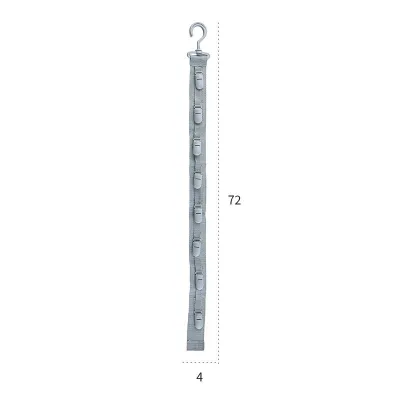
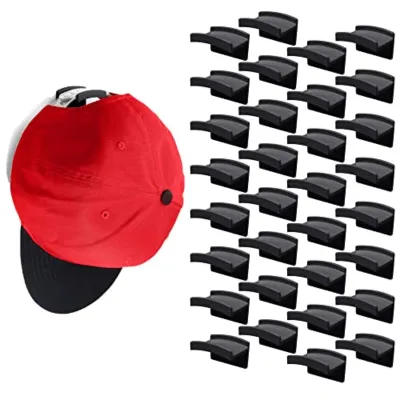
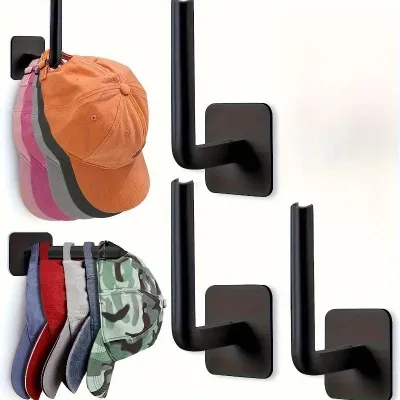
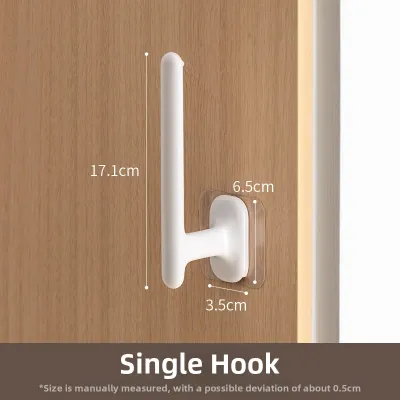
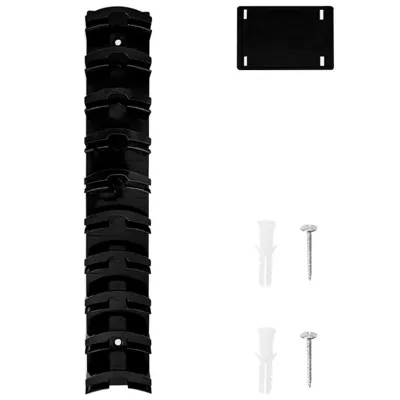
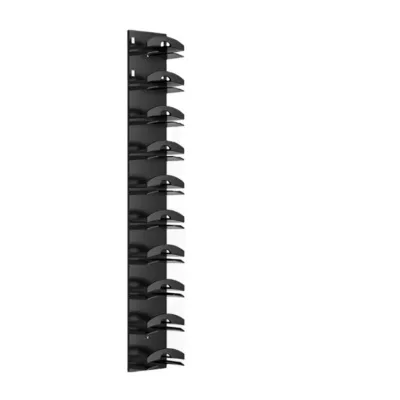
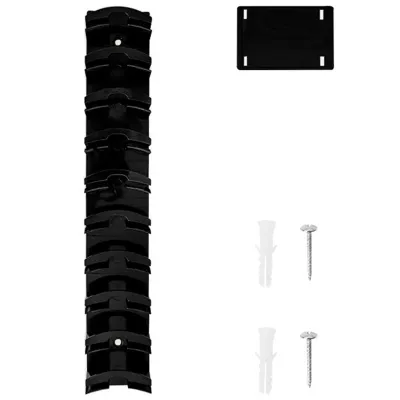
Prices are valid at publication and may change. Please refer to the product page for the latest price.
For measuring and layout marking, you will need a reliable tape measure, a pencil for marking drill points, and a spirit level. A spirit level is indispensable because even a minor tilt of a few millimeters can become highly visible once a long cap rail or multiple hooks are mounted on the wall.
Your drilling and fastening tools will depend directly on your wall type. You will generally need a power drill—preferably a hammer drill if you are working with concrete—along with drill bits that match the size of your wall anchors. A standard screwdriver or a drill driver bit will be necessary to drive the screws, and a small hammer is helpful for gently tapping plastic wall plugs into place.
Safety gear should never be overlooked during home improvement tasks. Always wear safety goggles to protect your eyes from falling masonry dust or gypsum particles, and use a dust mask to avoid inhaling fine debris while drilling.
The specific wall anchors and screws required are highly dependent on your wall material and the manufacturer’s included hardware. Always check the product packaging first, as many cap holders come with standard screws and plastic plugs. However, be prepared to purchase specialized anchors if your specific wall type demands a more robust fastening solution.
Preparing Your Wall and Marking the Layout
Selecting the ideal location for your cap holder involves balancing visual appeal with daily convenience. You must choose a spot that provides adequate clearance, ensuring that the hanging caps do not brush against the floor, block narrow hallways, or get crushed by nearby opening doors and furniture.

Start by determining the perfect height for your display. If you have a long vertical cap organizer, ensure the lowest hook is high enough off the ground to prevent your hats from gathering dust or being bumped by pets. For horizontal layouts, place the holder at a comfortable eye-level or reaching height.
Baseball caps typically protrude about 15 to 20 centimeters from the wall when hung. If your cap holder is mounted too close to a door frame or a wardrobe, the caps might get caught or knocked off every time the door swings open, so allow ample side clearance.
Once you have selected the location, hold your cap holder or its mounting bracket against the wall. Place a spirit level on top of the bracket or along the alignment line, adjusting it until the bubble rests perfectly between the two center lines, and then draw a light, horizontal pencil guideline.
With the guideline established, use a pencil to mark the exact center of each mounting hole. Double-check your marks by holding the bracket back up to the wall to ensure the pencil marks align perfectly with the physical screw holes before you begin drilling.
Before drilling any holes, you must perform a critical safety check to avoid hitting hidden utilities. In many homes, electrical conduits and water pipes run behind concrete and drywall surfaces. A good rule of thumb is to avoid drilling directly above, below, or horizontally aligned with power outlets, light switches, or plumbing fixtures. If you are unsure, using a reliable stud finder with a live-wire detection feature is highly recommended.
Step-by-Step Installation for Different Wall Types
Different wall materials require distinct drilling techniques and anchoring hardware to support weight safely. Understanding the characteristics of your wall ensures a secure installation that will not damage your home’s structure.
Installing on Concrete or Hollow Block Walls
Concrete and concrete hollow blocks are the most common wall materials found in residential structures in the Philippines. These dense, heavy materials provide excellent structural support but require specific tools and techniques to penetrate cleanly without cracking the surrounding plaster.
To drill into concrete, you must use a hammer drill paired with a high-quality masonry drill bit. Standard rotary drills will struggle to penetrate concrete and can quickly overheat or dull standard bits. Choose a masonry bit that matches the exact diameter of the plastic wall plugs provided with your cap holder.
When drilling into solid concrete, maintain a firm, steady grip on the drill, keeping it perfectly perpendicular to the wall. Apply consistent forward pressure and let the hammer action do the work. Drill slightly deeper than the length of the wall plug to accommodate any leftover dust at the back of the hole.
If you are mounting onto a hollow block wall, you may encounter hollow pockets. When the drill bit suddenly plunges forward with little resistance, you have hit a hollow core. In these sections, standard plastic wall plugs may not expand securely; instead, consider using specialized hollow-wall anchors, or try to relocate your drilling points to align with the solid concrete grout lines or mortar joints.
Once the holes are drilled, use a blower or a small brush to clear out the masonry dust from inside the holes. Insert the plastic wall plugs into the holes, tapping them gently with a hammer until they are completely flush with the plaster surface. Place the mounting bracket over the plugs and drive the screws in tightly using a manual screwdriver to avoid stripping the plastic threads.
Installing on Drywall or Gypsum Board
Drywall and gypsum board are popular choices for interior partitions, office spaces, and modern condominium units. While these materials offer a smooth, clean finish, they are brittle and possess very little structural strength on their own, meaning they cannot support a cap holder using screws alone.
Never drive screws directly into drywall without using an anchor. Without an anchor to distribute the load, the weight of the cap holder and the repetitive pulling force of grabbing your hats will quickly cause the screws to tear through the soft plaster core, ruining your wall.
For lightweight cap holders, self-drilling plastic or metal drywall anchors work exceptionally well. For heavier, multi-tier metal cap racks, toggle bolts or heavy-duty hollow-wall anchors are a much safer choice because they expand behind the drywall sheet, spreading the weight across a much larger surface area.
Begin by drilling a clean pilot hole using a standard wood or metal drill bit, matching the size specified by your drywall anchor manufacturer. Insert the anchor into the hole; if using self-drilling anchors, screw them directly into the drywall using a manual Phillips screwdriver until the head sits flush with the paper surface.
Align your cap holder bracket with the installed anchors. Carefully insert the screws through the bracket and into the anchors, tightening them until they are snug. Avoid using a high-torque power drill for this step, as over-tightening can easily crush the delicate gypsum core and compromise the anchor’s holding power.
Installing on Wood Panels or Studs
Wood panels, decorative wooden cladding, and structural wooden studs provide an excellent, sturdy foundation for mounting wall fixtures. When installing on solid wood, you do not need plastic wall plugs, but you must take steps to protect the wood from damage.
Always use high-quality wood screws for these installations. Before driving the screws, it is essential to drill pilot holes using a wood drill bit that is slightly smaller than the inner shank diameter of your screw. Skipping this step can cause the wood to split along the grain, especially near the edges of panels or in dry timber.
If your wall consists of thin decorative wood paneling, the panel itself may not be thick enough to support a loaded cap holder. In this scenario, you should locate the structural wooden studs behind the paneling using a stud finder. Mounting your screws directly into these thick studs ensures maximum holding power.
Once your pilot holes are drilled, hold the cap holder bracket in place and drive the wood screws directly into the wood. The screws should turn smoothly but firmly, tightening securely against the bracket without spinning freely, which would indicate a stripped hole.
Securing the Holder and Testing Stability
After successfully installing the mounting brackets or anchors, you can proceed to the final assembly of your cap holder. Many modern cap organizers feature a two-piece design where a decorative rail, a series of hooks, or a display frame attaches directly to the concealed wall brackets.
Carefully align the main body of the cap holder with the secured wall brackets. Slide or snap the components into place according to the manufacturer’s instructions, and securely tighten any small set screws or locking pins provided to prevent the holder from shifting during daily use.
Before hanging your favorite caps, it is crucial to perform a physical stability test. Apply gentle downward and outward pressure to the cap holder with your hand, simulating the weight and movement of repeatedly placing and removing hats. The holder should feel rigid and show no signs of flexing, wobbling, or pulling away from the wall.
Place your spirit level back on top of the fully assembled cap holder one final time. Even if your initial markings were perfect, the process of drilling and driving screws can sometimes cause minor shifts, so verifying the final level ensures your display looks polished and professional.
If you notice any wobble, or if you see the wall anchors pulling out even slightly during your stability test, stop immediately. Do not ignore this warning sign, as the holder will eventually fall and damage your wall. Remove the fixture, assess the damaged holes, and either relocate the installation to a fresh section of the wall or upgrade to larger, more robust anchors.
Organizing Your Caps and Routine Maintenance
With your cap holder safely mounted, you can now arrange your collection to maximize both visual appeal and accessibility. Organizing your caps turns a simple storage solution into a personalized design feature in your room.
Consider grouping your caps by color to create an appealing gradient effect, or arrange them by style, such as keeping snapbacks, fitted hats, and sports caps in dedicated sections. Alternatively, place your most frequently worn caps on the easiest-to-reach hooks, leaving the higher or lower spots for seasonal headwear or collectible items.
In the tropical and humid climate of the Philippines, routine maintenance is essential to keep both your cap holder and your hats in pristine condition. High humidity can encourage dust buildup and lead to surface rust or tarnishing on metal hooks and rails over time.
To combat the effects of humidity, make it a habit to wipe down the metal or wood components of your cap holder with a clean, dry microfiber cloth every few weeks. Avoid using harsh chemical cleaners or wet cloths, which can strip protective finishes or leave moisture behind that could transfer to your hats.
Additionally, take a moment every few months to check the tightness of the wall screws. Temperature changes and seasonal humidity fluctuations can cause subtle expansion and contraction in wooden panels, drywall, and even concrete plaster, which may slowly loosen the fasteners over time. A quick turn with a screwdriver ensures your cap holder remains perfectly secure.
Frequently Asked Questions (FAQ)
Can I install a wall-mounted cap holder without drilling holes?
Yes, it is possible to install a wall-mounted cap holder without drilling, which is an ideal solution for renters or those who want to avoid permanent wall damage. Heavy-duty adhesive strips, mounting tapes, or adhesive utility hooks can be used to hold lightweight cap organizers or individual hat hooks.
However, adhesive methods have significant limitations. Their performance depends heavily on the texture and cleanliness of the wall surface; they generally fail on porous concrete, textured plaster, unpainted wood, or walls with peeling paint. High humidity levels in tropical rooms can also weaken the adhesive bond over time, causing the holder to fall.
Always check the adhesive manufacturer’s weight limits before installation, and ensure the total weight of your cap holder and caps does not exceed this rating. Keep in mind that while adhesives avoid drill holes, removing them improperly can still tear away paint or damage drywall surfaces.
How do I know the maximum weight capacity of my cap holder?
To determine the safe load limit of your cap holder, always consult the manufacturer’s specifications printed on the product packaging or listed on the brand’s official website. These ratings indicate the maximum weight the physical structure of the holder can support under ideal conditions.
It is vital to understand that the actual weight capacity is often determined by your wall type and the anchors you used, rather than the strength of the cap holder itself. For instance, a heavy metal rack mounted with premium anchors in solid concrete will hold far more weight than the same rack mounted with basic screws in weak drywall.
To prevent structural strain, distribute the weight of your hats evenly across all available hooks, clips, or shelves. Avoid hanging heavy bags, jackets, or multiple wet caps on a single hook, as localized weight concentration can warp the holder or pull the nearest anchor out of the wall.

Community discussion
Share your experience or ask a question. Comments are reviewed before publication.