
Mounting a caps holder organizer wall unit is a practical way to keep your headwear collection organized, preserved, and easily accessible. Whether you are displaying limited-edition snapbacks or organizing daily sports caps, a secure wall installation ensures your hats maintain their shape and remain free from dust. The installation process requires matching your organizer’s mounting bracket to your specific wall type, measuring for proper clearance, and using the correct fasteners to handle the weight of a fully loaded rack. In tropical environments where indoor humidity can fluctuate, choosing a robust, mechanical mounting method over simple adhesives is the most reliable way to prevent your display from sagging or falling over time.
Assessing Your Wall and Installation Space
Before drilling any holes, you must evaluate the structural integrity of the wall where you plan to mount the organizer. In many residential layouts, walls are constructed from concrete hollow blocks, solid concrete, drywall, or wood paneling. Tap the wall gently to listen for hollow sounds, which indicate drywall, or a solid thud, which points to concrete or masonry. If you are mounting onto drywall, using a stud finder to locate the wooden framing members behind the wall is highly recommended, as securing the organizer directly into a stud provides the strongest possible hold.
Next, measure the physical clearance of the designated area to ensure the cap holder functions properly once loaded. You need to account for the depth of the hat crowns and the projection of the brims, which can extend several inches from the wall. Ensure there is enough vertical space between rows so that hats do not overlap excessively or block access to the hooks below. Additionally, verify that the installation height is within comfortable reach for daily use and does not interfere with nearby door swings or light switches.
Products mentioned in this guide
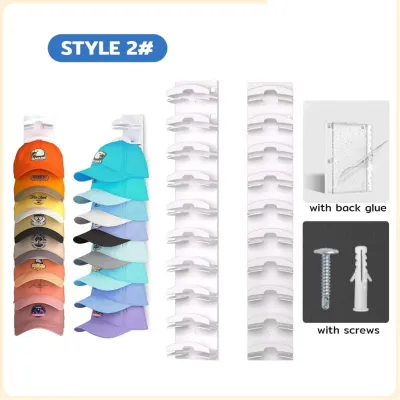
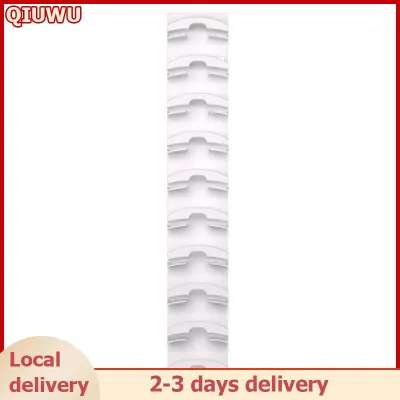
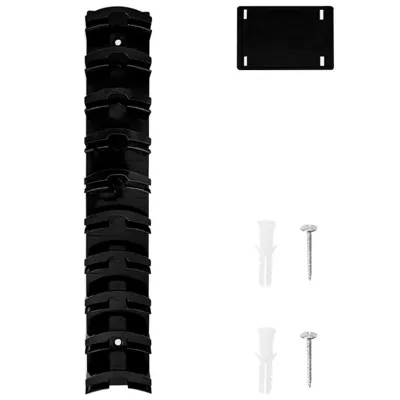
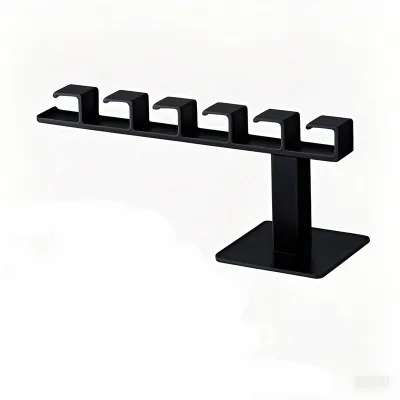
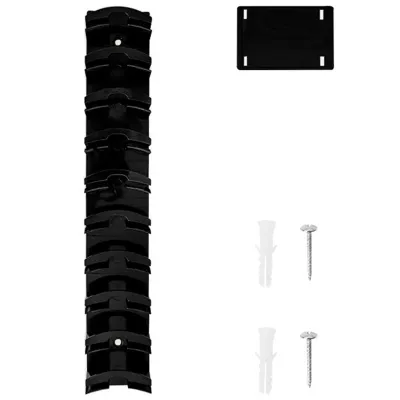
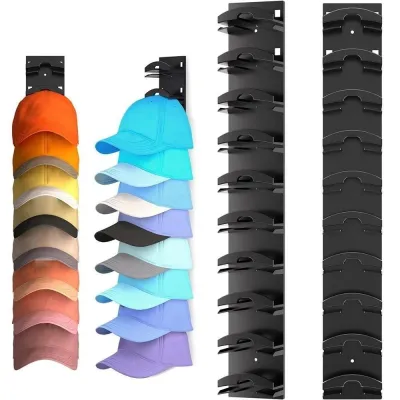
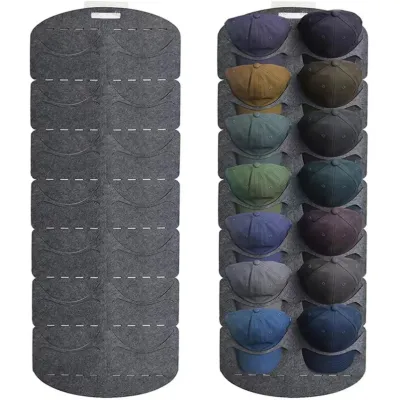
Prices are valid at publication and may change. Please refer to the product page for the latest price.
Finally, check for hidden utilities behind the wall surface before marking your drill points. In modern homes, electrical conduits, water pipes, and internet cables often run through wall cavities or shallow concrete channels. Using a multi-scanner with live-wire detection can help you avoid costly and dangerous contact with utility lines. If you are drilling into a wall shared with a bathroom or kitchen, exercise extreme caution and verify the layout of the plumbing lines before proceeding.
Gathering the Right Tools and Hardware
Having the correct tools on hand ensures a smooth, precise installation and prevents damage to your wall or the organizer itself. You will need a reliable tape measure, a pencil for marking drill points, and a spirit level to guarantee the rack sits perfectly horizontal. A bubble level is indispensable here; even a slight tilt will be highly noticeable once multiple caps are aligned on the display.

Your choice of drill and drill bits must match the wall material identified during your assessment. For concrete or masonry walls, a hammer drill paired with a carbide-tipped masonry drill bit is essential, as a standard rotary drill will struggle to penetrate the hard surface. For drywall or wood, a standard power drill with high-speed steel bits is sufficient.
Do not automatically rely on the plastic wall anchors and screws included in the product packaging. Many imported organizers come with generic, low-grade anchors that may not hold securely in hollow blocks or thin drywall. It is often wiser to purchase high-quality wall anchors from a local hardware store that are specifically rated for your wall type. Ensure the screw heads are large enough to securely grip the mounting brackets of your caps holder organizer wall unit without slipping through the mounting holes.
Step-by-Step Mounting Process
Begin by positioning the cap organizer or its mounting bracket against the wall at your desired height. Place your spirit level on top of the bracket to ensure it is perfectly straight, then use a pencil to mark the exact center of each mounting hole onto the wall surface. Double-check your marks by measuring the distance between them and comparing it to the physical holes on the organizer to ensure they align perfectly.
Once your marks are verified, prepare to drill the pilot holes. If you are drilling into concrete, set your hammer drill to the hammer function and hold the tool perpendicular to the wall to prevent the bit from wandering. To avoid drilling too deep, wrap a piece of painter’s tape around the drill bit at a distance equal to the length of your wall anchor. Drill steadily until the tape marker reaches the wall surface, then pull the bit straight out while it is still spinning to clear out any accumulated dust.
Next, insert the wall anchors into the drilled holes. The anchors should fit snugly; you may need to tap them gently with a hammer until they sit completely flush with the plaster or drywall surface. If an anchor bends or fails to go in all the way, remove it, clear any remaining dust from the hole, and insert a fresh anchor.
Align the mounting bracket of the cap holder over the installed anchors. Insert the screws through the bracket holes and drive them into the anchors using a manual screwdriver or a power drill set to a low torque. Avoid over-tightening the screws, as excessive force can strip the plastic anchors or crack the mounting bracket of the organizer. Once the screws are secure, place the level on the rack one final time to confirm the installation remains perfectly straight.
Adapting Fasteners for Different Wall Materials
Different wall materials require specific fastening strategies to ensure long-term stability and prevent structural failure. When mounting on drywall, standard plastic expansion anchors are often insufficient for holding a fully loaded rack. Instead, opt for threaded drywall anchors or toggle bolts, which expand behind the drywall panel to distribute the weight over a larger surface area. If possible, align at least one side of the bracket with a wooden stud to maximize load capacity.
For concrete or masonry walls, which are standard in many tropical homes, expansion anchors or nylon wall plugs (often referred to locally as tox plugs) are the most reliable choice. These anchors expand tightly against the solid walls of the drilled hole as the screw is driven in, creating a high-friction grip. Ensure the masonry bit matches the exact diameter specified on the anchor packaging to prevent the anchor from spinning loosely inside the hole.
If you are mounting the organizer onto a tiled wall, such as in a utility room or entryway, you must take extra precautions to avoid cracking the ceramic or porcelain. Use a specialized diamond or carbide-tipped tile drill bit, and apply constant, gentle pressure while drilling at a slow speed. To prevent the bit from slipping on the smooth tile surface, place a piece of masking tape over the mark before drilling. Whenever possible, try to position the mounting holes within the grout lines rather than the tiles themselves, as grout is much easier to drill and repair.
Always establish clear stopping conditions during the installation process. If you encounter unexpected resistance, such as hitting a steel reinforcing bar (rebar) in a concrete wall, or if the drill bit suddenly drops into a large, unidentifiable void, stop drilling immediately. Forcing the drill can damage your tools or compromise the structural integrity of the wall. If the wall material appears crumbly, damp, or unable to hold an anchor securely, halt the installation and consult a qualified professional to assess the wall or recommend alternative mounting solutions.
Verifying Stability and Loading the Organizer
Before placing your cap collection onto the newly installed organizer, you must verify its stability. Apply gentle downward pressure on the rack and give it a light wiggle check to ensure there is no movement or play between the bracket and the wall. If you notice any wobbling, check if the screws need slight tightening or if the wall anchors have begun to pull out of the wall.
Refer to the manufacturer’s product label or instruction manual to verify the maximum weight capacity of the organizer. While baseball caps are relatively lightweight, a large collection of heavy snapbacks, fitted hats, or winter beanies can add up to a significant load. Never exceed the specified weight limits, as overloading the rack can cause the fasteners to fail over time, potentially damaging both your wall and your hats.
When loading your caps holder organizer wall unit, distribute the weight as evenly as possible across the entire rack. Avoid clustering all the heaviest hats on one side or on a single hook, which can create localized stress and cause the rack to tilt or pull away from the wall. Placing lighter caps or visors on the outer edges and heavier hats toward the center or closer to the mounting screws helps maintain balance.
Finally, establish a routine to inspect the installation periodically, especially in high-humidity environments where moisture can affect wall materials over time. Check the mounting points every few months to ensure the screws remain tight and the wall surrounding the anchors shows no signs of cracking, crumbling, or discoloration. Tighten any loose hardware immediately to keep your cap display safe, secure, and looking its best.
Frequently Asked Questions (FAQ)
Can I install a cap holder without drilling?
Yes, you can use heavy-duty adhesive hooks or double-sided mounting tape to install a cap holder without drilling, but this method has distinct limitations compared to mechanical fasteners. Adhesives require a completely clean, smooth, and non-porous surface, such as varnished wood, smooth tile, or glass, to bond effectively. In tropical climates with high humidity, the moisture in the air can weaken adhesive bonds over time, increasing the risk of the organizer falling. Additionally, adhesive methods have strict weight limits and carry a high risk of peeling off paint or tearing drywall paper when you eventually remove them. For a long-term, reliable display, a drilled installation with proper wall anchors is always the superior choice.
How do I know if my wall can support a fully loaded cap organizer?
To determine if your wall can support a fully loaded cap organizer, you should rely on the manufacturer’s weight specifications found on the product label rather than guessing. A solid concrete or masonry wall, when paired with the correct expansion anchors, can easily support any standard cap organizer loaded to capacity. If you are mounting on drywall, securing the organizer directly into wooden studs provides the highest load capacity. Watch for early signs of wall stress, such as fine cracks appearing in the plaster around the mounting bracket, or anchors that begin to pull away from the wall surface. If you observe these issues, remove the caps immediately and relocate the organizer to a stronger structural point or reinforce the wall mounting.

Community discussion
Share your experience or ask a question. Comments are reviewed before publication.