
Mounting a cap holder organizer wall system is an efficient way to declutter your living space, preserve the shape of your headwear, and turn your collection into an attractive visual display. To ensure the installation is stable and safe, you must carefully match your mounting hardware to your specific wall type, measure with precision, and account for environmental factors. In the Philippines, where high tropical humidity can affect wall materials and concrete or concrete hollow block (CHB) construction is standard, taking a methodical approach to installation prevents structural damage and ensures your organizer remains firmly anchored over time.
Pre-Installation Planning and Wall Assessment
Before drilling any holes, you must identify the structural composition of your wall. Filipino residential construction predominantly utilizes concrete hollow blocks (CHB) or solid poured concrete for both exterior and partition walls, though modern condominiums and renovated spaces frequently use drywall partitions or wood-framed studs. Identifying your wall type is critical because it dictates the specific drill bits, wall anchors, and fastening techniques required for a secure mount.
Solid concrete and CHB require masonry-specific anchors and carbide-tipped drill bits. When dealing with CHB, be aware that these blocks contain hollow cavities; if you drill into a hollow section, standard plastic expansion plugs may fail to grip securely because there is no solid material to compress against. In such scenarios, utilizing specialized hollow-wall anchors, toggle bolts, or aligning your mounting points with the solid mortar joints or concrete columns is highly recommended. Conversely, if your wall is drywall, standard plastic plugs will easily pull out under the weight of multiple structured caps. Drywall installations require stud finding to screw directly into wood or metal framing, or the use of heavy-duty toggle bolts that distribute weight across the backside of the board.
Products mentioned in this guide
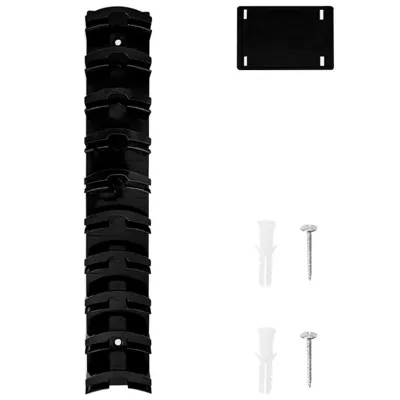
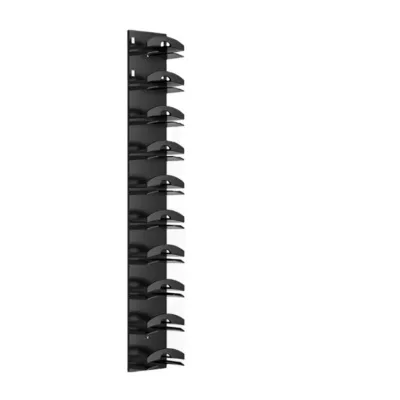
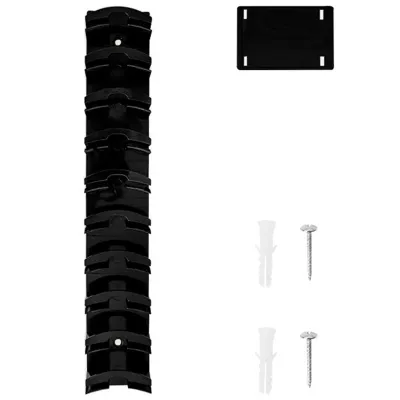
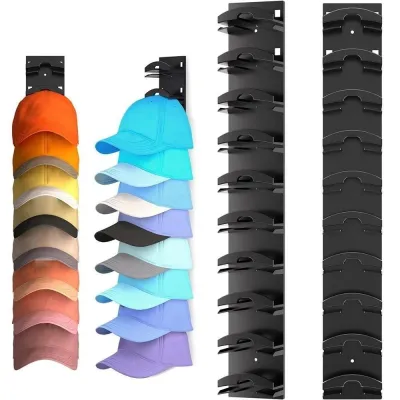
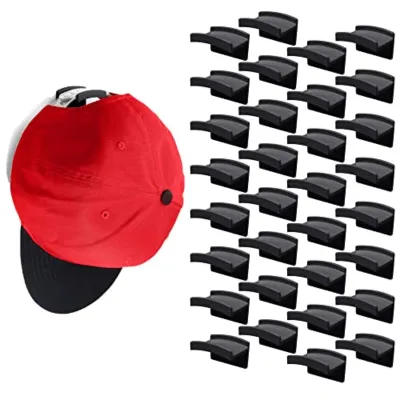
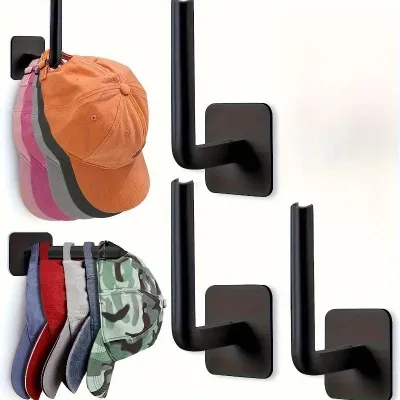
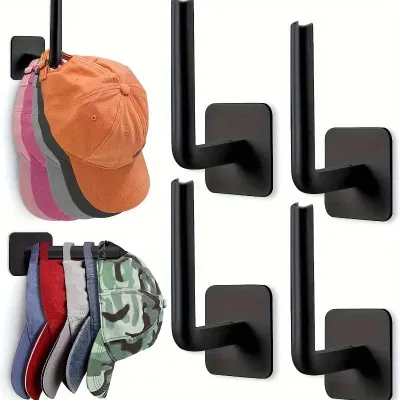
Prices are valid at publication and may change. Please refer to the product page for the latest price.
Before proceeding, you must also check for hidden hazards behind the chosen wall section. Avoid drilling directly above or below light switches, electrical outlets, or near plumbing fixtures, as water pipes and electrical conduits are often embedded within concrete walls or run through drywall cavities. If you are uncertain about what lies behind the wall, using a multi-scanner or stud finder with live-wire detection is a necessary safety precaution.
Finally, plan the physical layout and height of your organizer. Measure the finished dimensions of the organizer and map them against your available wall space, ensuring there is adequate clearance from adjacent doors, light fixtures, or ceiling fans. The ideal mounting height typically ranges between 1.5 to 1.8 meters from the floor, allowing for comfortable reach while keeping your caps at eye level. Ensure you leave enough vertical clearance above the top hooks or shelves so that taller, structured hats—such as snapbacks or fitted caps—do not press against the ceiling or upper trim.
Tools and Materials You Will Need
Gathering the correct tools and hardware before starting prevents mid-project delays and ensures a clean, professional finish. You will need the following items:

- Power Drill: A hammer drill is essential for concrete or masonry walls, while a standard rotary drill is sufficient for drywall or wood.
- Drill Bits: Use a carbide-tipped masonry drill bit for concrete or CHB, and a standard wood or twist drill bit for drywall and studs.
- Measuring Tape and Pencil: For precise layout marking.
- Bubble Level: Essential to ensure the organizer is perfectly horizontal.
- Screwdriver: A manual Phillips-head screwdriver or a power drill with a screwdriver bit and adjustable clutch.
- Wall Anchors and Screws: Verify the manufacturer's included hardware against your wall type. If the included plastic plugs feel flimsy or are designed solely for drywall, purchase high-quality masonry expansion plugs (often referred to locally as plastic Tox plugs) or toggle bolts from a local hardware store.
- Safety Gear: Always wear safety glasses to protect your eyes from flying concrete chips or drywall dust, and a dust mask to prevent inhaling fine masonry particles.
Step-by-Step Installation Process
Step 1: Marking and Measuring
Achieving a level, visually appealing installation starts with precise marking. Begin by measuring the width of your wall space to locate the exact center point where you want the organizer to sit. Hold the cap holder organizer wall unit against the wall at your pre-determined height, aligning its center with your wall mark.
Place a bubble level flat along the top edge of the organizer’s frame or mounting rail. Slowly adjust the angle of the organizer until the bubble rests perfectly centered between the two indicator lines on the vial. Keeping the unit completely still, use a sharp pencil to mark the exact center of each mounting hole directly onto the wall. If your organizer utilizes keyhole slots rather than standard screw holes, mark the narrow top section of the keyhole where the screw shaft will ultimately rest, rather than the wider bottom entry hole.
Once marked, temporarily set the organizer aside. Use your measuring tape to measure the distance between the pencil marks on the wall, and double-check this against the physical distance between the mounting holes on the organizer. This verification step ensures that any slight movement during marking is caught and corrected before you drill.
Step 2: Drilling and Anchoring
Drilling requires patience and the correct technique to avoid damaging your wall surface. Select a drill bit that matches the exact outer diameter of your wall anchors. Do not match the bit to the screw size, as this will result in a hole that is too small for the anchor to fit.
For concrete or masonry walls, set your power drill to hammer mode. Hold the drill perfectly perpendicular (at a 90-degree angle) to the wall surface. Place the tip of the masonry bit directly on your pencil mark and apply steady, firm forward pressure. Start drilling at a low speed to establish a starter divot, then increase the speed. Let the drill do the work; forcing it can overheat the bit or crack the surrounding plaster. Drill approximately 5 to 10 millimeters deeper than the length of your wall anchor to accommodate any residual dust.
For drywall, keep your drill in standard rotary mode. Apply gentle pressure to prevent a “blowout” on the backside of the drywall sheet, which can weaken the structural integrity of the mounting point.
Once the holes are drilled, clear out any loose dust using a hand blower or a vacuum cleaner. Insert the wall anchors into the holes. They should fit snugly and require a light tap with a rubber mallet or the handle of your screwdriver to sit completely flush with the wall surface. If an anchor spins freely or slides in too easily, the hole is too wide and will not provide a secure hold; refer to the troubleshooting steps below to correct this before proceeding.
Step 3: Mounting the Organizer
With the anchors securely in place, you are ready to mount the physical organizer. Align the mounting holes or brackets of the cap holder with the installed wall anchors. Insert the screws by hand through the organizer’s mounting holes and thread them into the anchors a few turns to hold the unit in place.
Using a manual screwdriver or a power drill set to a low torque/clutch setting, begin tightening the screws. To ensure the organizer mounts evenly and flat against the wall, do not tighten one screw completely before starting the others. Instead, tighten them incrementally, alternating from side to side (for example, top-left to bottom-right) to distribute the clamping force evenly.
Stop tightening as soon as the screw head is snug against the mounting bracket. Over-tightening can strip the plastic threads inside the wall anchor, crack wooden or plastic organizer frames, or crush the underlying drywall, severely compromising the stability of the entire installation. If the manufacturer’s instructions specify a maximum torque or weight limit, adhere strictly to those parameters.
Testing and Adjusting for Stability
Before placing your caps onto the organizer, you must verify the structural integrity of the installation. Gently grasp the frame of the mounted organizer and apply light downward and outward pressure. The unit should feel rigid and firmly bonded to the wall, with absolutely no shifting, flexing, or wobbling.
If you notice any movement or if the organizer pulls away from the wall even slightly, immediately stop and diagnose the issue. Check if any screws require an extra turn to sit flush, or if an anchor is slipping out of its hole. If a wall anchor is loose or spinning, the mounting point is compromised and must be repaired or relocated. Never ignore a loose mount, as the weight of your caps combined with daily pulling and hanging will eventually cause the organizer to fall, damaging your wall and your headwear.
Once you have verified that the mount is completely stable, begin loading your caps gradually. Start by placing lightweight, unstructured headwear—such as running caps or knitted beanies—on the lower or outer hooks. Step back and observe the organizer for any signs of sagging or tilting. If the installation remains perfectly level, proceed to add your heavier, structured snapbacks, fitted caps, or wide-brimmed hats.
Maintenance and Weight Management Tips
Long-term stability depends heavily on proper weight management and routine maintenance. It is a common misconception that a sturdy metal or solid wood organizer can support unlimited weight; in reality, the maximum load capacity is determined by the strength of your wall material and the quality of the anchors used. A concrete-mounted organizer will naturally support a much higher load capacity than one installed on drywall.
To prevent uneven stress on the mounting brackets, distribute your caps evenly across the entire length of the organizer. Avoid hanging multiple heavy items on a single hook or clustering all your structured hats on one side, as this creates a lever effect that exerts excessive pull-out force on the topmost anchors on that side.
In the tropical climate of the Philippines, high relative humidity can cause subtle changes in building materials. Drywall can soften slightly, plaster can degrade, and wooden wall studs or organizer frames may expand and contract. These environmental shifts can gradually loosen screws over time. It is highly recommended to perform a quick stability check every six months. Gently wiggle the organizer to ensure it remains tight, and use a manual screwdriver to snug up any screws that may have backed out slightly. If you notice any signs of moisture or mold near the mounting points, address the source of the dampness immediately, as wet walls rapidly lose their structural load-bearing capacity. Always refer to the manufacturer’s care instructions for cleaning; generally, wiping the organizer with a dry or slightly damp microfiber cloth is sufficient, avoiding harsh chemical cleaners that could degrade the finish or rust metal joints.
Frequently Asked Questions (FAQ)
Can I install a cap holder without drilling?
Yes, you can install a cap holder without drilling by using heavy-duty adhesive strips, over-the-door hanging straps, or tension rods. However, non-drill methods have strict limitations. Adhesives require completely smooth, clean, dry, and non-textured surfaces to bond effectively. In high-humidity tropical environments, the adhesive backing can degrade over time, leading to sudden failure and wall damage. Furthermore, adhesives should never be used on textured plaster, wallpaper, or freshly painted walls (which must cure for at least 28 days). Always check the adhesive manufacturer’s specified weight limits and subtract the weight of the organizer itself to determine how many caps you can safely display.
How do I fix a stripped wall anchor hole?
If a drilled hole becomes stripped or too wide, the repair method depends on your wall type. For concrete or masonry walls, you can remove the loose anchor, clean out the dust, and insert a larger diameter wall anchor (for example, upgrading from a 6mm to an 8mm plug) along with a matching larger screw. Alternatively, you can fill the oversized hole with a high-strength masonry repair compound or epoxy filler, allow it to cure completely according to the manufacturer’s instructions, and then re-drill a clean hole. For drywall, the most reliable solution is to replace the stripped plastic plug with a toggle bolt or a hollow-wall anchor. These hardware options expand behind the drywall sheet, gripping the solid backside of the board rather than relying on friction within the damaged hole.

Community discussion
Share your experience or ask a question. Comments are reviewed before publication.