
Installing a wall-mounted cap organizer is a straightforward weekend project that instantly declutters your living space, protects your headwear from losing its shape, and keeps your favorite caps within easy reach. To achieve a secure and level installation, you must identify your wall type, select the appropriate mounting hardware, measure and mark the drill points accurately, and fasten the organizer securely to the wall. Taking the time to prepare your tools and verify your wall material prevents unnecessary damage to your home and ensures your organizer remains stable even when fully loaded.
In tropical climates like the Philippines, high humidity levels can affect wall materials and mounting stability over time. Concrete and hollow block walls are highly common in local homes, requiring specific masonry drill bits and heavy-duty wall plugs rather than standard drywall anchors. Whether you are mounting a wooden rack, a metal rail, or a fabric strap system, following a systematic installation process ensures your caps are displayed beautifully and safely.
Assess Your Wall and Organizer Requirements
Before drilling any holes, you must determine the composition of the wall where you plan to mount your cap organizer. Indoor walls in local residential structures are typically made of solid concrete, concrete hollow blocks with plaster coating, or lightweight drywall panels over metal or wooden studs. Each of these materials behaves differently under load and requires specific drilling techniques and fasteners to prevent the organizer from pulling loose.
Products mentioned in this guide
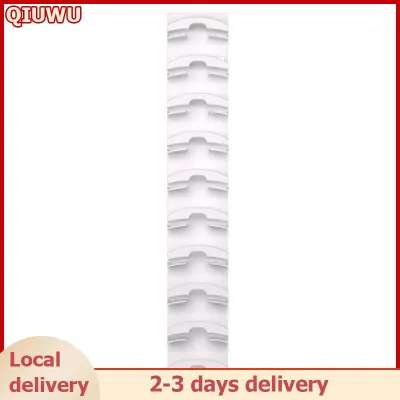
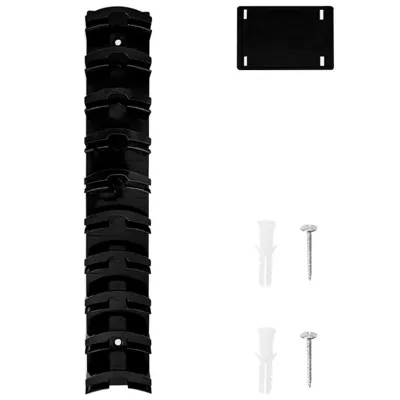
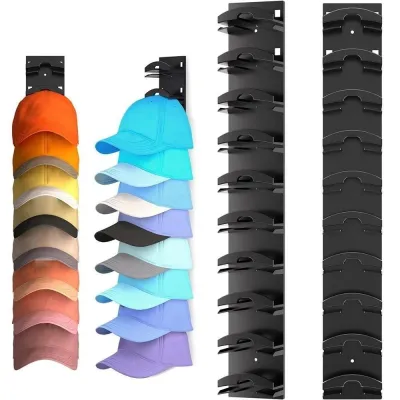
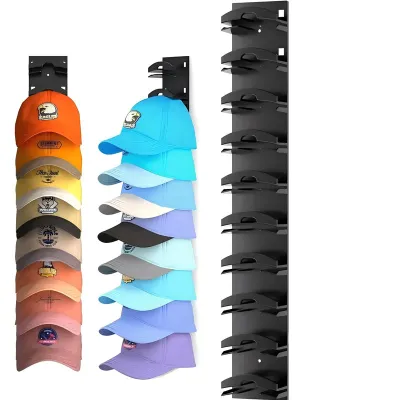
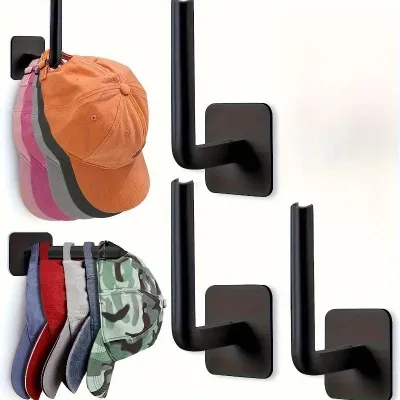
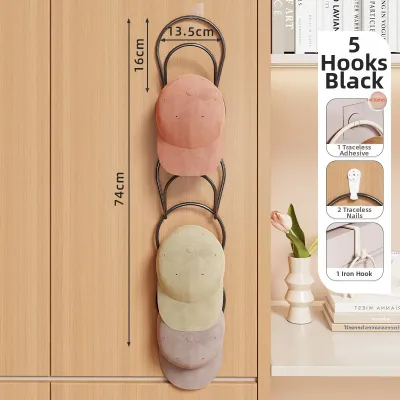

Prices are valid at publication and may change. Please refer to the product page for the latest price.
Solid concrete and plastered hollow block walls offer excellent load-bearing capacity but require a hammer drill and masonry bits to penetrate. Drywall, which is more common in modern condominiums and partitioned rooms, is relatively fragile and cannot support a heavy organizer on its own without finding a stud or using specialized hollow-wall anchors.
Next, estimate the total weight of the caps you plan to store along with the weight of the organizer itself. Check the manufacturer’s product manual to verify the maximum weight limit of the organizer and ensure your wall type can support this load.
Always cross-reference the organizer’s mounting bracket design with your wall type before purchasing hardware. Many imported organizers include standard plastic wall plugs that are designed primarily for drywall or solid brick, which may not perform well in soft plaster or hollow concrete blocks. If the supplied hardware feels flimsy or does not match your specific wall material, purchase high-quality, wall-specific fasteners from a local hardware store to guarantee a secure hold.
Gather the Necessary Tools and Materials
Having the correct tools on hand before you begin prevents interruptions and ensures a clean, professional finish. For measuring and marking, you will need a reliable tape measure, a pencil to mark the drill points, and a spirit level to ensure the organizer hangs straight.

For the physical installation, prepare a power drill with variable speed settings. If you are working with concrete or masonry walls, a hammer drill is highly recommended to make drilling efficient and prevent the drill motor from overheating. You will also need a set of drill bits that match both your wall material and the diameter of your wall anchors, along with a manual screwdriver or a driver bit for your drill to tighten the screws.
Finally, select the appropriate fasteners based on your wall assessment. For concrete walls, use plastic wall plugs or expansion shields paired with rust-resistant steel screws to withstand tropical humidity. For drywall installations, locate the studs using a stud finder, or use heavy-duty toggle bolts or self-drilling drywall anchors if you must mount the organizer between studs.
Measure and Mark the Mounting Positions
The height at which you mount your cap organizer should balance accessibility with visual appeal. Consider the reach of the primary users in your household, ensuring that the highest cap tier is easily accessible without stretching or using a step stool.
Once you have determined the ideal height, hold your spirit level against the wall at that level and draw a light, horizontal reference line with a pencil. This line serves as your guide to keep the organizer level. If your organizer has integrated mounting brackets on the back, measure the exact distance between the centers of the mounting holes on the product itself.
Transfer these measurements onto your penciled reference line on the wall, double-checking the distance between the marks to ensure they align with the organizer’s brackets. If the organizer uses a template paper, tape it to the wall along your level line and mark the hole centers directly through the paper. Verifying these marks twice before drilling saves you from making unnecessary, unsightly holes in your wall.
Drill Holes and Prepare the Wall
Select a drill bit that matches the exact diameter of the wall anchors you intend to use. Using a bit that is too large will create a loose hole, preventing the anchor from gripping the wall, while a bit that is too small will make it impossible to insert the anchor without damaging it. For concrete walls, ensure your masonry bit is sharp and free of chips.
When drilling into concrete or plaster, hold the drill perpendicular to the wall surface and apply steady, firm pressure. If your drill has a depth gauge, set it to the length of the wall anchor plus an extra few millimeters to accommodate any dust buildup at the back of the hole.
Once the holes are drilled, clean out the accumulated dust and debris from inside the holes using a hand pump, a vacuum cleaner, or a small brush. Leaving dust inside the hole reduces the friction between the wall anchor and the wall material, which can cause the anchor to slip or pull out under weight. A clean hole ensures the anchor expands fully and grips the surrounding material securely.
Secure the Organizer to the Wall
Insert the wall anchors into the prepared holes, pressing them in until they are completely flush with the wall surface. Never force an anchor into a hole that is too small, as this can bend or crack the plastic.
Align the mounting holes or brackets of the cap organizer with the inserted wall anchors. If the organizer is large or heavy, ask a family member or friend to hold it in place while you insert the first screw. This prevents the organizer from tilting and scratching the wall or putting uneven stress on the unfastened anchors.
Insert the screws through the organizer’s mounting brackets and into the wall anchors, tightening them manually with a screwdriver or on a low-torque setting on your power drill. Tighten the screws gradually and evenly, moving from one side to the other rather than fully tightening one screw at a time. Stop tightening as soon as the screw head is snug against the bracket; over-tightening can strip the plastic anchor threads, crack wooden frames, or bend metal brackets.
Test Stability and Arrange Your Caps
Before placing your cap collection on the newly mounted organizer, perform a gradual load test to verify its stability. Apply gentle downward pressure with your hand on the main frame of the organizer, observing the mounting points for any signs of movement, pulling away, or flexing. If the organizer feels loose or the wall anchors begin to slide out, stop immediately and inspect the fasteners.
Once you are confident in the stability of the installation, begin arranging your caps. To maintain balance and reduce stress on the mounting hardware, distribute the weight evenly across the organizer.
Over time, daily use and the humid tropical climate can cause screws to loosen slightly or wall materials to settle. Schedule a quick check every few months to ensure the organizer remains flush against the wall and the screws are tight. This simple maintenance step prevents sudden failures and keeps your cap display looking neat and secure for years to come.
Troubleshooting Common Installation Issues
If you drill a hole and find that the wall material crumbles, leaving a hole that is too large for your wall anchor, do not attempt to force the screw in anyway. Instead, remove the loose anchor and insert a slightly larger anchor paired with a matching screw, or fill the oversized hole with a high-quality wall filler or epoxy putty. Allow the filler to cure completely according to the manufacturer’s instructions before redrilling the hole.
If the organizer appears slightly uneven after installation despite your careful measurements, check if the mounting brackets have slotted holes that allow for minor adjustments. Loosen the screws slightly, adjust the organizer until the spirit level indicates it is straight, and then retighten the screws.
If you encounter unexpected resistance while drilling, such as striking a metal plate, a structural rebar, or a water pipe, stop drilling immediately. Never attempt to force the drill through hard metal obstructions, as this can cause severe damage to your home’s infrastructure or your tools. In such cases, shift your mounting location by a few centimeters or consult a qualified professional builder to assess the wall safely.
Frequently Asked Questions (FAQ)
Can I install a cap organizer on a tiled wall?
Yes, you can install a cap organizer on a tiled wall, but it requires specialized tools and extreme care to prevent the tiles from cracking. Use a carbide-tipped or diamond-tipped tile drill bit rather than a standard masonry bit, and run the drill at a slow speed without using the hammer function. Placing a piece of masking tape over the marked drill point helps prevent the drill bit from slipping or wandering across the smooth tile surface. If you notice any hairline cracks forming or if the tile feels hollow behind the surface, stop drilling immediately and seek professional assistance.
How do I remove the organizer without damaging the wall?
To remove the organizer safely, start by taking off all the caps to eliminate any weight. Use a manual screwdriver to carefully back out the screws, holding the organizer steady so it does not scrape against the wall as it comes loose. Once the organizer is removed, you can extract plastic wall anchors by gently pulling them with a pair of needle-nose pliers, or by carefully cutting off the exposed collar with a utility knife and pushing the remaining sleeve into the wall cavity. Fill the resulting holes with a suitable wall spackling compound, let it dry, sand it smooth with fine-grit sandpaper, and apply a touch-up coat of matching paint to restore the wall’s appearance.

Community discussion
Share your experience or ask a question. Comments are reviewed before publication.