
To install a wall-mounted cap organizer, you must select an accessible wall space, gather the correct tools for your specific wall type, mark the mounting points with a level, drill precise pilot holes, insert the appropriate wall anchors, and secure the organizer with screws. This straightforward DIY project keeps your headwear collection organized, preserves the shape of your caps, and transforms your storage into an attractive wall display.
Preparation and Tools Needed
Before starting, gather the necessary tools to ensure a smooth installation. You will need a power drill, a set of drill bits, a manual screwdriver, a bubble level, a tape measure, and a pencil. Having these items ready prevents interruptions and ensures accuracy throughout the process.
Identifying your wall type is the most critical step for a secure mount. In many homes, especially in tropical regions like the Philippines, interior walls are often constructed from solid concrete, concrete hollow blocks, or plaster over brick. These hard surfaces require a carbide-tipped masonry drill bit and plastic wall plugs, commonly referred to as tox. If you are mounting the organizer on a drywall partition or a wooden stud wall, you will need standard wood drill bits and specialized drywall anchors or toggle bolts to prevent the organizer from pulling out of the soft plasterboard.
Products mentioned in this guide
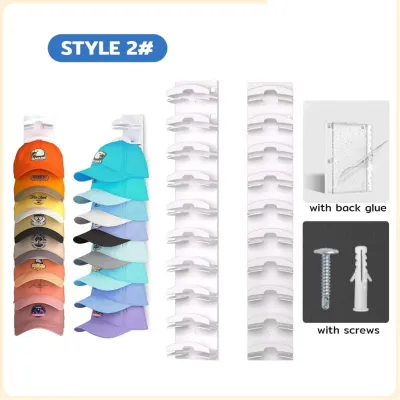
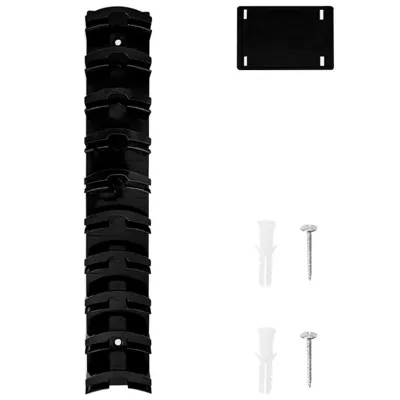
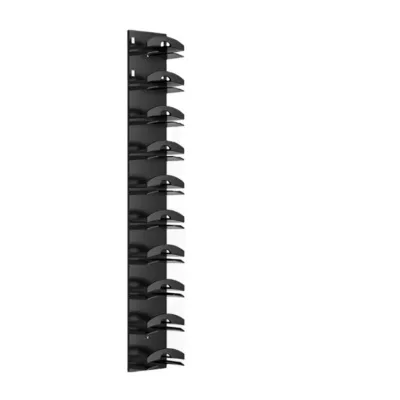
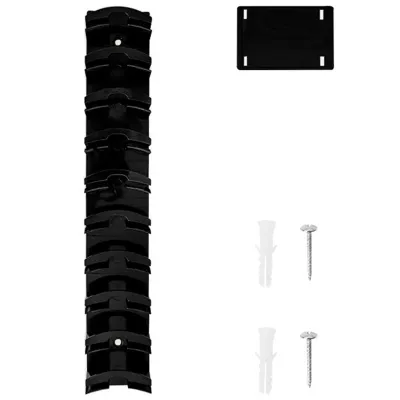
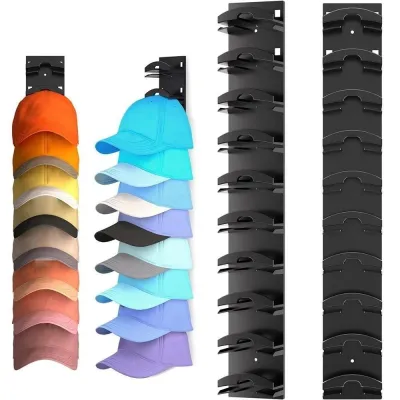
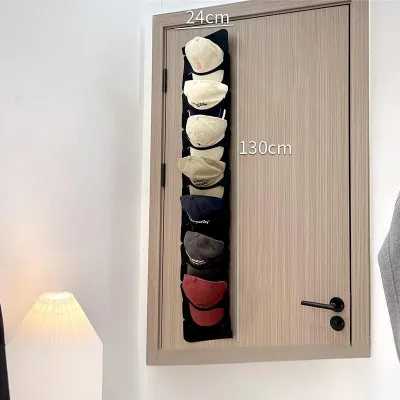
Prices are valid at publication and may change. Please refer to the product page for the latest price.
Verify the physical dimensions of your cap organizer and the available wall space before drilling. Measure the total width and height of the unit, and ensure there is enough clearance around nearby doors, windows, or light switches. Check the manufacturer’s packaging for any specified weight limits or hardware recommendations. While caps are relatively lightweight, the cumulative weight of a large collection, combined with the physical pulling force of grabbing a hat daily, requires a sturdy anchoring method.
Step-by-Step Installation Process
Mounting your cap organizer requires a systematic approach to ensure the structure remains level and securely attached to the wall. Following the logical sequence of marking, drilling, and securing will help you avoid common mistakes like crooked brackets or loose screws. Always refer to the manufacturer’s specific hardware instructions for any unique assembly steps before proceeding.

Marking and Drilling
Begin by holding the mounting bracket or the main frame of the organizer against the wall at your desired height. Place a bubble level on top of the bracket to ensure it is perfectly horizontal. Once the bubble is centered, use a pencil to mark the exact locations of the screw holes directly onto the wall surface. Double-check your marks by measuring the distance between them and comparing it to the holes on the organizer.
Select the correct drill bit size based on your wall anchors. The drill bit diameter must match the outer diameter of the plastic wall anchor, not the screw itself. If the drill bit is too large, the anchor will spin freely in the hole; if it is too small, you will not be able to insert the anchor without damaging it. For concrete walls, use a carbide-tipped masonry bit, and for drywall, use a standard twist drill bit.
Hold your power drill completely perpendicular to the wall to prevent the hole from becoming elongated or slanted. Drill slowly and steadily to the depth of the wall anchor, using a piece of tape wrapped around the drill bit as a depth guide. Once the hole is drilled, clear out any remaining dust or debris using a hand blower or a vacuum cleaner, as trapped dust can prevent the anchor from seating fully flush with the wall.
Mounting the Organizer
Insert the plastic wall anchors into the drilled holes. They should fit snugly and require a gentle tap with a rubber mallet or the handle of a screwdriver to sit completely flush with the wall surface. If an anchor bends or refuses to go in, remove it, clear the hole of any remaining concrete dust, and try again with a fresh anchor.
Align the mounting bracket or the organizer frame with the installed wall anchors. Insert the screws through the bracket holes and into the anchors. Use a manual screwdriver to tighten the screws, or set your power drill to a low-torque setting. Over-tightening can strip the plastic threads inside the anchor or crack the organizer’s mounting plate, compromising the stability of the entire unit.
Once the main bracket is secured, attach any remaining hooks, rails, or display clips according to the product design. Place your level back on top of the organizer for a final verification. If the unit is level, you can begin arranging your caps. If your organizer uses a rail-and-hook system, ensure the hooks are spaced evenly to distribute the weight and allow each cap to hang naturally without overlapping excessively.
Weight Capacity and Safety Checks
Before loading your entire cap collection, cross-reference your installation with the manufacturer’s maximum load specifications. Although a single baseball cap weighs very little, a rack holding dozens of caps, heavy snapbacks, or winter beanies can carry a surprising amount of weight. Ensure the hardware you used matches or exceeds the requirements for the intended load.
Conduct a manual stability test to verify the security of the mount. Gently pull forward and push downward on the organizer frame to check for any movement, wobbling, or play against the wall. The unit should feel completely rigid and firmly anchored. If you notice any flexing in the wall material or if the bracket pulls away even slightly, do not load the organizer with caps until the mounting is reinforced.
Maintain long-term safety by distributing the weight of your caps evenly across the organizer. Avoid hanging all your heaviest headwear on one side or overloading a single hook. This balanced distribution prevents uneven stress on the wall anchors and minimizes the risk of the organizer tilting or pulling loose over time, especially in high-humidity environments where plaster or drywall can soften slightly.
Troubleshooting Common Installation Issues
If you encounter a spinning screw or a loose wall anchor during installation, the hole may have been drilled slightly too large. To resolve this, remove the screw and anchor, and replace them with a slightly larger anchor and matching screw. Alternatively, you can fill the loose hole with a heavy-duty wall filler or epoxy adhesive designed for your wall type, allow it to cure completely, and then re-drill the hole.
If the wall material crumbles or cracks significantly while you are drilling, stop immediately. This issue is common in older plaster walls or low-quality concrete hollow blocks. Continuing to drill can cause larger sections of the wall to fail. Reassess the wall structure, move the installation to a different location with solid studs or sound masonry, or consult a professional builder to evaluate the wall’s integrity.
An unlevel installation can often be corrected without drilling entirely new holes. Many modern cap organizers feature slotted mounting holes that allow for minor rotational adjustments before the screws are fully tightened. Loosen the screws slightly, adjust the organizer until the bubble level is centered, and then retighten the screws. If the holes are not slotted, you may need to use small plastic shims behind the bracket to level the unit.
Frequently Asked Questions (FAQ)
Can I install a cap organizer on tiles or glass?
Drilling into ceramic tiles or glass carries a high risk of cracking or shattering the surface. If you must mount the organizer on these materials, you must use specialized diamond or carbide-tipped glass and tile drill bits, drilling at a very slow speed without using the hammer function on your drill. Alternatively, if drilling is not permitted in your rental or is too risky, consider using high-quality, moisture-resistant adhesive mounting strips or suction-based organizers designed for non-porous surfaces.
What if my wall has hidden pipes or wires?
Before drilling into any wall, it is essential to check for hidden utility lines. Use a reliable stud finder equipped with live wire and metal detection to scan the area around your planned drilling points. In concrete walls, electrical wires are often run through plastic conduits embedded in the masonry. If the detector indicates the presence of live wires or pipes, or if you are uncertain about the path of your home’s utilities, stop immediately and consult a qualified professional electrician or plumber to map the area safely.

Community discussion
Share your experience or ask a question. Comments are reviewed before publication.