
Installing a wall-mounted hat holder is a highly effective way to organize your headwear, preserve the shape of your hats, and clear up valuable closet space. Whether you are displaying structured fedoras, wide-brimmed sun hats, or classic baseball caps, a dedicated wall rack turns your collection into a functional design feature. Achieving a secure, level, and long-lasting mount requires more than simply driving screws into the wall. By selecting the correct hardware for your specific wall type and following a precise installation sequence, you can ensure your display remains stable and safe.
In tropical climates like the Philippines, high humidity can affect both the materials of your walls and the hats themselves. Proper air circulation around your headwear is essential to prevent moisture buildup, making wall-mounted storage an excellent alternative to cramped, dark closets. This guide walks you through the entire installation process, from evaluating your wall structure to the final stability check, ensuring a professional result.
Gather the Right Tools and Materials
Before beginning the installation, organizing your workspace and gathering all necessary equipment will save time and prevent mistakes.
Products mentioned in this guide
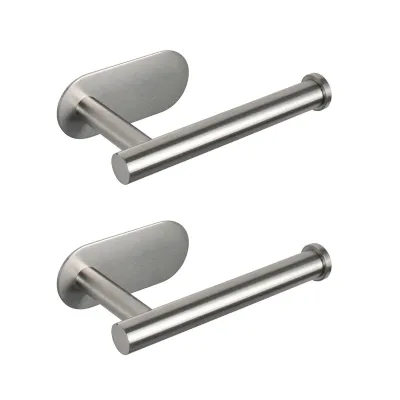
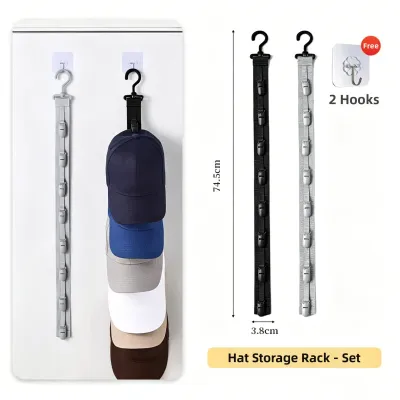
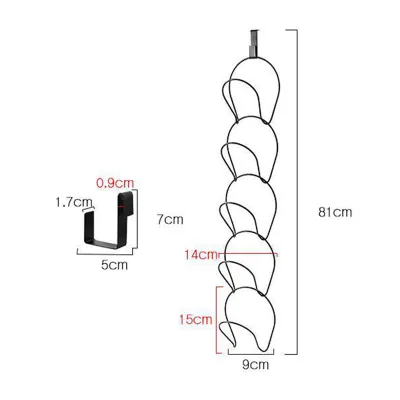
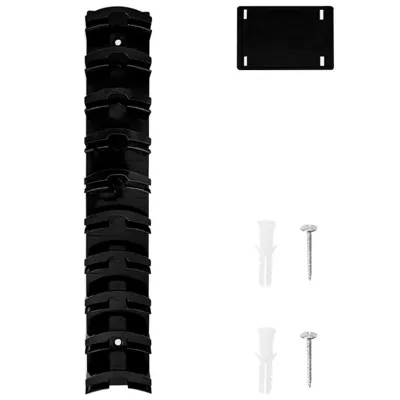
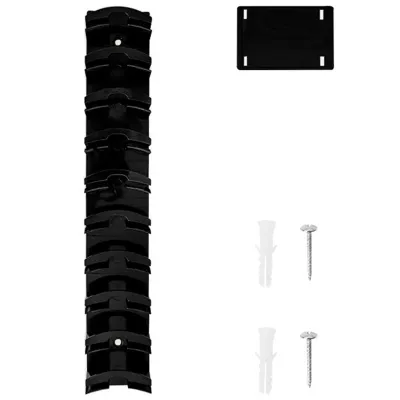
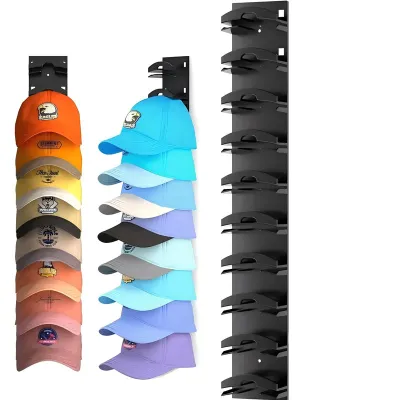
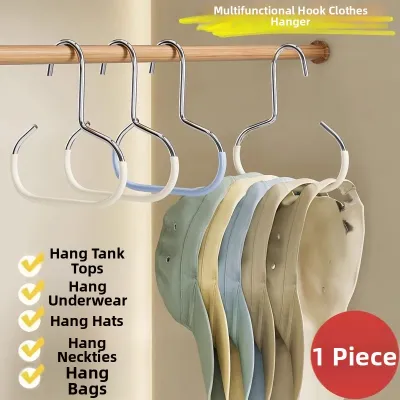
Prices are valid at publication and may change. Please refer to the product page for the latest price.
For a standard installation, you will need a reliable power drill and a set of drill bits. If you are mounting the holder onto a concrete or masonry wall, ensure you have a masonry drill bit, which is designed to penetrate tough stone and concrete without dulling. For drywall or plaster, a standard wood or metal drill bit is sufficient for creating clean pilot holes.
A high-quality tape measure and a sharp pencil are indispensable for marking precise locations. To ensure your hat holder does not hang at an awkward angle, a spirit level is required to align the mounting brackets perfectly. Do not rely on visual estimation, as ceiling lines and door frames are often slightly uneven.
Review the mounting hardware that arrived with your hat holder. Most manufacturers include standard screws and plastic wall anchors, but these may not be suitable for every wall type. If the provided hardware feels flimsy or does not match your wall material, purchase high-quality replacement anchors from a reputable brand.
Finally, prioritize personal safety by wearing safety glasses during the drilling phase. Drilling into concrete, plaster, or drywall releases fine dust and sharp debris that can easily fall into your eyes, especially when working at eye level or higher.
Assess Your Wall Type Before Drilling
Understanding the composition of your wall is the most critical step in ensuring a secure mount. Different wall materials require entirely different fastening systems, and using the wrong anchor can cause the hat holder to pull loose, damaging your wall and your hats.

In many residential structures in the Philippines, interior walls are constructed from solid concrete, concrete hollow blocks, or plaster-coated brick. These walls are exceptionally sturdy but require a hammer drill, a masonry bit, and plastic wall plugs to grip the concrete. Standard drywall screws will bend or snap if driven directly into these surfaces without a pre-drilled hole and anchor.
If your home features drywall or gypsum board partitions, the installation approach changes completely. You must locate the wooden or metal studs behind the drywall using a stud finder. Screwing directly into a stud provides the maximum possible support and eliminates the need for specialized anchors.
When studs are not positioned where you want to hang your rack, you must use hollow-wall anchors. Threaded drywall anchors or heavy-duty toggle bolts are excellent choices. Toggle bolts feature metal wings that expand behind the drywall, distributing the weight across a larger surface area and preventing the holder from tearing out of the wall.
Always consult the manufacturer’s instruction manual to verify if the included hardware is compatible with your specific wall type. If the manual states that the provided anchors are strictly for drywall, and you are mounting onto concrete, stop the installation. Head to a local hardware center to purchase concrete-specific anchors before proceeding.
Step-by-Step Installation Process
Mounting your hat holder is a straightforward process when broken down into clear, manageable steps. By taking your time during the preparation and alignment phases, you will achieve a clean, professional finish that looks great and functions perfectly.
Measure and Mark the Placement
The first physical step of the installation is determining exactly where the hat holder will sit. Consider both the physical reach of the household members and the dimensions of the hats you plan to store. Wide-brimmed straw hats, native hats, and structured fedoras require more physical clearance than flat baseball caps.
Hold the hat holder against the wall at your desired height. Ensure that the lowest hanging hat will not drag on the floor, obstruct a walkway, or interfere with nearby furniture.
Once you have established the ideal height, place your spirit level on top of the mounting bracket or the holder’s main frame. Adjust the angle until the bubble is perfectly centered between the two indicator lines. Holding the unit firmly in place, use your pencil to mark the exact center of each mounting hole directly onto the wall.
Before putting the holder down, double-check the surrounding area. Ensure the marked spots are a safe distance from light switches, electrical outlets, and door frames. Opening adjacent doors fully is a great way to verify that a swinging door knob will not crush your hats or damage the holder.
Drill Holes and Insert Anchors
With your marks clearly visible, you are ready to prepare the wall. Select a drill bit that matches the exact diameter of the wall anchors you are using. If the drill bit is too large, the anchor will spin loosely in the hole; if it is too small, you will not be able to insert the anchor without bending or breaking it.
Hold the drill perfectly perpendicular to the wall surface. Apply steady, moderate pressure and begin drilling into your pencil marks. If you are drilling into concrete, use a hammer drill setting to chip away the masonry efficiently. If you suspect hidden electrical wiring or plumbing behind the wall, stop immediately and consult a qualified professional.
Once the holes are drilled to the correct depth—which should be slightly longer than the length of the anchor—clear out any dust from inside the hole. Insert the plastic wall anchors into the clean holes. They should slide in easily for the first half, requiring a gentle tap with a hammer to seat them completely flush with the wall surface. The anchor must fit tightly; if it spins when you touch it, it will not provide a secure hold for the screw.
Attach and Secure the Holder
Now that the anchors are securely in place, you can mount the physical fixture. Align the mounting holes of the hat holder with the installed wall anchors. It is often helpful to have a second person hold the rack in place while you secure the first screw.
Insert the screws into the anchors by hand and turn them a few times to start the threads. Once all screws are started, use a manual screwdriver or a power drill on a very low torque setting to tighten them.
Tighten the screws gradually and evenly, moving from one screw to another rather than tightening one completely before starting the next. This ensures the bracket pulls flat against the wall without warping. Avoid over-tightening, as excessive force can crack plastic brackets, strip the threads inside the wall anchor, or crush drywall.
If your hat holder features secondary components, such as individual hanging hooks, decorative end caps, or modular rails, assemble them now according to the sequence outlined in the manual. Ensure all connections are snug and that any locking screws are fully tightened.
Test Stability and Understand Weight Limits
Before placing your valuable hats on the newly installed holder, you must verify that the installation is structurally sound. A quick physical test can prevent the rack from falling unexpectedly later on.
Grasp the main frame of the hat holder and apply gentle downward and outward pressure. The unit should feel solid and completely integrated with the wall. If you notice any wobbling or shifting, tighten the screws slightly.
It is vital to understand that every wall-mounted fixture has a maximum weight capacity. While hats are generally lightweight, the cumulative weight of multiple heavy leather hats, wet umbrellas, or bags hung on the same rack can quickly add up. Exceeding the manufacturer’s recommended weight limit can cause the anchors to fail, leading to wall damage.
To maintain stability, distribute the weight of your hats evenly across the entire holder. Avoid hanging all your heaviest items on a single hook or on one side of the rack. This balanced approach prevents localized stress on individual screws and ensures your wall-mounted hat holder remains a secure and beautiful fixture in your home.
Frequently Asked Questions (FAQ)
Can I install a hat holder without drilling?
Yes, you can install lightweight hat holders using heavy-duty adhesive strips or damage-free command hooks, which is a popular option for renters. However, this method has distinct limitations, especially in warm, humid environments like the Philippines, where moisture can weaken the adhesive bond over time. Adhesives also require a completely smooth, clean, and non-porous surface to adhere correctly, and they may fail on textured plaster or matte paint. Always check both the adhesive manufacturer’s weight ratings and the hat holder’s guidelines, and allow the adhesive to cure fully before hanging any items.
How high should I mount a hat holder?
For most adult users, mounting the hat holder at eye level—typically between 1.5 and 1.7 meters from the floor—provides the most comfortable reach. If you are installing the rack in a children’s room or a shared family space, you may want to lower it slightly so everyone can access it easily. Remember to account for the vertical drop of your largest hats; wide-brimmed sun hats or structured fedoras need extra space below the hook so their brims do not rest on furniture or block walkways.

Community discussion
Share your experience or ask a question. Comments are reviewed before publication.