
Mounting a hat organizer on your wall is an excellent way to declutter your living space, preserve the shape of your headwear, and turn your collection into a stylish visual display. To install a wall-mounted hat organizer securely, you must identify your wall material, select the correct anchors, measure and mark your mounting points with a spirit level, drill precise holes, and firmly fasten the unit to the wall. Taking these steps prevents the organizer from sagging or falling, especially in humid environments where wall materials and adhesives can degrade over time.
Assess Your Wall Type and Organizer Specifications
Residential walls vary significantly, ranging from solid concrete and concrete hollow blocks to drywall partitions in modern apartments and condominiums. Before purchasing or mounting your hat organizer, tap the wall to determine its composition. A hollow sound indicates drywall or wood paneling, while a solid, dull thud points to concrete, brick, or plaster. Each material requires a distinct anchoring system to support the weight of your organizer and hats without causing structural damage.
Next, consult the manufacturer’s manual to verify the organizer’s finished dimensions, empty weight, and maximum load capacity. Never guess the weight limit, as overloading a poorly anchored rack can pull chunks out of drywall or loosen screws in masonry. If you plan to mount a heavy wooden shelf or a metal multi-tier rack, ensure your wall can handle the localized stress.
Products mentioned in this guide
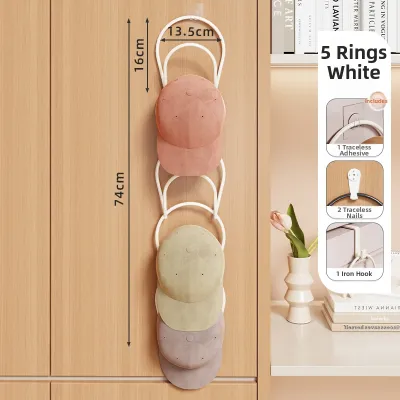
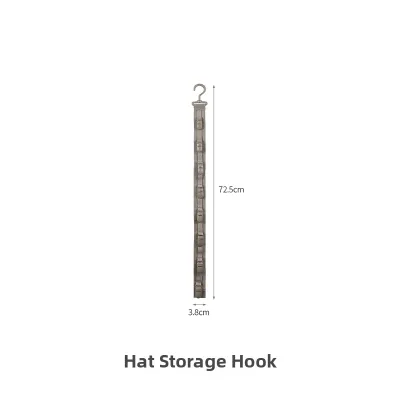
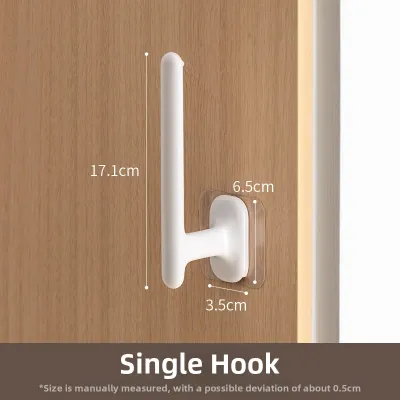
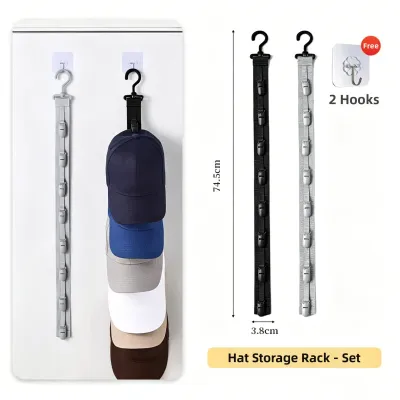
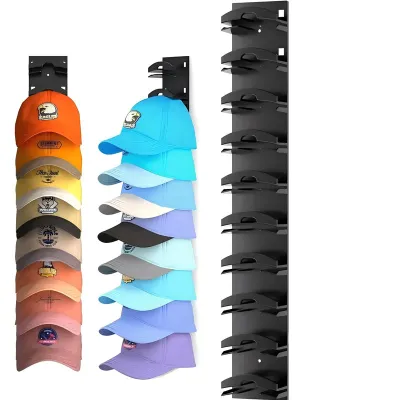
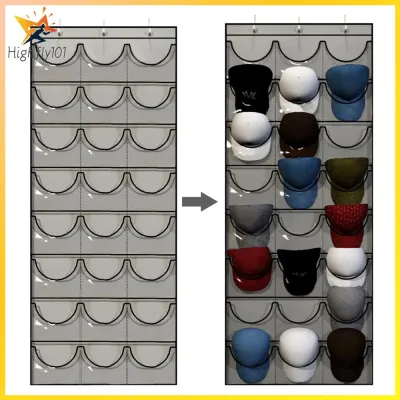
Prices are valid at publication and may change. Please refer to the product page for the latest price.
Before drilling, you must check for hidden utility lines. Electrical conduits and water pipes often run behind walls, particularly near bathrooms, kitchens, or light switches. Use a reliable stud finder with a deep-scan mode to detect wires and pipes, or consult your home’s blueprint. If you are uncertain about what lies behind the wall, consulting a qualified local technician is the safest way to avoid costly utility damage.
Gather the Right Tools and Hardware
Having the correct tools on hand prevents mid-project frustration and ensures a clean, professional finish. You will need a power drill, a spirit level to keep the organizer perfectly straight, a measuring tape, a pencil for marking, and a manual screwdriver for the final tightening. Using a hand screwdriver instead of a drill for the final turns gives you better control and prevents stripping the screw heads or cracking the organizer’s frame.

Matching your wall anchors to your specific wall type is critical for long-term stability. For concrete or brick walls, standard plastic wall plugs (often called masonry anchors) work well when paired with concrete drill bits. For drywall, toggle bolts or self-drilling threaded anchors are necessary because standard plastic plugs will easily pull out of the soft gypsum core under tension.
Always prioritize the hardware supplied by the manufacturer, provided it matches your wall type. If the included screws or anchors seem flimsy or do not suit your concrete or drywall setup, visit a local hardware store to purchase high-quality, verified equivalents. High-quality replacement anchors only cost a few ₱ per piece and offer far better peace of mind than cheap, unverified alternatives.
Step-by-Step Installation Process
Begin by deciding on the ideal height and location for your hat organizer, keeping in mind accessibility and room aesthetics. Hold the organizer or its mounting template against the wall at the desired height, and place a spirit level on top to ensure it is perfectly horizontal. Once leveled, use a sharp pencil to mark the exact center of each mounting hole onto the wall surface. Double-check your marks by measuring the distance between them and comparing it to the mounting holes on the backplate of the organizer.
Select a drill bit that matches the exact diameter specified for your wall anchors. If you are drilling into concrete, set your power drill to hammer mode and apply steady, forward pressure while keeping the drill perfectly perpendicular to the wall. For drywall, use standard rotary mode to avoid tearing the paper backing. Drill slightly deeper than the length of the anchor, then pull the drill bit out while it is still spinning to clear out loose dust and debris from the hole.
Gently tap the wall anchors into the drilled holes using a hammer or mallet until they sit completely flush with the wall surface. If an anchor resists, do not force it; remove it, clear any remaining dust from the hole, and verify the hole’s depth. Once the anchors are securely in place, align the organizer’s backplate or mounting brackets with the anchors, insert the screws, and tighten them manually. Stop turning as soon as the screw head is flush and snug against the bracket to avoid deforming the mounting plate or cracking the wall surface.
With the base brackets firmly secured, assemble any remaining components of the hat organizer according to the manufacturer’s instructions. This may involve sliding shelves onto brackets, hanging hooks, or attaching display bars. Ensure all interlocking parts click or lock into place securely before attempting to place any items on the organizer.
Verify Stability and Arrange Your Hats
Before placing your valued hat collection on the newly installed rack, perform a gentle physical pull test. Apply light downward and outward pressure on the organizer to check for any wobbling, unusual creaking sounds, or movement at the wall connection. If you notice any looseness or see the wall material cracking around the anchors, stop using the organizer immediately, remove it, and inspect the wall anchors for failure.
When arranging your hats, distribute the weight logically to maintain balance and reduce strain on the fasteners. Place heavier headwear, such as thick winter hats, heavy leather caps, or wide-brimmed straw hats, closest to the main anchor points or on the lower tiers. Lighter baseball caps and visors can go on the outer hooks or higher shelves. This distribution prevents uneven leverage that could pull the top anchors away from the wall over time.
In tropical climates like the Philippines, high indoor humidity can affect both wooden organizers and the structural integrity of drywall or plaster. Make it a habit to inspect the mounting points every few months. Check for any signs of sagging, loose screws, or moisture accumulation behind the organizer, especially after the rainy season or periods of intense humidity.
Alternative Mounting Options for Renters or Delicate Surfaces
If you live in a rental property or have delicate walls where drilling is prohibited, adhesive-based mounting solutions offer a temporary alternative. Heavy-duty adhesive strips or mounting tape can work, but only under strict conditions: the wall surface must be completely smooth, non-porous, clean, and free of dust or grease. Verify the adhesive product’s packaging to ensure its rated weight limit comfortably exceeds the combined weight of the organizer and your hats.
Keep in mind that removing adhesive strips carries risks, particularly in warm, humid climates where the adhesive can bond aggressively to paint. When it is time to move, pulling the strips off incorrectly can peel away layers of low-quality paint or damage drywall paper. Always follow the manufacturer’s removal instructions carefully, which often involve pulling the tab slowly parallel to the wall rather than outward.
If your wall surface is textured, covered in delicate wallpaper, or prone to dampness, adhesive strips will likely fail. In these scenarios, it is best to abandon wall-mounting altogether to avoid damaging your property. Instead, opt for damage-free alternatives such as over-the-door hat racks, freestanding hat trees, or organizing hangers that fit inside your existing wardrobe closet.
Frequently Asked Questions (FAQ)
Can I install a hat organizer on a tiled wall without cracking the tiles?
Yes, but you must use specialized tools and extreme care to avoid shattering the glaze or cracking the tile body. Always use a carbide-tipped masonry bit or a diamond-grit tile drill bit, and ensure your power drill is set to standard rotary mode—never use hammer mode on tile. Apply a piece of masking tape over your marked drilling point to prevent the drill bit from slipping and scratching the surrounding tile surface. If you feel uncomfortable drilling into expensive bathroom or entryway tiles, hiring a professional installer is highly recommended to prevent costly damage.
What should I do if the wall anchors keep spinning or pulling out?
A spinning or loose wall anchor usually indicates that the drilled hole is too large, or the wall material inside is hollow, crumbly, or degraded. To fix this, you can remove the failed anchor and replace it with a larger, heavy-duty toggle bolt or a self-drilling drywall anchor that grips a wider area. Alternatively, you can patch the ruined hole with high-quality wall repair filler, let it cure completely, and relocate your mounting point a few centimeters away. For the ultimate stability, try to align at least one side of your hat organizer with a wooden or metal wall stud.

Community discussion
Share your experience or ask a question. Comments are reviewed before publication.