
Installing a wall-mounted jacket rack without damaging your wall requires identifying your specific wall material, selecting the correct wall anchors, and using precise drilling techniques. Because different wall types—such as drywall, solid concrete, and hollow concrete blocks—handle weight differently, matching your hardware to your wall structure is the most critical step to prevent cracking, sagging, or sudden collapse. By taking the time to prepare your tools and measure accurately, you can achieve a clean, secure installation that preserves the integrity of your home’s walls.
In tropical environments like the Philippines, indoor walls are subjected to high humidity levels, which can gradually affect the strength of certain building materials. Drywall partitions can soften over time, while concrete and plaster walls can become prone to minor surface flaking if drilled incorrectly. Understanding how to work with these materials ensures that your storage solutions remain stable and safe for daily use.
Assess Your Wall Type and Rack Weight Capacity
Before you begin drilling, you must determine exactly what material lies behind your wall paint. In many modern residential layouts, interior partition walls are constructed from drywall or gypsum board, while exterior walls and structural dividers are typically made of solid concrete or concrete hollow blocks. To identify your wall type, tap the surface gently with your knuckle. A hollow, resonant sound indicates drywall, whereas a dull, solid thud points to concrete or plaster-coated hollow blocks.
Products mentioned in this guide

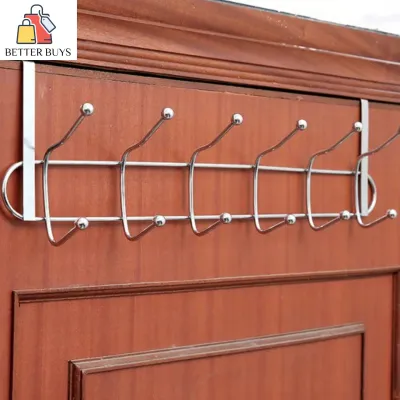
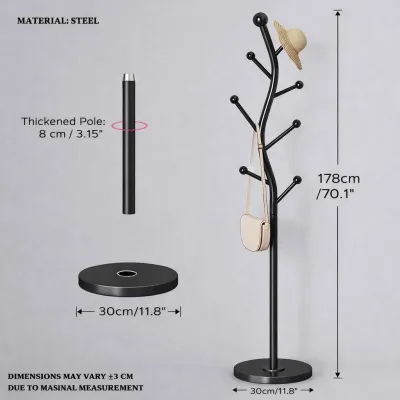
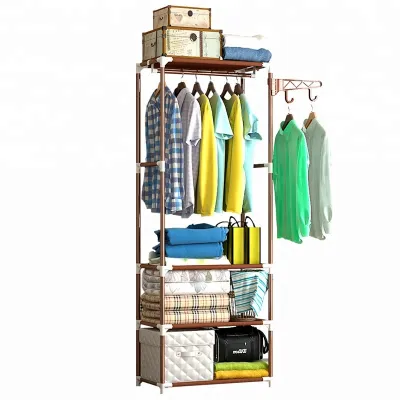
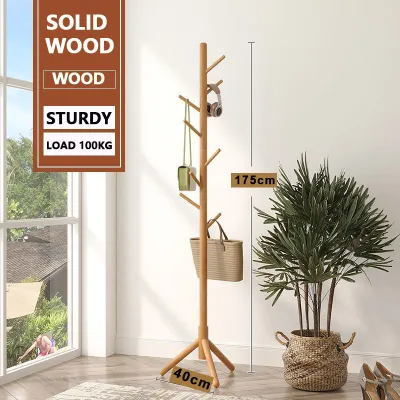

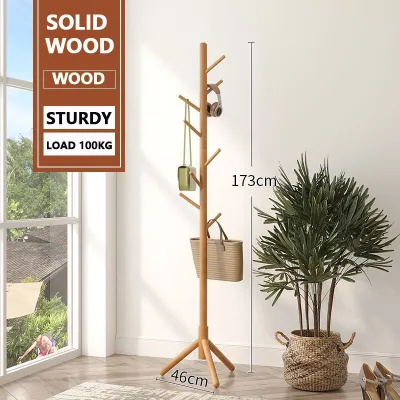
Prices are valid at publication and may change. Please refer to the product page for the latest price.
Once you have identified the wall material, consult the manufacturer’s instructions for your jacket rack to verify its maximum weight capacity and the spacing of its mounting holes. These specifications are calculated based on ideal installation conditions, meaning the rack must be mounted to a structurally sound surface using the recommended hardware. Keep in mind that the total load on the rack includes not only the weight of the rack itself but also the cumulative weight of the items you plan to hang.
Evaluating your intended load is crucial for preventing wall damage. A single heavy wet-weather jacket, denim coat, or bag can easily weigh between one and two kilograms. If you plan to utilize every hook on a five-hook rack, the total weight can quickly exceed ten kilograms. Compare this estimated load against the rack’s rated capacity and the holding power of your wall type to ensure a safe margin of safety.
Gather the Right Tools and Wall Anchors
Having the correct tools on hand prevents mistakes that lead to unsightly holes and cracked plaster. For measuring and marking, you will need a reliable tape measure, a pencil, and a spirit level to ensure the rack sits perfectly horizontal. If you are mounting onto a drywall surface, a stud finder is highly recommended to locate the wooden or metal studs behind the gypsum board, as securing the rack directly to studs provides the strongest possible hold.

Your choice of drill and drill bits must match the hardness of your wall. For drywall or wooden studs, a standard power drill paired with high-speed steel or wood drill bits is sufficient. However, for concrete or hollow concrete blocks, you must use a hammer drill equipped with a carbide-tipped masonry drill bit. Attempting to drill into concrete with a standard wood bit will dull the bit instantly and can cause the drill to slip, damaging the surrounding wall surface.
Selecting the correct wall anchor is the single most important factor in preventing wall damage. For drywall installations where you cannot align the rack with a stud, use heavy-duty toggle bolts or threaded drywall anchors rather than basic plastic expansion plugs, which can easily pull out under the weight of heavy jackets. For solid concrete, plastic expansion anchors or concrete screws work exceptionally well. For hollow concrete blocks, specialized sleeve anchors or toggle bolts designed to expand inside the block’s hollow core provide the necessary grip.
Step-by-Step Installation Guide
The process of mounting a jacket rack can be broken down into four clear phases: marking, drilling, anchoring, and mounting. Taking your time during each phase ensures that the rack is level, secure, and positioned exactly where you want it. Keep the manufacturer’s installation manual nearby throughout the process to verify specific screw sizes and bracket alignments.
Marking and Drilling
Begin by holding the jacket rack or its mounting bracket against the wall at your desired height. Place a spirit level on top of the rack to ensure it is perfectly straight, then use a pencil to mark the exact center of each mounting hole onto the wall. Double-check your marks by measuring the distance between them and comparing it to the distance between the holes on the rack.
Select a drill bit that matches the exact diameter specified on your wall anchor packaging. If you are drilling into concrete or hollow blocks, wrap a piece of painter’s tape around the drill bit to mark the required depth, which should be slightly deeper than the length of the anchor. Hold the drill perfectly perpendicular to the wall, apply steady pressure, and drill to the marked depth. Once the hole is drilled, clear out any loose dust and debris using a hand pump or a vacuum cleaner to ensure the anchor can seat fully.
Securing the Anchors and Mounting the Rack
Insert the selected wall anchors into the drilled holes. For plastic expansion anchors, gently tap them with a hammer until they sit completely flush with the wall surface. If you are using toggle bolts for drywall, insert the bolt through the mounting hole of the jacket rack first, thread the metal toggle wing onto the bolt, compress the wings, and push them completely through the drywall hole until you hear them spring open on the other side.
Align the jacket rack over the installed anchors and insert the mounting screws. Drive the screws in slowly and evenly, alternating between the left and right sides to maintain balance and prevent the rack from shifting out of level. This gradual tightening ensures that the tension is distributed uniformly across all mounting points.
Avoid over-tightening the screws, as this can strip the threads of drywall anchors or crack the plastic sleeves of concrete anchors. Stop turning the screwdriver or drill as soon as the screw head is snug against the mounting bracket. Over-tightening can also crush the drywall core or cause plaster to flake off around the edges of the bracket, weakening the entire installation.
Verify Stability and Load Safety
Once the jacket rack is fully mounted, you must verify its stability before subjecting it to daily use. Perform a manual stress test by applying gradual downward and outward pressure with your hands. Watch the wall surface closely around the mounting brackets; there should be no visible flexing, gaps forming between the rack and the wall, or movement of the anchors.
To maintain the structural integrity of the installation over time, practice smart weight distribution. Place heavier coats, bags, and umbrellas on the hooks closest to the mounting screws, and use the outer hooks for lighter items. Distributing the weight evenly prevents uneven leverage that can pull the anchors loose from the wall.
In humid tropical climates, building materials can expand and contract, which may gradually loosen hardware over time. Establish a routine inspection schedule to check the tightness of the mounting screws every few months. If you notice any slight wobbling or minor cracks forming in the plaster around the rack, address the issue immediately before the weight of the jackets causes further damage.
When to Stop and Call a Professional
While installing a jacket rack is a manageable weekend project, there are situations where you should stop immediately to avoid costly damage or safety hazards. If your drill suddenly encounters hard resistance, you may have hit steel rebar or a metal stud. Conversely, if the drill drops suddenly into a void where you expect solid concrete, you might be near an electrical conduit or plumbing pipe. In these cases, do not force the drill; move the installation location or seek professional assistance.
Additionally, if you discover that your wall material is severely crumbling, damp, or showing signs of water damage, do not attempt to install the rack. Damaged walls cannot support the weight of a loaded jacket rack, and the anchors will inevitably pull free. A professional contractor can assess the underlying structural health of the wall and perform the necessary repairs before any hardware is mounted.
Finally, if you are planning to install an exceptionally heavy, solid hardwood or cast-iron jacket rack designed to hold a large volume of gear, the weight may exceed standard residential wall capacities. A qualified professional can install specialized backing support behind drywall or use heavy-duty anchoring systems that guarantee the rack remains safely secured without risking structural failure.
Frequently Asked Questions (FAQ)
Can I install a jacket rack on a tiled wall without cracking the tiles?
Yes, but you must use specialized tools and techniques to protect the glazed surface. Never use the hammer function on your drill while penetrating the tile, as the rapid vibrations will shatter the ceramic or porcelain. Instead, use a carbide-tipped glass and tile drill bit at a slow, steady speed. Placing a piece of masking tape over the marked drilling spot prevents the bit from slipping and scratching the tile. Once the bit has passed completely through the tile and reached the backing wall, you can switch to a standard masonry or wood bit to finish the hole.
What should I do if the drill hole becomes too large for the anchor?
If a drill hole becomes oversized or blown out, do not attempt to use makeshift fillers like wood shavings, paper, or glue, as these materials cannot support a structural load. If the hole is only slightly larger than intended, the safest solution is to upgrade to a larger, heavier-duty anchor that matches the new hole diameter. If the damage to the wall is significant, you must fill the hole completely with a high-strength wall repair compound or epoxy patch, allow it to cure fully according to the manufacturer’s instructions, and then drill a new hole at a slightly offset location.

Community discussion
Share your experience or ask a question. Comments are reviewed before publication.