
Mounting a wooden bag holder rack on your wall is an excellent way to organize your space, keep your bags off the floor, and showcase your collection. However, a successful installation depends entirely on matching your mounting method to the specific type of wall in your home. Whether you are dealing with solid concrete, hollow concrete blocks, or drywall, using the wrong hardware can lead to sagging, wall damage, or a collapsed rack. By understanding your wall’s structure and choosing the correct anchors, you can ensure your wooden bag holder stand rack wood remains stable and secure for years to come.
Assessing Your Wall Type and Rack Weight Capacity
Before you pick up a drill, you must identify the material of the wall where you plan to mount your rack. In the Philippines, residential construction varies widely. Structural walls and exterior walls are almost always made of concrete hollow blocks or solid poured concrete to withstand tropical weather. Interior partition walls, especially in modern condominiums or recently renovated homes, are often constructed from gypsum board or drywall mounted on light metal or wooden studs.
To determine what lies behind your paint, perform a simple tap test. Knock gently on the wall with your knuckles. A hollow, resonant sound indicates drywall. A solid, dull thud suggests concrete or hollow blocks. If you are still unsure, drill a tiny test hole in an inconspicuous spot, such as behind where the rack will sit. White, powdery dust indicates drywall, while fine grey dust indicates concrete or masonry.
Products mentioned in this guide
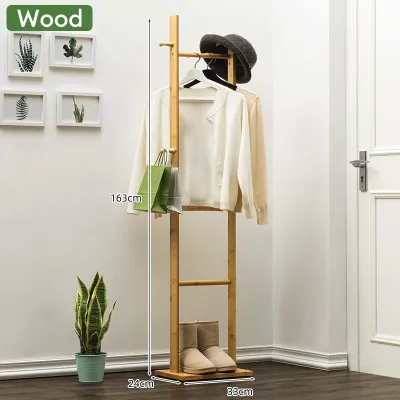
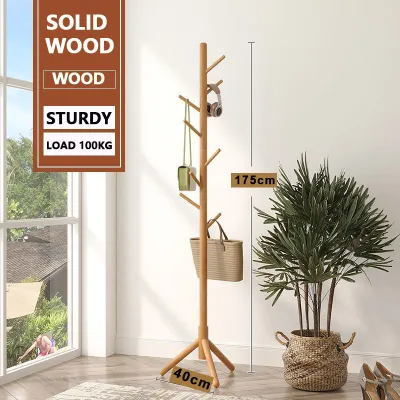
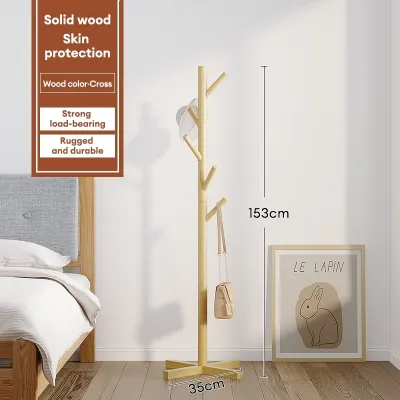
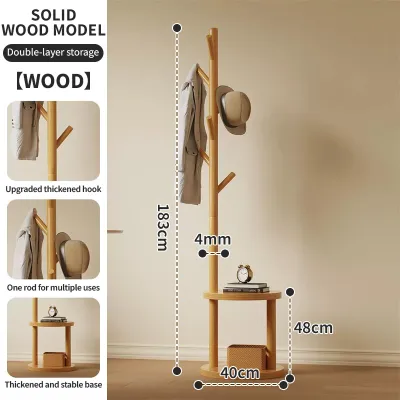
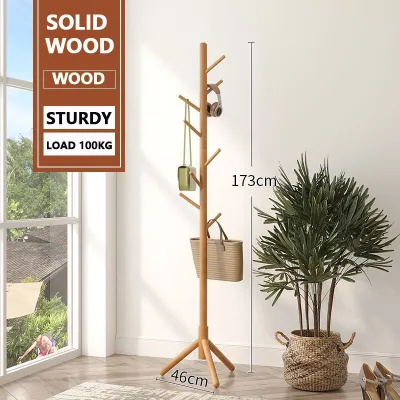
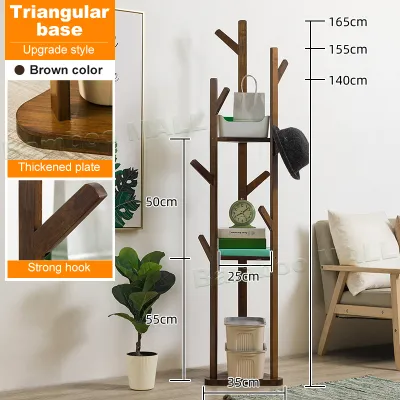
![[On Hand] Shira Bag Rack Stand White/Brown/Wood Bamboo Coat Rack Stand With 8 Hooks Coat Rack Bag Organizer](https://img.lazcdn.com/g/p/96e29a17c0e7c61dca4e321264263d0c.jpg_400x400q80.jpg_.webp)
Prices are valid at publication and may change. Please refer to the product page for the latest price.
Once you know your wall type, check the manufacturer’s weight capacity for your wooden bag holder stand rack wood. This information is typically found on the product packaging, a label on the back of the rack, or within the assembly manual. Never exceed this limit, as doing so can split the wood or pull the anchors out of the wall.
Next, calculate the total weight of the bags you plan to hang. A single leather handbag containing a laptop, water bottle, umbrella, and daily essentials can easily weigh 3 to 5 kilograms. If your rack has five hooks, the total load can quickly reach 15 to 20 kilograms. Always factor in the weight of the wooden rack itself when calculating the total load on your wall anchors.
Gathering the Right Tools and Hardware
Having the correct tools on hand before you begin will save you time and prevent damage to your walls and your wooden rack. For any wall type, you will need a tape measure, a pencil for marking, a spirit level to ensure a straight mount, and a manual screwdriver. Avoid using an impact driver or power drill to tighten the final screws, as this can easily strip the wall anchors or crack the wood.

Your choice of drill and drill bits must match your wall type. For concrete and hollow block walls, a power drill with a hammer function and high-quality masonry drill bits are essential. Standard wood or metal drill bits will quickly dull and fail to penetrate concrete. For drywall, standard twist drill bits are sufficient to create clean pilot holes.
The hardware you use is the most critical factor in a secure installation. Do not rely on generic plastic plugs included in the packaging unless you have verified they are suitable for your specific wall material. For solid concrete, heavy-duty plastic expansion anchors or metal sleeve anchors provide the best grip. For hollow blocks, toggle bolts or specialized hollow-wall anchors are necessary because they expand inside the block’s empty cavity, clamping against the inner wall.
For drywall installations, standard plastic plugs are highly prone to pulling out under the weight of heavy bags. Instead, use threaded self-drilling drywall anchors for medium loads, or metal toggle bolts for maximum weight capacity. Finally, measure the pre-drilled mounting holes on your wooden rack to ensure your chosen screws fit through the wood without slipping through the head.
Step-by-Step Installation for Concrete and Hollow Block Walls
Mounting your wooden rack on concrete or hollow block walls requires precision and the right drilling technique to avoid damaging the masonry. Start by holding the wooden bag holder rack against the wall at your desired height. Place your spirit level on top of the rack and adjust it until the bubble rests perfectly in the center. Use a pencil to mark the exact center of each mounting hole onto the wall.
Once marked, prepare your power drill with a masonry bit that matches the diameter of your wall anchors. If you are drilling into solid concrete, set your drill to hammer mode. However, if you are drilling into hollow concrete blocks, switch your drill to standard rotary mode. The hammering action can easily shatter the thin outer shell of a hollow block, creating a large, messy hole that cannot hold an anchor.
To ensure you do not drill too deep, measure the length of your wall anchor and wrap a piece of painter’s tape around the drill bit at that exact distance from the tip. Drill straight into the marked points, keeping the drill perpendicular to the wall. Once the holes are drilled, clear out the masonry dust using a hand pump, a vacuum, or by blowing through a straw. Leftover dust can prevent the anchor from expanding fully.
Insert the masonry anchors into the clean holes. They should fit snugly; if necessary, tap them gently with a hammer until they are flush with the wall surface. Align the wooden rack’s mounting holes with the anchors, insert the screws, and tighten them using a manual screwdriver. Tighten until the rack is held firmly against the wall, but do not over-tighten, as this can strip the plastic anchor.
During this process, be prepared to stop if you encounter difficulties. If your drill bit suddenly stops advancing, you may have hit steel rebar. Do not attempt to force the drill through; instead, shift your mounting position slightly. If the hollow block crumbles during drilling, stop immediately. You will need to patch the hole with masonry compound or move the rack to a solid section of the wall.
Step-by-Step Installation for Drywall
Drywall requires a different approach because the material itself is relatively soft and brittle. Whenever possible, the most secure method is to mount your wooden bag holder stand rack wood directly into the wooden or metal studs behind the drywall. Use a stud finder to locate these studs and mark their positions. If the pre-drilled holes on your rack align with the studs, you can screw directly into them using wood screws without needing wall anchors.
If the studs do not align with your desired placement, you must use heavy-duty toggle bolts to support the weight of your bags. Mark your mounting points using a spirit level and pencil just as you would for a concrete wall. Drill pilot holes through the drywall at the marked locations, ensuring the hole is large enough for the folded wings of the toggle bolt to pass through.
To install a toggle bolt, you must assemble the hardware through the wooden rack first. Insert the bolt through the rack’s mounting hole, then thread the spring-loaded toggle wings onto the bolt. Compress the wings with your fingers and push them completely through the drilled hole in the drywall. You will hear the wings spring open inside the wall cavity.
Pull the wooden rack gently toward you to create tension, keeping the wings pressed against the back of the drywall. While maintaining this tension, use a manual screwdriver to tighten the bolt. As the bolt tightens, it draws the metal wings snug against the inside of the drywall, clamping the rack securely in place. Ensure the rack sits flush against the wall without crushing the drywall surface.
Watch for warning signs of drywall failure during and after installation. If you notice the drywall bulging, cracking, or tearing around the screws, the material is failing under the weight. If this occurs, remove the rack immediately. You will need to relocate the rack to a position where it can be anchored directly into studs, or use a different wall entirely.
Testing and Maintaining Your Mounted Rack
After completing the installation, it is crucial to verify the stability of your wooden bag holder rack before fully loading it with your favorite bags. Begin by hanging a single, lightweight bag on one of the hooks. Observe the rack closely for any signs of shifting, tilting, or pulling away from the wall. Listen for any creaking sounds from the wood or the wall.
Gradually add more bags over the course of a few hours, checking the stability of the mount at each step. If the rack remains perfectly flush and secure under a moderate load, it is ready for daily use. However, if you notice any movement or if the rack begins to sag, remove the bags immediately and inspect the hardware for loose screws or failing anchors.
In the tropical climate of the Philippines, high humidity and temperature shifts can cause wooden furniture to expand and contract. This natural movement can gradually loosen the mounting screws over time. Make it a habit to perform a quick maintenance check every few months. Gently wiggle the wooden bag holder stand rack wood to ensure it remains firmly anchored.
If you detect any play or wobbling, use a manual screwdriver to gently tighten the screws. Avoid using power tools for these routine adjustments, as they can easily strip the wood or damage the wall anchors. Regular inspections and minor adjustments will keep your rack secure, protecting both your walls and your valuable bag collection from accidental falls.
Frequently Asked Questions (FAQ)
Can I install a wooden bag holder rack without a power drill?
While it is technically possible to install light anchors in soft drywall using a manual screwdriver or hand drill, it is highly discouraged for concrete or hollow block walls. Attempting to hammer a nail or force a screw into concrete without a pre-drilled hole will damage the wall, bend the hardware, and likely split the wooden rack. For a safe, long-lasting installation on masonry walls, a power drill is an absolute necessity. If you do not own one, consider borrowing one from a neighbor or renting one from a local hardware store.
What should I do if my wall anchors keep spinning?
A spinning anchor occurs when the drilled hole is too large or the wall material has crumbled inside. To fix this, do not try to tighten the screw further. Remove the screw and the anchor. You can replace it with a slightly larger anchor that fits tightly in the enlarged hole. Alternatively, fill the damaged hole with a suitable wall patching compound or epoxy, let it cure completely according to the manufacturer’s instructions, and then drill a new pilot hole of the correct size. If the wall section is severely compromised, the safest option is to shift the wooden rack slightly and drill fresh holes in an undamaged area.

Community discussion
Share your experience or ask a question. Comments are reviewed before publication.