
A wall-mounted cap organizer with a dust cover protects your collection from humidity and dust while turning it into a striking visual display. In tropical climates like the Philippines, airborne dust and high humidity can quickly degrade cap fabrics, causing colors to fade or mold to develop. A covered wall organizer solves this by acting as a protective shield while showcasing your collection. Proper installation ensures the unit stays firmly on the wall, while strategic arrangement keeps your caps accessible and in pristine condition.
Whether you are mounting a new unit or reorganizing an existing one, taking the time to plan the layout pays off. A secure mount prevents accidental falls that could damage both the organizer and your caps. This guide walks you through the essential steps to securely mount the organizer and style your collection for the best visual results.
Prepare Your Wall and Gather the Right Tools
Before drilling any holes, you must identify the material of your wall to choose the correct mounting hardware. In many homes, walls are constructed from solid concrete, hollow blocks, or plaster over concrete, though drywall partition walls are common in modern condominiums. Concrete walls require masonry drill bits and plastic or metal expansion anchors, whereas drywall requires toggle bolts or specialized self-drilling drywall anchors. Using the wrong hardware can cause the organizer to pull away from the wall under the weight of your collection.
Products mentioned in this guide
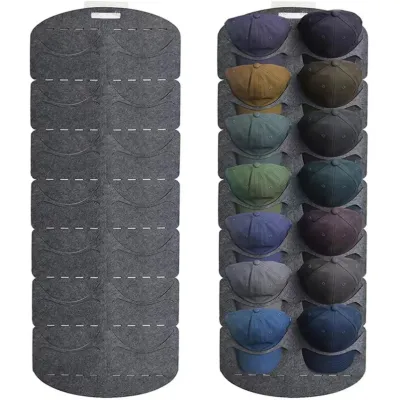

![[COD] KOQZM KITCHEN 1pc New Hat Rack Instagram-Style Cap Organizer With Hanging Hooks Fits 8 Tall Caps For Dorm Closet Wall Mounted Baseball](https://img.lazcdn.com/g/p/a1c726902ab47bbcfc56c764976f3da6.jpg_400x400q80.jpg_.webp)
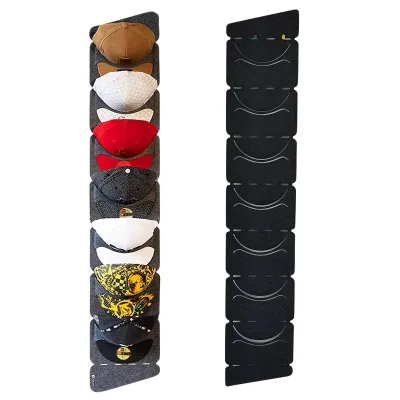
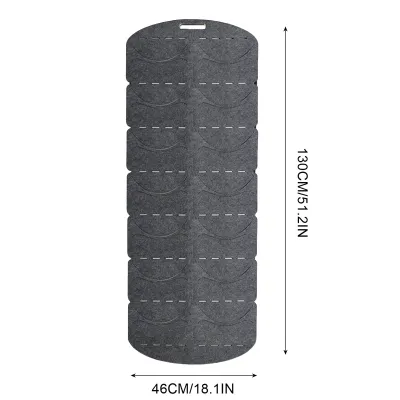
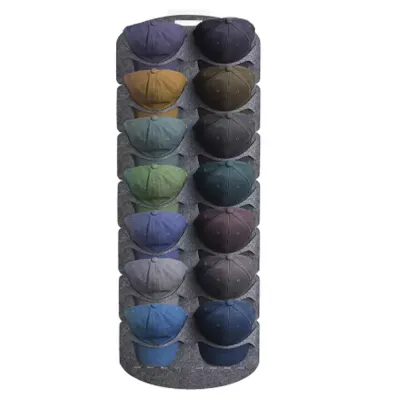
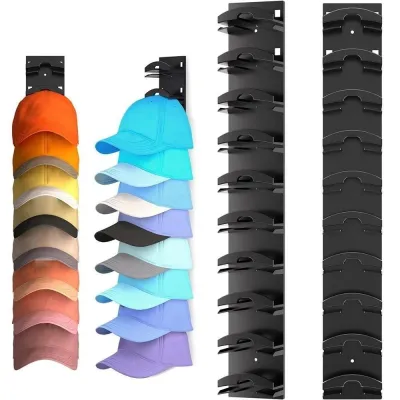
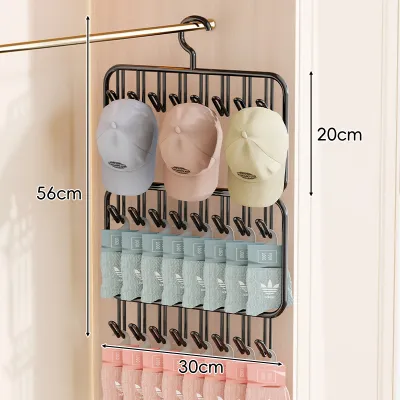
Prices are valid at publication and may change. Please refer to the product page for the latest price.
Next, review the manufacturer’s specified weight capacity and measure your designated wall space. You need to ensure there is sufficient clearance for the dust cover to open fully without hitting adjacent walls, door frames, or furniture. If the cover swings upward or outward, measure that trajectory to avoid installing the unit too close to the ceiling or light fixtures.
Gather all the necessary tools before you begin the installation process. You will need a reliable power drill with a hammer function if you are working with concrete, a spirit level to ensure a straight mount, a steel measuring tape, a pencil for marking, and screwdrivers that match your hardware. Having these tools ready prevents interruptions and helps you achieve a clean, professional finish.
Mount the Organizer Securely to the Wall
To begin the physical installation, hold the organizer’s backboard or main mounting brackets against the wall at your desired height. Place a spirit level on top of the bracket to ensure it sits perfectly horizontal. A crooked installation not only looks unprofessional but also places uneven stress on the wall anchors, which can lead to structural failure over time.

Once the bracket is level, use a pencil to mark the exact center of each mounting hole onto the wall. Set the organizer aside before you begin drilling. If you are drilling into concrete or masonry, use a hammer drill with a masonry bit that matches the diameter of your wall anchors. Drill slightly deeper than the length of the anchor to ensure it sits completely flush with the wall surface.
For drywall installations, use a standard drill bit to create pilot holes, then insert your drywall anchors. If you are lucky enough to align the mounting holes with wood studs behind the drywall, you can screw directly into the wood without using anchors. Tap the plastic wall anchors gently into the drilled holes using a hammer until they are flush with the wall surface.
Reposition the mounting bracket over the anchors and drive the screws through the bracket holes. Tighten the screws firmly, but avoid over-tightening, which can strip the plastic anchors or crack the organizer’s frame. Once the main frame is secure, give it a gentle tug to verify its stability before proceeding to the next step.
Now, attach the dust cover hinges or sliding tracks according to the product manual. This may involve screwing in metal hinges, snapping a clear acrylic panel into pre-molded tracks, or sliding a glass door along a track. Test the movement of the cover several times to ensure it opens and closes smoothly without catching on the frame or the wall.
If you encounter unexpected resistance, hit a steel reinforcing bar inside a concrete wall, or notice the wall material crumbling easily, stop drilling immediately. Similarly, be highly cautious of hidden electrical wiring or water pipes if you are drilling near light switches, outlets, or bathrooms. If you are unsure of the wall’s structural integrity, consult a qualified local carpenter or handyman to complete the installation safely.
Arrange Your Caps for a Clean, Accessible Display
Once your organizer is securely mounted, you can begin arranging your caps to maximize visibility and ease of access. To achieve a cohesive look, sort your caps systematically before placing them on the shelves. You can group them by color palette to create a smooth gradient, or organize them by brand, sports team, or design theme.
Alternatively, place your most frequently worn caps on the middle or lower shelves for quick access. Keep rare, seasonal, or highly collectible caps on the top shelves where they can be admired safely behind the cover. This practical arrangement keeps your daily rotation within arm’s reach while preserving your special edition pieces.
If your organizer features adjustable shelves, set the heights to accommodate different cap profiles. High-crown snapbacks and structured trucker hats require more vertical clearance than low-profile dad hats or flat-brim caps. Ensure there is enough space at the front of the shelves so the dust cover does not press against the brims when closed, which can warp the shape of your caps.
Avoid cramming too many caps onto a single shelf. Overcrowding squishes the crowns of structured caps, leading to unsightly creases that are difficult to remove. Distribute the weight evenly across the shelves, placing heavier items or larger caps on the bottom shelves to keep the center of gravity low. Never exceed the manufacturer’s load limits to prevent the shelves or the main frame from sagging.
Maintain the Dust Cover and Shelf Stability
To keep your display looking sharp, clean the acrylic or glass dust cover regularly. Clear covers are prone to fingerprints, smudges, and static dust, which can obscure your collection. Use a soft, non-abrasive microfiber cloth and a gentle, ammonia-free glass cleaner or a simple solution of water and a drop of dish soap. Avoid paper towels or rough rags, as they can leave micro-scratches on acrylic surfaces.
Periodically inspect the wall anchors and mounting screws to ensure they remain tight and flush. The high humidity levels in the Philippines can affect wall stability over time, particularly in plaster or drywall installations where moisture can soften the material. If you notice any wobbling, sagging, or gaps forming between the organizer and the wall, remove the caps immediately and reinforce the mounting hardware.
While the cover blocks the majority of airborne dust, small particles can still enter through gaps during daily use. Lightly dust the interior shelves and the caps themselves once a month using a soft feather duster or a low-powered handheld vacuum with a brush attachment. Keeping the interior clean prevents dust buildup from settling into the fabric of your caps.
Frequently Asked Questions (FAQ)
Can I install a cap organizer on a tiled wall?
Yes, but you must take extra precautions to prevent the tiles from cracking during installation. Use a specialized diamond-tipped or carbide-tipped tile drill bit, and never use the hammer function on your drill while penetrating the tile layer. Apply a piece of masking tape over the marked spot to prevent the drill bit from slipping on the slick tile surface. Once you pass through the tile and reach the concrete or drywall behind it, you can switch to a standard masonry or wood bit to complete the hole.
How do I prevent caps from losing their shape on the shelves?
To maintain the structured dome of your caps, avoid stacking them tightly on top of one another. Use cardboard or plastic cap shapers inside the crowns of your most prized caps to help them retain their original form. When placing caps on flat shelves, let them sit naturally on their brims or use dedicated display stands that support the inner crown without putting pressure on the sweatband or adjustment strap.

Community discussion
Share your experience or ask a question. Comments are reviewed before publication.