
Installing cap hooks to organize your hats, bags, or light accessories requires matching your mounting method to the specific wall material in your home. Whether you are dealing with solid concrete, hollow drywall, or decorative wood paneling, using the correct hardware prevents unsightly cracks, peeling paint, and loose hooks. In tropical environments like the Philippines, where high humidity can affect both adhesive strength and wall integrity, taking a systematic approach ensures your storage remains secure over time.
Before driving any screws or sticking any adhesives, you must identify what lies behind your paint or wallpaper. A simple tap test or a stud finder can reveal whether you are working with a solid masonry structure, a hollow plasterboard cavity, or a sturdy wooden stud. By selecting the appropriate fasteners and following step-by-step installation practices, you can display your cap collection safely without risking structural or cosmetic damage to your living space.
Gather the Right Tools and Hardware for Your Wall Type
Preparing your workspace with the correct tools before you begin prevents mid-project delays and minimizes the risk of accidental surface damage. For drilled installations, you will need a reliable power drill, a screwdriver that matches your screw heads, a bubble level to ensure straight alignment, and a pencil for marking your placement. Having these items on hand allows you to work methodically without rushing through critical steps.
Products mentioned in this guide
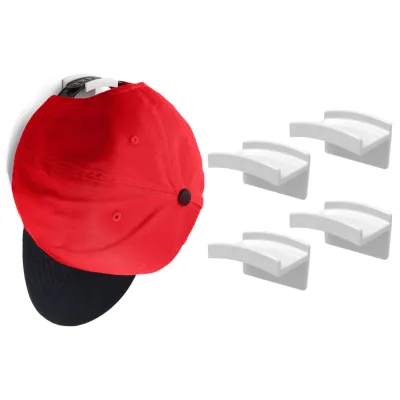
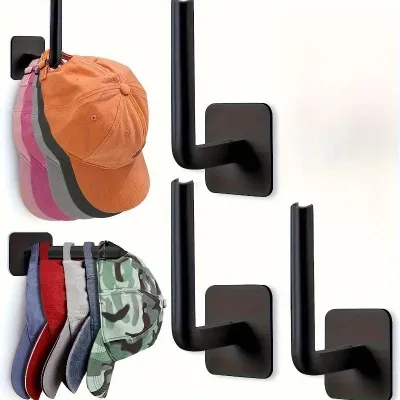
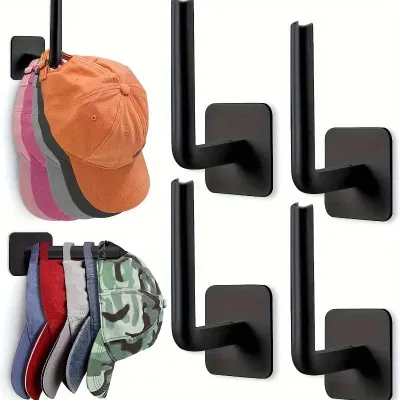
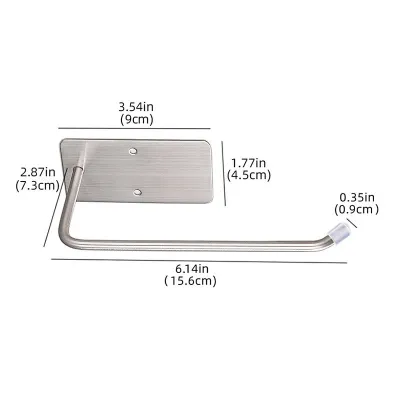
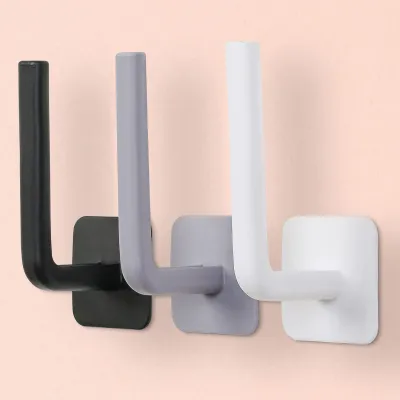
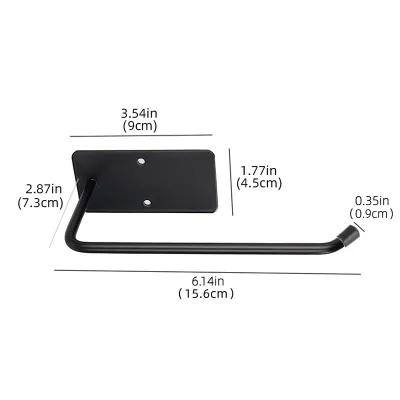
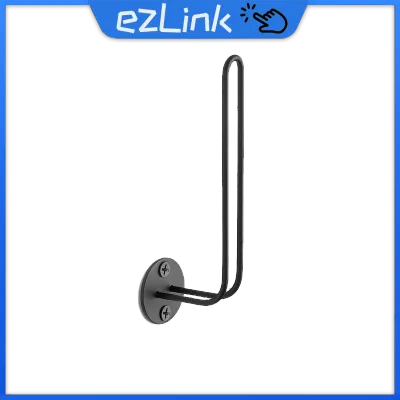
Prices are valid at publication and may change. Please refer to the product page for the latest price.
The choice of drill bits and fasteners must align precisely with your wall material. Solid concrete or masonry walls require specialized carbide-tipped masonry drill bits and plastic wall plugs or masonry anchors. Drywall installations demand hollow-wall anchors, such as threaded drywall anchors or toggle bolts, which expand behind the plasterboard to distribute weight. For wood panels or studs, standard wood screws are sufficient, but you must select a drill bit slightly narrower than the screw’s inner shaft to create a clean pilot hole.
Do not overlook safety gear and surface protection. Wearing safety glasses protects your eyes from falling plaster dust or concrete chips, especially when drilling overhead. Additionally, keeping a roll of low-tack painter’s tape nearby is highly beneficial; applying a small piece over your marked drill spot helps stabilize the drill bit and prevents the surrounding paint or plaster from chipping as you work.
Installing Cap Hooks on Concrete or Masonry Walls
Concrete and masonry walls offer exceptional load-bearing capacity but require careful handling to avoid cracking the plaster finish or shattering the underlying block. Begin by determining the exact position of your cap hook and marking the spot with a pencil. To prevent the drill bit from wandering across the smooth wall surface when you start drilling, place a small square of painter’s tape directly over your pencil mark and draw the mark again on top of the tape.

When drilling into masonry, select a carbide-tipped masonry bit that matches the diameter specified on your anchor packaging. Set your drill to the standard drilling mode first to establish a shallow guide indentation, then switch to the hammer-drill setting if your wall is exceptionally hard. Drill straight into the wall, keeping the tool perfectly perpendicular to the surface, and drill slightly deeper than the length of the anchor to accommodate any residual dust. Once finished, remove the tape and clear the dust from the hole using a hand pump or vacuum.
Insert the plastic masonry anchor into the hole, tapping it gently with a hammer until the collar sits completely flush with the wall surface. If the anchor protrudes, do not force it; instead, remove it and drill the hole slightly deeper. Position your cap hook over the embedded anchor, insert the screw, and tighten it using a manual screwdriver. Avoid using a power drill for this final step, as excessive torque can easily strip the plastic anchor or crack the decorative base of your hook.
Mounting Cap Hooks on Drywall or Plasterboard
Drywall and plasterboard walls are common in modern partitions but lack the structural density to hold screws on their own. For heavy-duty mounting or hanging multiple caps on a single rack, your first step should be locating a wall stud using an electronic stud finder. Securing your hardware directly into a wooden stud provides the most stable foundation and eliminates the need for specialized hollow-wall anchors.
If a stud is not available at your desired location, you must select a hollow-wall anchor rated for the weight of your cap hook and the items it will hold. Self-drilling threaded anchors work well for light loads, while toggle bolts or molly bolts are better suited for heavier displays. Check the manufacturer’s packaging to verify the required pilot hole diameter, as drilling a hole that is even slightly too large will weaken the anchor’s grip and cause the drywall paper face to tear under tension.
Drill the pilot hole cleanly at your marked spot, keeping the drill steady to avoid enlarging the opening. Insert your chosen anchor according to its specific instructions; for threaded anchors, screw them in until they are flush with the drywall, and for toggle bolts, compress the metal wings before pushing them through the hole. Align your cap hook over the anchor and secure it with the provided screw, tightening until snug while ensuring you do not over-tighten and crush the brittle gypsum core of the wall.
Securing Cap Hooks to Wood Panels or Studs
Mounting cap hooks directly onto wood panels, wainscoting, or exposed wooden studs is a straightforward process that provides excellent holding power. However, working with wood requires precautions to prevent the material from splitting along the grain. Before you begin, measure the thickness of your wood paneling to ensure the screws included with your cap hook will not penetrate completely through to the opposite side, which could damage hidden wiring or ruin the reverse finish.
To protect the wood fibers from splitting as the screw enters, you must drill a pilot hole. Select a drill bit that matches the inner shank of your screw, excluding the outer threads. Hold the drill perpendicular to the wood surface and drill to a depth slightly shallower than the length of the screw. This pilot hole relieves the internal pressure within the wood while still allowing the screw threads to bite deeply into the material for a secure hold.
Place the cap hook over the pre-drilled hole and insert the wood screw by hand. Use a manual screwdriver to tighten the screw until the head is flush against the hook’s mounting bracket. Applying excessive torque with a power driver can easily strip the wooden threads inside the pilot hole, rendering the mount loose and unstable. If the screw becomes difficult to turn, applying a small amount of bar soap or wax to the threads can lubricate the entry without damaging the wood.
Using Adhesive Cap Hooks for a Damage-Free Alternative
For renters or those wishing to avoid drilling entirely, adhesive cap hooks offer a practical, damage-free mounting alternative. The success of an adhesive hook depends heavily on thorough surface preparation. Begin by cleaning the target area with rubbing alcohol to remove dust, oils, and fingerprints; avoid using household glass cleaners or soapy water, as these can leave behind a thin residue that prevents the adhesive from bonding properly.
Once the surface is completely dry and smooth, peel the backing from the adhesive strip and press it firmly against the wall for the duration specified in the product instructions, usually around thirty seconds. In warm, humid environments common in tropical regions, ensuring a dry application surface is critical, as moisture can compromise the initial bond. After securing the adhesive pad, mount the hook body and allow the adhesive to cure completely—typically twenty-four hours—before hanging any caps or accessories.
Always check the product label for weight limits and surface compatibility before installation. Most adhesive strips are designed for smooth, painted drywall or finished wood and may fail on textured plaster, brick, or wallpaper. Exceeding the rated weight capacity or hanging items before the curing process is complete can cause the hook to fall, potentially tearing the paint or plaster surface as it pulls away.
Testing Stability and Maintaining Your Cap Hooks
Once your cap hooks are installed, performing a gradual load test ensures they can safely support your items. Instead of immediately hanging your heaviest caps or bags, apply a fraction of the weight first and observe the hook for any signs of movement, bending, or wall deflection. This cautious approach allows you to identify any installation weaknesses before they result in falling objects or surface damage.
Over time, environmental factors such as temperature shifts and high humidity can affect the stability of your wall mounts. Periodically inspect your cap hooks for signs of looseness, hairline cracks in the surrounding plaster, or peeling edges on adhesive backings. If you notice any play in a screw-mounted hook, gently tighten the hardware by hand; if an adhesive hook begins to lift, remove it immediately to prevent it from falling and tearing the paint.
If a hook must be removed or shows signs of failure, take care to minimize wall damage during the process. For adhesive hooks, pull the removal tab slowly and parallel to the wall surface rather than pulling it outward. For anchored hooks, back the screws out completely and use appropriate wall fillers or spackle to patch the remaining holes, sanding the area smooth once dry before applying matching touch-up paint.
Frequently Asked Questions (FAQ)
Can I install a cap hook on a tiled wall without cracking the tile?
Yes, you can install a cap hook on a tiled wall, but it requires specialized tools and a patient approach to prevent the tile from shattering. Use a dedicated glass or tile drill bit, such as a diamond-tipped or carbide spear-point bit, and place a piece of painter’s tape over the mark to keep the bit from slipping. Drill at a slow speed with consistent, light pressure, and periodically drip water onto the bit to keep it cool and prevent thermal shock. Once the bit has fully penetrated the tile layer, switch to a standard masonry bit to drill into the underlying concrete or drywall, ensuring you never use the hammer-drill function until the tile is completely bypassed.
How do I remove a stuck wall anchor without damaging the drywall?
Removing a stubborn drywall anchor without tearing the surrounding paper face requires a gentle touch. If the anchor is slightly loose, grip the outer collar firmly with needle-nose pliers and pull straight outward with a gentle twisting motion. If the anchor is firmly stuck or is a hollow-wall toggle type, it is often safer to push it completely into the wall cavity rather than prying it outward, which can create a much larger hole. Alternatively, you can use a utility knife to carefully score and cut away the exposed plastic collar, push the remaining sleeve slightly past the drywall surface, and cover the recessed hole with spackle before sanding and painting.

Community discussion
Share your experience or ask a question. Comments are reviewed before publication.