
An extendable kitchen table offers the ultimate flexibility for modern homes, especially in space-conscious layouts where every square meter counts. It serves as a compact, practical surface for daily family meals, but can quickly transform to accommodate larger gatherings during holidays or weekend get-togethers.
However, bringing one of these dynamic pieces into your dining area requires careful planning. If you only measure the room with the collapsed table in mind, you risk blocking vital walkways, trapping guests against walls, or preventing doors from opening when it is fully extended.
To avoid these spatial headaches, you must measure your space for both states—collapsed and expanded. This ensures that daily traffic flows smoothly and special occasions remain comfortable for everyone.
Products mentioned in this guide
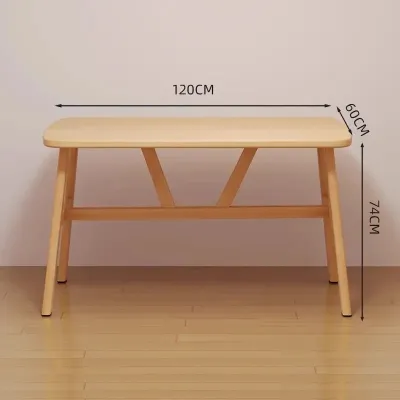
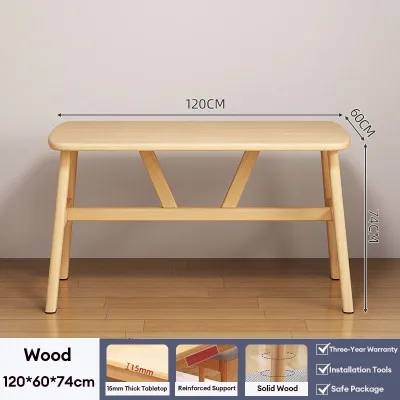
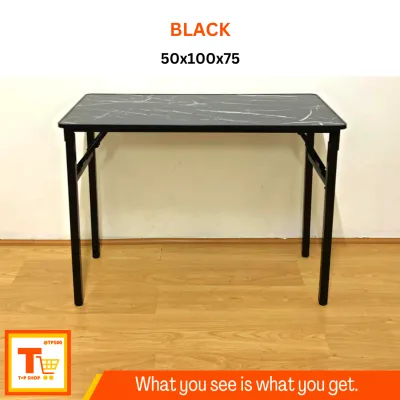
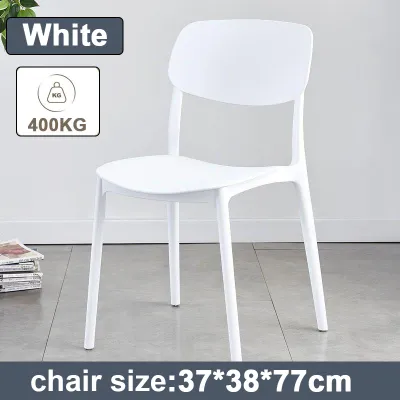
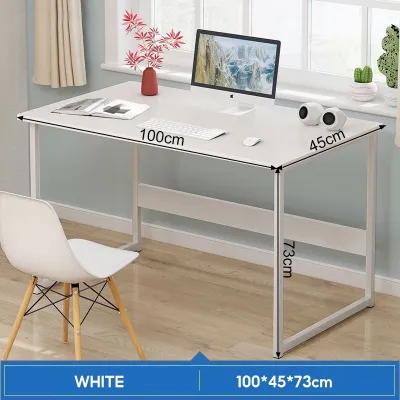
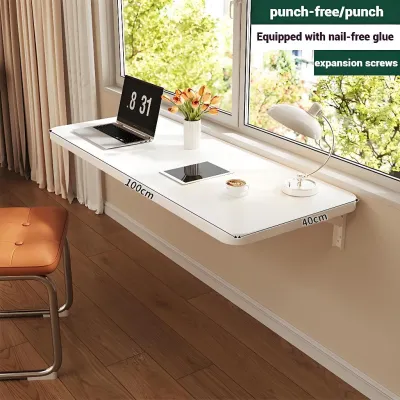
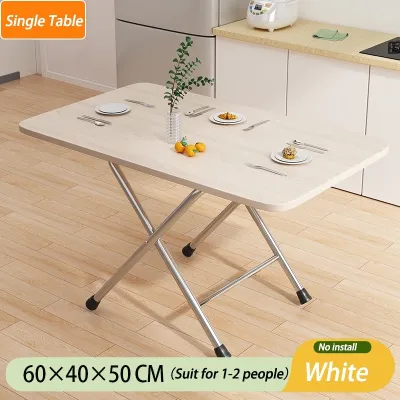
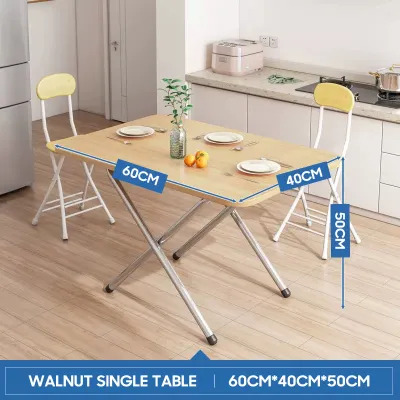
Prices are valid at publication and may change. Please refer to the product page for the latest price.
Know Your Kitchen Table's Collapsed and Expanded Dimensions
Before pulling out your tape measure, you need to establish the exact physical footprint of the furniture you plan to buy. This starts with gathering the manufacturer’s specifications. Do not rely on visual estimates or generic size categories like “six-seater.”
You need three critical sets of numbers: the fully collapsed length and width, the fully expanded length and width, and the overall height. Additionally, check the dimensions of the table when packaged. In many high-rise condominiums in the Philippines, you must verify that the boxed table can fit inside the service elevator, through tight corridor corners, and past your main doorway during delivery.
Next, consider how the table’s shape changes when extended. A square kitchen table might expand into a long rectangle, while a round table might use a center leaf to transform into an oval. These shape transformations alter how the table interacts with the surrounding room. Rounded corners on an oval or round table can offer slightly more walking clearance at the corners of a room, whereas sharp rectangular corners require strict clearance paths to prevent painful bumps.
The design of the table’s base is another critical factor that is often overlooked. A table supported by a central pedestal offers more flexibility for chair placement because there are no corner legs to obstruct knees or chair frames. Conversely, a table with traditional four corner legs restricts where you can tuck chairs, especially when collapsed.
If the legs stay at the outer corners during expansion, they may limit how close together your guests can sit. If the legs remain stationary while the top slides outward, the cantilevered ends must be checked for stability and load capacity.
Finally, understand the extension mechanism itself. Common designs include butterfly leaves, drop-leaves, and pull-apart slide systems that require manual insertion of separate leaf panels. Some of these mechanisms require temporary clearance to operate. For example, a pull-apart table requires you to stand at the ends and pull the frame outward, meaning you need physical space to stand and operate the mechanism without hitting nearby walls or cabinets.
Map Your Room Dimensions and Traffic Flow
With your potential table’s dimensions in hand, it is time to map the actual boundaries of your dining room or open-plan kitchen. Begin by measuring the overall length and width of the designated dining zone from wall to wall.

In open-concept layouts common in modern townhouses and condos, define the dining zone by measuring the distance between other functional zones, such as the edge of the living room sofa and the kitchen counter island.
Once you have the basic room dimensions, identify and mark the swing radius of all nearby doors. This includes the main entrance, bedroom doors, kitchen doors, and the sliding or swing doors leading to a balcony. A table that fits perfectly on paper can become a daily nuisance if it blocks a balcony door from opening fully or forces family members to squeeze past a half-opened bedroom door.
Next, trace the primary traffic routes through the space. In a typical home, the path from the kitchen counter to the dining table must remain completely clear to allow for safe transport of hot dishes and heavy serving trays. Similarly, consider the main walkways connecting the living room to the hallway, bathroom, or bedrooms. These high-traffic paths should not be compromised by the daily placement of your kitchen table.
Lastly, take note of fixed architectural obstacles. In the Philippines, split-type air conditioning units mounted on the wall, low-hanging light fixtures, wall sockets, light switches, and structural columns are common features that dictate furniture placement.
A table placed too close to a column might prevent a chair from being pulled out, while a table positioned directly under a low chandelier must be perfectly centered to avoid looking awkward. Ensure you also account for wall-mounted fans or built-in cabinets that require door-clearance space.
Plan the Clearance for Daily Use (Collapsed State)
For the vast majority of the year, your extendable table will remain in its collapsed, everyday state. Ensuring it fits comfortably during this period is essential for maintaining a relaxed, functional home. To do this, you must apply standard interior design clearance zones to your measurements.
The first zone to calculate is the chair pull-out space. To allow a person to comfortably pull out their chair, sit down, and tuck themselves back in, you need a minimum of 45 to 60 centimeters (18 to 24 inches) of clear space measured from the edge of the table to the nearest wall or obstacle.
The second zone is the rear walkway space. If you want family members to be able to walk behind a seated person without forcing them to lean forward, you need an additional 45 to 60 centimeters, bringing the total clearance from the table edge to the wall to 90 to 120 centimeters (36 to 48 inches).
To find your table’s total daily footprint, add these clearances to the collapsed table dimensions on all active sides. For example, if your collapsed table measures 120 cm by 80 cm, and you want comfortable walkways on all four sides, your usable dining zone needs to be at least 300 cm by 260 cm.
If your space is limited, you can make practical adjustments. One common strategy is pushing one side of the kitchen table directly against a wall or kitchen island when collapsed. While this eliminates the chair pull-out zone on that specific side, it opens up valuable floor space in the rest of the room. When you have guests, you can simply pull the table away from the wall to restore the seating capacity.
When planning these tight layouts, do not forget to account for baseboards, wall moldings, and window sills. These protruding features can prevent a table from sitting completely flush against a wall, often stealing 2 to 5 centimeters of expected clearance. Always measure from the widest point of the obstacle rather than the bare wall.
Plan the Clearance for Gatherings (Expanded State)
The true test of an extendable table comes when it is fully expanded. While you can tolerate slightly tighter clearances during occasional family gatherings or holiday dinners, you must still ensure the layout remains safe, functional, and comfortable enough that guests do not feel trapped.
To calculate the maximum footprint, take the fully expanded dimensions of the table and add the necessary chair clearances on all sides that will be used for seating. If the table expands to seat ten people, you will likely have chairs positioned at the very ends of the table. Ensure you add the 45 to 60 centimeters of chair pull-out clearance to these extended ends, as well as the sides.
Next, perform a critical safety check. When the table is fully extended, does it block emergency exit paths, the main entrance, or access to the kitchen? In tropical climates like the Philippines, keeping access to balconies or large windows clear is also important for maintaining natural ventilation and airflow. Ensure that even with guests seated, there is still a clear path of at least 60 centimeters for someone to navigate through the room in an emergency.
If your measurements reveal a tight squeeze, prepare temporary compromises that you can implement strictly during gatherings. For instance, you can temporarily move a sideboard, buffet table, or freestanding shoe cabinet out of the dining room and into a hallway or bedroom to free up floor space.
Another highly effective strategy is using backless wooden benches instead of individual dining chairs. Benches can be tucked completely under the table when not in use, instantly clearing up walkways when guests stand up to mingle.
Finally, plan for the storage and deployment of your extra seating. If you use folding chairs or stackable stools for guests, identify where they will be stored when the table is collapsed. When they are in use, verify that there is enough physical space to pull them out and sit comfortably without bumping into television consoles, glass display cabinets, or house plants.
Verify Your Layout with a Physical Mockup
Even with precise mathematical calculations, it can be difficult to visualize how a piece of furniture will feel in your actual home. To eliminate the risk of making an expensive mistake, create a physical mockup of both table states before committing to a purchase.
Start by using painter’s tape, masking tape, or laid-out newspaper to outline the exact dimensions of the table on your floor. First, tape the outline of the collapsed table. Then, use a different color of tape or draw a dashed outer line to represent the fully expanded footprint. This visual guide immediately reveals how much floor space the table will occupy in both scenarios.
Next, bring in physical stand-ins to simulate seated guests. Place your existing dining chairs, storage boxes, or floor cushions along the taped edges. Pull them out to the standard 45 to 60-centimeter mark to test the physical reality of the clearances. Sit on the chairs or boxes to experience firsthand how much elbow room you will have and whether your back will brush against the wall or nearby furniture.
With the mockup in place, physically walk your daily traffic routes. Practice carrying a large serving bowl or tray from your kitchen counter to the taped table area. Open nearby cabinet doors, the refrigerator, and any room doors to ensure they do not collide with your simulated furniture. If you find yourself repeatedly stepping onto or over the taped lines during your normal routine, your proposed table size may be too large.
To get the most accurate assessment, leave the tape on your floor for two to three days. Living with the layout allows you to observe how it impacts your natural movement throughout different times of the day, such as during the morning rush or when cleaning up in the evening. If the taped boundaries do not disrupt your daily life, you can proceed with your purchase with complete confidence.
Frequently Asked Questions (FAQ)
How much space do I need between the kitchen table and the wall?
To pull out a dining chair comfortably, you need a minimum clearance of 45 to 60 centimeters (18 to 24 inches) between the edge of the kitchen table and the wall. If you want to allow enough space for another person to walk behind a seated guest without disruption, you should aim for a total of 90 to 120 centimeters (36 to 48 inches) of clearance. In smaller homes where space is at a premium, you can push one side of the table completely flush against the wall during daily use, which eliminates the clearance requirement on that side and frees up floor space. When hosting, simply pull the table away from the wall to accommodate guests on all sides.
Can I use an extendable table in a small condo dining area?
Yes, an extendable table is one of the best furniture choices for a compact condominium. To make it work seamlessly, look for space-saving designs such as drop-leaf tables, where the extended panels fold flat against the sides when not in use, or tables with butterfly leaves that store internally. Pair the table with low-profile, backless benches that can tuck entirely underneath the tabletop to keep walkways clear when the table is collapsed. Positioning the table in a corner or against a kitchen peninsula when collapsed also helps maximize open floor space for daily living, allowing you to expand the setup only when hosting guests.

Community discussion
Share your experience or ask a question. Comments are reviewed before publication.