
Mounting a hat rack securely in a Philippine home depends entirely on identifying your wall type—typically concrete hollow blocks, drywall, or wood panels—and matching it with the correct drilling technique and anchoring hardware. Because hats, bags, and umbrellas can add significant weight over time, a mismatched anchor will eventually sag, pull out, or damage your wall. By taking the time to assess your wall material and prepare the right tools, you can achieve a clean, level, and durable installation that withstands daily use and tropical humidity.
In many local households, walls serve multiple structural and aesthetic purposes. A poorly mounted rack not only risks falling and damaging your floor tiles or baseboards, but it can also leave unsightly, crumbling holes that are difficult to patch cleanly. Understanding the physical properties of your specific wall ensures that your storage solution remains a permanent, functional addition to your entryway, bedroom, or hallway.
Pre-Installation Checks and Tool Preparation
Before drilling any holes, you must accurately identify the material of your wall. Concrete walls, which are standard in most Philippine ground floors and external structures, feel cold to the touch, sound completely solid when tapped, and resist simple hand-nailing. Drywall or gypsum board, often used for interior partitions in modern condominiums and townhouses, sounds hollow when tapped and yields slightly to firm pressure. Wood paneling or plywood partitions, common in traditional homes or renovated rooms, have a distinct warmth, visible grain patterns, and a resonant, hollow sound when tapped.
Products mentioned in this guide
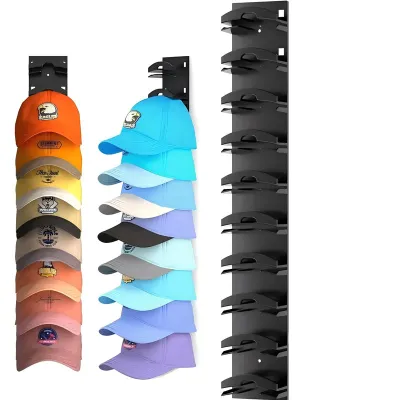
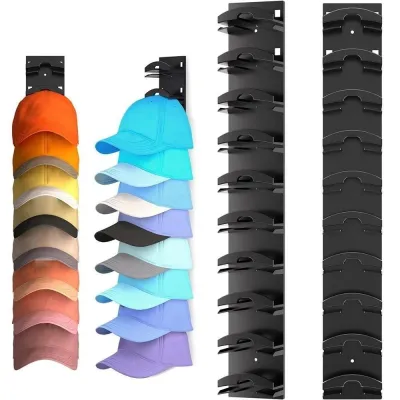
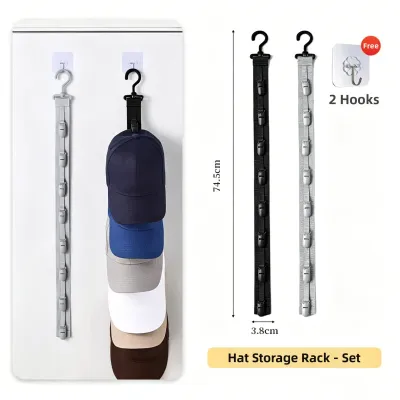
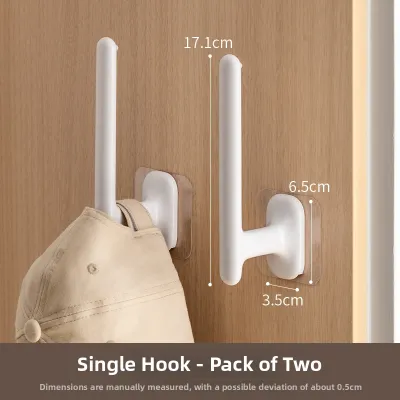
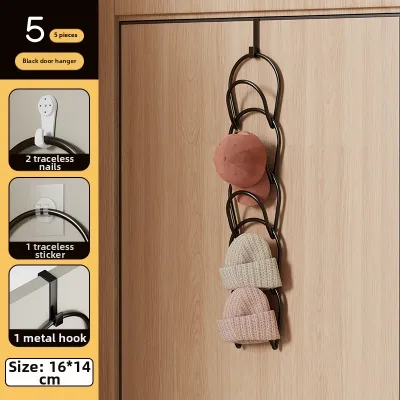
Prices are valid at publication and may change. Please refer to the product page for the latest price.
Once you have identified the wall type, consult the manufacturer’s instructions for your hat rack. Take note of the recommended weight capacity, the number of mounting points, and the spacing between the pre-drilled holes on the rack itself. Knowing these specifications helps you select the correct screw gauge and length, ensuring the hardware can handle both the weight of the rack and the items you plan to hang on it.
Gathering the correct tools beforehand prevents interruptions and ensures a precise installation. You will need a reliable power drill, a spirit level to keep the rack perfectly horizontal, a tape measure, a pencil for marking drill points, and safety goggles to protect your eyes from falling dust. Ensure you have the specific drill bits required for your wall type: masonry bits for concrete, wood bits for timber, or standard twist bits for drywall anchors.
Finally, check the planned mounting area for hidden hazards. In local residential construction, electrical wiring is often run through orange flexible utility pipes embedded directly within concrete walls or tucked behind drywall partitions. Plumbing pipes may also run close to the surface near bathrooms and kitchens. Use a wall scanner if available, or carefully map out the positions of nearby light switches, power outlets, and water fixtures to ensure your drill path is completely clear of utility lines.
Mounting on Concrete Hollow Block Walls
Concrete hollow blocks are the most prevalent building material for residential walls in the Philippines. Because these blocks consist of a hard outer shell and a hollow interior cavity, standard nails or simple screws will not hold. You must use expansion anchors, commonly known as plastic wall plugs, which expand inside the drilled hole to grip the concrete tightly.

To begin, select a masonry drill bit that matches the exact diameter of your plastic wall plugs. Mark the mounting holes on the wall using your hat rack as a template, verifying the alignment with a spirit level. Set your power drill to the hammer drill setting, which combines rotary action with a rapid pulsing motion to chip through the tough concrete. Hold the drill perfectly perpendicular to the wall to ensure the hole does not become oblong or oversized.
Drill each hole slightly deeper than the length of the plastic anchor to allow room for any residual concrete dust. After drilling, clear the dust out of the hole using a hand blower or a thin brush; excess dust can prevent the anchor from seating properly or expanding fully. Insert the plastic wall plug into the hole, tapping it gently with a hammer until it sits completely flush with the concrete surface.
Align the mounting brackets of your hat rack with the installed anchors. Insert the screws through the brackets and drive them into the plastic plugs using a manual screwdriver or a drill on a low-torque setting. As the screw enters, it forces the plastic plug to expand against the inner walls of the concrete block, creating a high-friction hold. If your drill suddenly plunges forward into a hollow cavity within the block and the plastic plug spins freely without gripping, stop immediately. In these hollow sections, you may need to switch to a specialized toggle bolt or a hollow-block anchor that expands behind the block’s outer shell, or consult a professional builder to locate a solid section of the wall.
Mounting on Drywall or Gypsum Board
Drywall and gypsum board partitions offer a smooth, modern finish but lack the structural density of concrete or solid wood. Hanging a hat rack directly onto drywall without proper support will inevitably lead to the hardware pulling through the soft plaster core. For the strongest and most reliable installation, always attempt to mount the rack directly into the vertical wooden or metal studs behind the drywall.
Use a stud finder to locate the edges and center of the studs behind your wall. If the studs align with your desired hat rack placement, you can drive wood screws directly through the drywall and into the studs, bypassing the need for specialized anchors. However, if the studs do not align with your layout, you must use heavy-duty drywall anchors, such as self-drilling threaded anchors or toggle bolts, which are designed to distribute the weight across a wider area of the gypsum board.
Match the anchor size to both the thickness of your drywall—typically 9 millimeters or 12 millimeters in local residential builds—and the diameter of the screws provided with your hat rack. If using self-drilling plastic anchors, screw them directly into the drywall at your marked points until they are flush with the surface. If using toggle bolts, drill a pilot hole matching the diameter of the folded toggle wings, push the toggle through the hole until it springs open behind the drywall, and then tighten the bolt.
When securing the hat rack brackets to the drywall anchors, exercise caution and avoid over-tightening the screws. Excessive force can crush the fragile gypsum core around the anchor, stripping the threads and severely compromising the structural integrity of the hold. Tighten the screws until they are snug and the bracket is held firmly against the wall, then stop.
Mounting on Wood Panels or Structural Studs
Wood paneling, plywood partitions, and exposed timber framing provide an excellent, high-strength substrate for mounting wall fixtures. However, because wood can split under pressure, you must take specific precautions to preserve both the wall and the security of your hat rack.
Always drill pilot holes before driving screws into wood. Select a wood drill bit that is slightly smaller than the inner shank of your mounting screws, excluding the threads. Drilling a pilot hole removes a small amount of wood material, creating a clear path for the screw to follow without exerting excessive outward pressure that could split the wood panel or structural stud.
Drive high-quality wood screws directly through the hat rack brackets and into the pre-drilled pilot holes. Ensure the screws are long enough to penetrate deep into the solid wood to support the weight of your hats, bags, and accessories. If you are mounting onto a thin decorative plywood veneer, be aware that the veneer itself may only be a few millimeters thick and cannot support a heavy load. In this scenario, verify if there is a solid structural frame behind the veneer, or adjust your screw length to ensure you do not accidentally pierce through the opposite side of a thin partition wall.
Final Stability and Safety Verification
Once the hat rack is mounted, place a spirit level along the top edge of the frame or hooks to confirm it is perfectly horizontal. Even a slight tilt can cause hats to slide off or create uneven weight distribution that strains the mounting hardware over time. If the rack is slightly out of alignment, loosen the screws marginally, adjust the position, and retighten them.
Perform a manual stability test by gently pulling down on the rack’s brackets and hooks. Check for any visible movement, wobbling, or gaps opening between the rack and the wall surface. If you notice any play, check if the screws need further tightening or if the anchors have failed to expand correctly inside the wall.
When utilizing your new hat rack, distribute the weight of your items evenly across all available hooks. Avoid hanging heavy items, such as wet umbrellas, heavy backpacks, or multiple thick jackets, on a single side or hook, as this uneven load can warp the rack or loosen the wall anchors.
The high humidity levels characteristic of the Philippine climate can cause wood to expand and contract, and can occasionally soften drywall partitions. Establish a routine to inspect the mounting hardware every few months. Gently wiggle the rack to ensure the screws remain tight and the anchors have not loosened within the wall, keeping your entryway organized and safe.
Frequently Asked Questions (FAQ)
Can I mount a heavy hat rack on drywall without finding a stud?
Drywall alone cannot support heavy, fully loaded hat racks without specialized heavy-duty anchors. Standard plastic plugs designed for concrete will slide right out of drywall under load. If you cannot locate a structural stud behind the wall, you must use heavy-duty toggle bolts or hollow-wall anchors. Always check the anchor packaging for its specific weight rating and compare it to the combined weight of your hat rack and the items you plan to hang. If the total weight exceeds the safe limit of the anchors, you must relocate the rack to a stud or choose a lighter rack design.
What should I do if the wall anchor spins and won't tighten?
A spinning wall anchor typically indicates that the drilled hole is too large, or the surrounding wall material has crumbled and lost its grip. To resolve this, carefully pull the spinning anchor out of the wall. Fill the damaged hole with a high-quality wall filler or patching compound and allow it to cure completely according to the manufacturer’s instructions. Once cured, you can drill a new, correctly sized hole nearby, or use a larger anchor size that fits snugly into the repaired area.

Community discussion
Share your experience or ask a question. Comments are reviewed before publication.