
Packing a desktop cabinet for a moving day requires a systematic approach to prevent damage to both the furniture piece and its contents. The most effective method is to empty the cabinet entirely, pack the contents into labeled boxes according to weight and fragility, and wrap the empty cabinet shell securely to protect its moving parts and exterior finish. Skipping these steps often leads to warped drawer tracks, cracked wood, or shattered desktop accessories during transit. In the humid tropical climate of the Philippines, proper packing also shields your documents, electronics, and wooden furniture from moisture, dust, and sudden rain showers during transport.
Declutter and Gather Your Packing Supplies
Emptying the desktop cabinet completely is the essential first step. It is easy to accumulate dried-up pens, obsolete receipts, and broken charging cables over time. Sorting through these items before packing ensures you only transport what you actually need, saving valuable box space and reducing weight. Categorize your belongings into three distinct piles: keep, donate, and discard. Moving is the perfect opportunity to streamline your workspace and eliminate unnecessary clutter.
To make sorting manageable, clear a large, flat workspace nearby, such as a dining table or a clean patch of floor. This staging area allows you to lay out all items from your desktop cabinet clearly. Having a dedicated space prevents small components, like memory cards, drawer keys, or small decorative screws, from getting lost in the chaos of a move.
Products mentioned in this guide
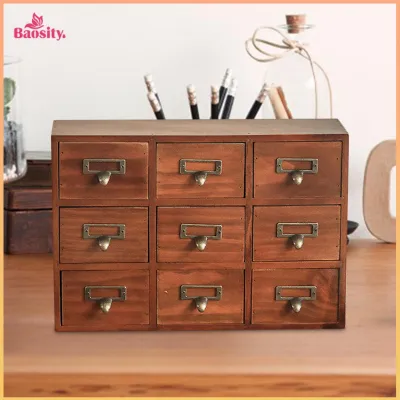
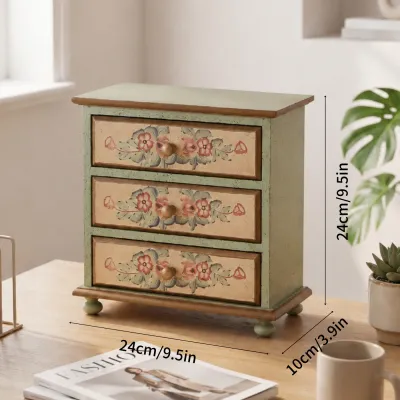
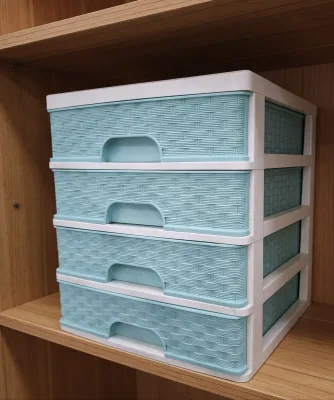
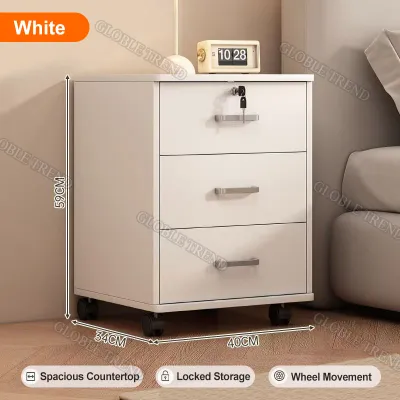
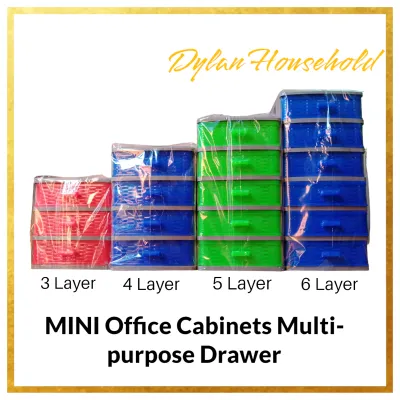

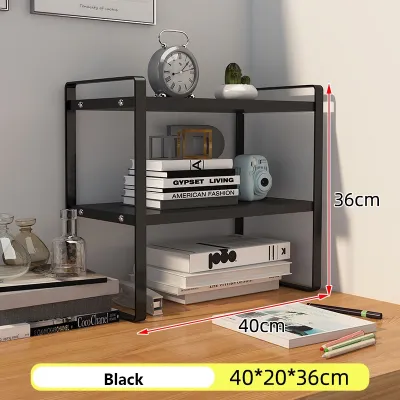
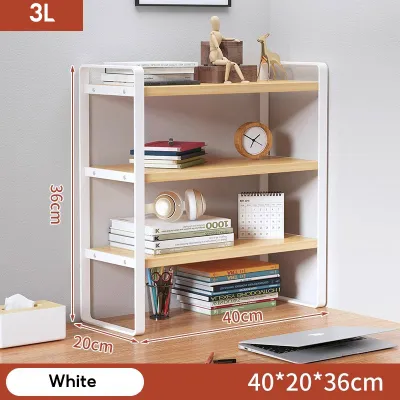
Prices are valid at publication and may change. Please refer to the product page for the latest price.
Gather all necessary materials before you begin wrapping or boxing. Having your supplies ready prevents interruptions and keeps your packing momentum going. For a standard desktop cabinet packing project, prepare the following items:
- Small-to-medium cardboard boxes: Smaller boxes are ideal for heavy items like books and documents, preventing the box from becoming too heavy to lift.
- Bubble wrap and packing paper: Essential for cushioning delicate items, glass organizers, or small electronic devices.
- Plastic stretch wrap: Perfect for securing drawer slides and wrapping the cabinet's outer protective layers.
- Packing tape: For sealing cardboard boxes securely.
- Painter's tape: A low-tack adhesive tape used for holding drawers shut without damaging delicate wood veneers or paint.
- Ziplock bags: Crucial for containing small screws, drawer knobs, paperclips, and loose stationery.
- Permanent markers: For clear, bold labeling on all sides of your boxes.
It is critical to use the right tape for the right surface. Standard duct tape or heavy-duty packaging tape should never be applied directly to the wood, laminate, or painted surfaces of your desktop cabinet. The aggressive adhesives on these tapes can chemically react with wood finishes or peel away paint, leaving a sticky, stubborn residue that is difficult to clean without causing further surface abrasion. Always opt for low-tack painter’s tape or wrap the entire unit in plastic stretch wrap to secure moving parts without adhesive contact.
Sort and Box the Cabinet Contents
Once your desktop cabinet is empty, group the contents by material and function. Keep everyday stationery, important documents, small electronics, and fragile decorative items in separate piles. This categorization makes it much easier to pack systematically and ensures that delicate items are not crushed by heavier, sturdier office supplies.

Desktop cabinets often house delicate items such as glass pen holders, ceramic trays, or small computer accessories. Wrap each fragile piece individually in at least two layers of bubble wrap or clean packing paper, securing the wrapping with a small piece of tape. For highly delicate items, consider placing them inside smaller inner boxes before placing them into a larger moving box to provide double-walled protection.
When packing your cardboard boxes, always follow the golden rule of weight distribution: place the heaviest items at the bottom and the lighter, softer items on top. Heavy reference books, metal paper trays, and dense stacks of paper should form the base of the box. Lighter items, like plastic organizers or bubble-wrapped decor, should rest on top. Never overpack a box; ensure it remains at a weight you can comfortably lift without straining your back or risking the box’s bottom seam splitting open.
Empty space inside a moving box is the primary cause of damage during transit. If items are allowed to slide around, they can collide and break. Fill any remaining gaps, corners, or top spaces in your boxes with crumpled packing paper, clean towels, or soft linens. Shake the box gently after packing; if you hear or feel items shifting inside, add more cushioning material until the contents are completely snug.
Use a permanent marker to label every box on at least two sides. Write down the destination room (e.g., “Study Room” or “Home Office”), a brief summary of the contents (e.g., “Desktop Cabinet Stationery”), and clear handling instructions. If a box contains glass, ceramics, or sensitive electronic gear, write “FRAGILE” in large, bold letters on multiple sides so that the movers handle it with extra care.
Secure the Drawers and Wrap the Cabinet
It can be tempting to leave lightweight items inside the drawers of your desktop cabinet to save space, but this is a major risk. Even a small amount of shifting weight during transit can warp drawer tracks, misalign runners, or put undue stress on the cabinet’s joints. In worst-case scenarios, unsecured drawers can slide open unexpectedly during lifting, causing the cabinet to tip over and injure someone or sustain severe structural damage.
To prevent drawers and cabinet doors from flying open during the move, you must secure them in place. The safest method is to wrap the entire cabinet tightly with several layers of plastic stretch wrap. If stretch wrap is unavailable, use high-quality painter’s tape to tape the drawers shut. Run the tape across the drawer fronts and secure it to the sides of the cabinet, ensuring the surface finish is safe from strong adhesives.
If your desktop cabinet features adjustable shelves, glass doors, removable drawer knobs, or casters, take them off before moving. Leaving these parts attached increases the risk of them rattling loose, cracking, or scratching other surfaces. Place all small hardware pieces, screws, and brackets into a clear ziplock bag. Label the bag clearly and tape it securely to an inconspicuous area of the cabinet, such as the back panel or the inside floor, so the components are immediately available during reassembly.
The outer surfaces of your desktop cabinet are vulnerable to scratches, dents, and chips when being loaded into a moving vehicle. Protect the cabinet by wrapping it in moving blankets or thick sheets of bubble wrap. Pay special attention to the corners and edges, which are the most common impact points. You can fold extra layers of cardboard over the corners to act as bumper guards before applying the main wrap.
Secure the protective blankets or bubble wrap in place by wrapping the entire unit with plastic stretch wrap. This outer layer of plastic keeps the padding from slipping off while the cabinet is being carried and provides a barrier against dust, dirt, and moisture. In the Philippines, where sudden tropical downpours or high humidity can occur, this plastic layer is invaluable for keeping wooden or engineered wood cabinets dry during transit.
Load, Transport, and Reassemble at Your New Home
When it is time to move the desktop cabinet, prioritize your physical safety and the integrity of the furniture. Always bend at your knees and keep your back straight when lifting, using the strength of your legs to lift the load. Hold the cabinet close to your body to maintain better balance. Never drag the cabinet across the floor; dragging can snap off delicate legs, scratch wooden floorboards, or tear vinyl tiles. If the cabinet is too heavy or awkward to carry alone, ask a family member or a professional mover for assistance.
Place the wrapped desktop cabinet upright in your moving vehicle or truck. Avoid laying it flat on its back or side unless absolutely necessary, as this can place uneven pressure on the joints. Secure the cabinet against a flat wall of the vehicle and use tie-down straps to prevent it from sliding or tipping over during sudden stops. Never stack heavy boxes or large furniture pieces on top of a desktop cabinet, as the downward pressure can crack the top panel or crush the internal frame.
Once you arrive at your new home, carry the cabinet directly to its designated spot before unwrapping it. This keeps it protected until it is safely positioned. Carefully cut away the plastic wrap and remove the blankets, checking the cabinet for any signs of damage. Wipe down both the interior and exterior surfaces with a soft, dry microfiber cloth to remove any dust or condensation that may have accumulated during the journey.
Reattach any hardware, drawer knobs, or adjustable shelves that you removed earlier using the saved screws in your ziplock bag. Once the cabinet is fully reassembled and stable, begin unpacking your labeled boxes. Take this opportunity to design an efficient new workflow, placing your most frequently used stationery and files in the easiest-to-reach drawers, and storing seasonal or archival items near the bottom or back. This systematic approach ensures your transition is smooth, organized, and stress-free.

Community discussion
Share your experience or ask a question. Comments are reviewed before publication.