
Planning a lipat bahay requires a reliable strategy to transport your belongings safely through unpredictable tropical weather, bumpy roads, and humid conditions. While traditional cardboard boxes are the standard choice, heavy-duty plastic milk crates offer a highly durable, water-resistant, and stackable alternative that can simplify your entire moving process. Using these rigid containers allows you to protect fragile items, prevent crushing, and establish an organized, room-by-room packing system. By understanding how to properly line, pack, stack, and secure these crates, you can streamline your move and even repurpose the containers as functional storage solutions in your new home.
Why Choose Milk Crates for Moving?
When preparing for a move in the Philippines, evaluating your packing containers is crucial for protecting your investments. Standard cardboard boxes often struggle with high humidity, sudden tropical downpours, and the physical stress of stacking. Plastic milk crates, by contrast, provide exceptional structural integrity. Their rigid walls do not collapse under pressure, making them highly stackable and capable of protecting delicate items from being crushed during transit. The open grid design also ensures excellent ventilation, which helps prevent musty odors and moisture buildup when moving household goods in humid climates.
These crates are highly reusable, offering an eco-friendly alternative to single-use cardboard. They excel at holding heavy, dense items like books, vinyl records, and canned goods that might easily break through the bottom of a standard paper box. However, milk crates do have specific limitations to keep in mind. Their ventilated design offers no built-in protection against dust, dirt, or rain, and their hard plastic edges can scratch delicate surfaces. To use them successfully, you must implement proper lining and padding strategies to safeguard your belongings.
Products mentioned in this guide
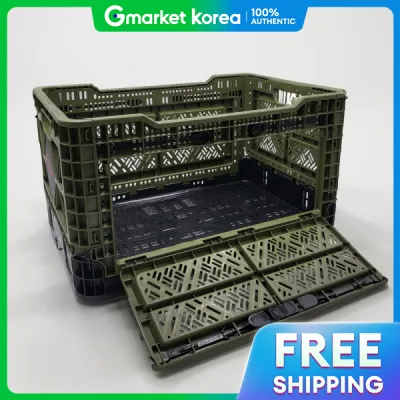
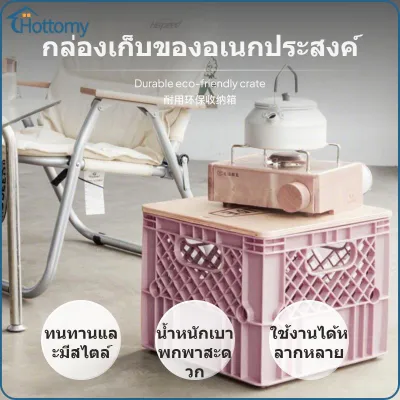
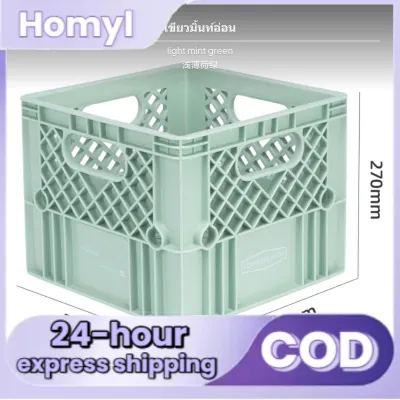
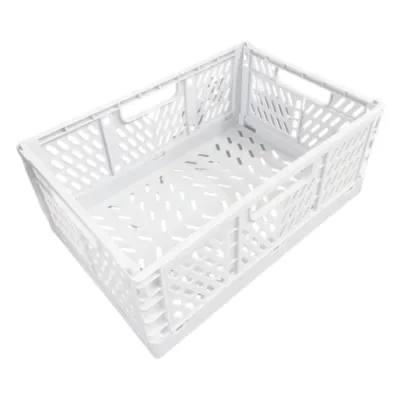
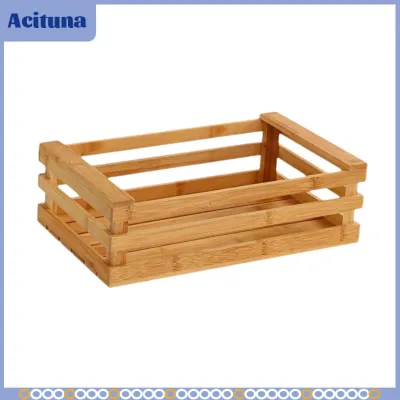
Prices are valid at publication and may change. Please refer to the product page for the latest price.
Essential Supplies for Packing with Milk Crates
To maximize the utility of milk crates and protect your belongings, you need to gather the right preparation materials before packing begins. Start by sourcing high-quality, heavy-duty plastic milk crates. It is essential to inspect each crate thoroughly before use; check for hairline cracks along the base, structural warping, or broken handles that could fail under a heavy load. Ensure the dimensions of the crates are compatible with your vehicle’s cargo space and any narrow doorways or lift access points at both your old and new locations.

Because milk crates feature open grid patterns, you will need lining materials to keep smaller items from slipping through and to block dust. Heavy-duty trash bags, large plastic storage bags, clean cardboard inserts, or thick packing paper work exceptionally well as liners. For cushioning, gather plenty of bubble wrap, clean packing paper, or even household textiles like towels and blankets.
You will also need heavy-duty packing tape or zip ties to secure liners or temporarily bind adjacent crates if necessary. Finally, prepare labeling materials. Since tape does not always adhere well to textured plastic, consider using thick paper tags tied to the handles with string, or write directly on masking tape applied to a flat, smooth section of the crate.
Room-by-Room Packing Strategy
A successful lipat bahay relies on a systematic workflow. The most efficient approach is to pack one room at a time, keeping crates strictly dedicated to specific zones of your home. This prevents items from different rooms from getting mixed together, making the unpacking process in your new home significantly faster and less chaotic.
When packing any crate, always apply basic weight distribution principles. Place the heaviest, most robust items at the very bottom of the crate to establish a low center of gravity and a stable base. Lighter, more delicate items should go on top, wrapped in protective layers. Avoid overfilling the crates; items should never extend past the top rim, as this prevents safe stacking and can cause the crate above to crush the contents below.
Always pack a dedicated “essentials crate” that remains easily accessible throughout the move. This crate should contain items you will need immediately upon arrival at your new home, such as basic toiletries, a change of clothes, chargers, essential tools, and simple kitchen utensils. Keep this crate in the cabin of the moving vehicle or load it last so it is the first thing you unpack.
Kitchen and Pantry Items
The kitchen contains some of the most fragile and heaviest items in a household, making it an ideal candidate for the rigid protection of milk crates. When packing ceramic plates, bowls, and glassware, wrap each piece individually in bubble wrap or thick packing paper. Line the bottom of the milk crate with a thick layer of crumpled paper or a folded towel to absorb road vibrations. Pack plates vertically, like records in a crate, rather than stacking them flat, as vertical packing distributes pressure more evenly and reduces the risk of cracking.
For pantry items, milk crates are excellent for organizing canned goods, jars, and dry staples. Group heavy cans at the bottom, but monitor the overall weight carefully to ensure the crate remains safe to lift. If you are packing liquid ingredients, such as cooking oils, soy sauce, or vinegar, ensure all caps are tightly sealed. Place these bottles upright inside a heavy-duty plastic bag lining the crate to contain any accidental leaks and prevent them from dripping through the ventilated bottom onto other items in the moving truck.
Bedroom and Wardrobe Belongings
Packing bedroom items into milk crates requires a focus on cleanliness and space optimization. For folded clothing, linens, and bedsheets, use clean plastic liners or large storage bags inside the crates to protect the fabrics from dust, dirt, and potential snags on the plastic grid. Utilize space-saving folding techniques, such as rolling t-shirts and jeans, to pack them tightly and maximize the interior volume of each crate.
Accessories, shoes, and smaller wardrobe items can also be organized efficiently. When packing shoes, stuff the interiors with clean paper or socks to help them maintain their shape under pressure. Place heavier footwear, like boots or sneakers, at the bottom of the crate, and lay lighter sandals or slippers on top. To keep your shoes clean and prevent them from dirtying other items, wrap each pair in a plastic bag or packing paper before placing them in the crate.
Living Room and Heavy Media
Living rooms often contain dense, heavy media items like books, magazines, and vinyl records, which can easily break standard cardboard boxes. Milk crates are highly suited for these items because their rigid plastic frames can support significant weight. However, because books and records are exceptionally heavy, you should use smaller crates or fill larger crates only halfway, topping them off with lighter items like throw pillows or plush toys to keep the overall weight manageable for lifting.
For electronics, remote controls, and small decorative items, extra care is required. Wrap electronic devices, such as media players or game consoles, in multiple layers of bubble wrap. Secure all power cords and connection cables with twist ties or velcro straps, and place them in labeled bags alongside their corresponding devices. Avoid overstacking crates containing heavy media; excessive weight can put undue stress on the bottom crates, so always verify that the lower containers are structurally sound and resting on a flat, stable surface.
Labeling and Stacking for Safe Transport
Once your crates are packed, establishing a clear labeling and stacking system is vital for an organized transport process. Because standard adhesive labels can easily peel off textured plastic crates, use a reliable labeling method. Tie durable shipping tags to the crate handles using string or zip ties, or apply high-tack masking tape to a flat surface on the crate and write clearly with a permanent marker. Use a color-coded system or write the destination room and a brief summary of the contents on at least two sides of each crate so the information remains visible when stacked.
When loading the moving vehicle, proper stacking is essential for safety and stability. Always place the heaviest crates at the bottom of the stack to create a solid foundation. Align the corners of the crates precisely to utilize their built-in interlocking features, which prevent shifting during transit. Never stack crates higher than a height that is safe and comfortable to reach, and ensure the stacks do not obstruct the driver’s view.
To prevent the stacks from tipping over on bumpy roads or during sudden stops, secure them tightly inside the moving truck. Use heavy-duty ratchet straps, bungee cords, or ropes anchored to the vehicle’s tie-down points to bind the crates together and secure them against the walls of the truck. Double-check that there is no empty space between stacks that could allow them to slide or tilt while the vehicle is in motion.
Unpacking and Repurposing Crates After the Move
When you arrive at your new home, a structured unpacking plan will help you settle in quickly and without unnecessary stress. Begin by unpacking your designated essentials crate, followed by high-priority areas like the kitchen and bedroom. Because milk crates allow you to see some of the contents through their ventilated sides, you can easily identify which crates need to be opened first without having to unseal every container.
One of the greatest advantages of using milk crates for a move is their versatility after the job is done. Instead of discarding them like cardboard boxes, you can easily repurpose them into functional household items. Stack them horizontally to create modular shelving units for books, shoes, or pantry storage. They can also be turned upside down to serve as rustic plant stands on a balcony, or fitted with a wooden top to function as a temporary stool or side table.
If you rented the crates or need to return them to a supplier, ensure they are thoroughly cleaned. Wipe down the plastic surfaces with a damp cloth and mild detergent to remove any dust or adhesive residue from the labels. Stack the empty crates nested inside one another to minimize the space they occupy while they await return or storage for your next move.
Frequently Asked Questions (FAQ)
Can I stack milk crates as high as cardboard boxes?
Yes, milk crates can often be stacked more securely than standard cardboard boxes because of their rigid plastic construction and interlocking designs. However, the safe stacking height depends entirely on the weight of the contents, the structural integrity of the individual crates, and how level the floor is. Always place the heaviest crates at the bottom of the stack to maintain stability. To prevent tipping and ensure safe handling, avoid stacking crates higher than shoulder height, and always secure the stacks with straps or ropes inside the moving vehicle.
How do I prevent items from falling through the ventilated gaps?
To keep small items from slipping through the open grid pattern of a milk crate, you must line the interior before packing. You can use thick cardboard inserts cut to fit the bottom and sides, heavy-duty plastic trash bags, or several layers of thick packing paper. For very small or loose items, group them together in sealed plastic bags or small boxes before placing them inside the lined crate. This ensures everything stays securely contained while still benefiting from the rigid outer protection of the crate.

Community discussion
Share your experience or ask a question. Comments are reviewed before publication.