
To plan a shoe rack bracket holder installation inside your wardrobe without interfering with hanging clothes and storage bags, you must establish a clear vertical zoning plan based on your longest hanging garments and the physical footprint of your storage bags. In tropical climates like the Philippines, where high humidity can trap moisture and encourage mold growth inside enclosed closets, proper spacing is not just about physical clearance; it is also essential for maintaining adequate airflow. By mapping your wardrobe’s interior dimensions and positioning your shoe rack bracket holders strategically, you can create a highly functional, organized system that protects your garments, bags, and footwear from damage.
Integrating shoe storage into an existing wardrobe requires a careful balance of accessibility and protection. If shoes are placed too close to hanging fabrics, dirt, dust, and moisture can easily transfer to your clean clothes. Similarly, if storage bags on upper shelves sag or overflow, they can compress hanging rods and reduce the vertical clearance available for your shoe brackets below. Taking the time to measure, plan, and select the right hardware ensures that every item in your wardrobe has a dedicated, non-interfering space.
Assessing Wardrobe Dimensions and Clearance Requirements
Before purchasing any hardware, you must take precise measurements of your wardrobe’s interior. Use a steel measuring tape to record the exact internal width, depth, and height of the cabinet. Be sure to measure the depth from the back panel to the inside face of the closed doors, taking into account any sliding door tracks, hinges, or drawer pulls that might project inward and reduce your usable space.
Products mentioned in this guide
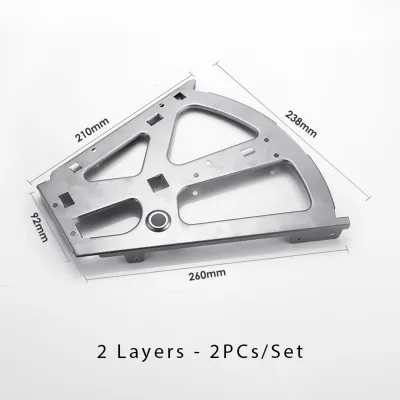
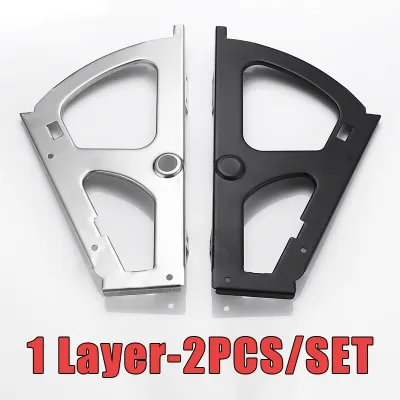
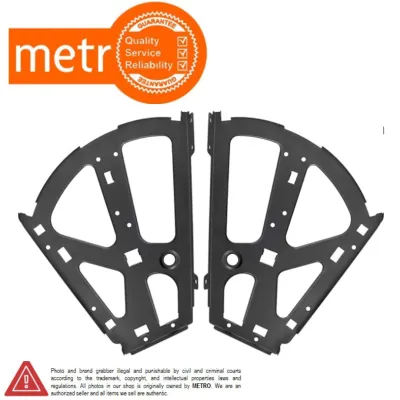
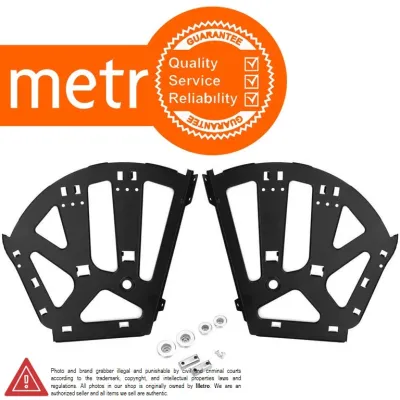
Prices are valid at publication and may change. Please refer to the product page for the latest price.
Next, calculate the maximum drop length of your hanging garments to define the lower boundary for your shoe zones. Hang your longest items—such as dresses, long trousers, or formal wear—on the rod and measure from the top of the rod to the very bottom of the hemlines. This measurement tells you exactly how much vertical space is occupied by hanging clothes, showing you where the open “dead space” at the bottom of the wardrobe begins.
Finally, identify the dimensions and placement of your overhead storage bags. These bags, often used to store extra bedding, pillows, or seasonal items, are typically placed on the topmost shelf. Measure their height and depth when fully packed, and ensure they do not overhang the shelf edge or press down on the hanging rod, which could cause the rod to sag and alter your vertical clearance calculations.
Layout Strategies for Shoe Brackets and Hanging Zones
An efficient wardrobe layout relies on smart vertical zoning. The most effective strategy is to place your shoe rack bracket holders directly below short-hang items, such as t-shirts, folded pants, or short jackets. This utilizes the empty space at the bottom of the wardrobe that would otherwise go to waste, while keeping the floor clear and easy to clean.

For wardrobes that accommodate both long and short garments, divide the closet into distinct vertical sections. Keep the area beneath long dresses or coats completely free of shoe brackets to allow these garments to hang naturally without bunching or gathering dust on top of your shoes. Utilize the lower sections of the short-hang zones or any dead corners for your shoe brackets, ensuring that every centimeter of space is optimized.
Horizontal spacing is equally critical to prevent hangers from snagging on shoe heels or brackets. A standard clothes hanger projects about 40 to 45 centimeters wide, whereas a typical shoe shelf projects about 30 centimeters deep. Ensure that the horizontal placement of your shoe brackets allows hanging garments to swing freely without rubbing against the shoes, which is especially important for delicate fabrics that are prone to snagging or staining.
Selecting the Right Shoe Rack Bracket Holders
Choosing the right shoe rack bracket holder depends on your need for future flexibility and the structural design of your wardrobe. Adjustable bracket systems, which utilize vertical metal standards with slotted tracks, allow you to reposition shelves easily as your footwear collection changes. Fixed brackets, on the other hand, offer a clean, permanent look but require absolute certainty in your initial layout planning.
Always check the manufacturer’s weight capacity labels before finalizing your purchase. Shoes can be surprisingly heavy, particularly when multiple pairs of leather shoes, thick-soled sneakers, or heavy boots are stored on a single shelf. Ensure the brackets you select are rated to support the cumulative weight of your footwear, plus the weight of the shelves themselves, to prevent sagging or structural failure over time.
Additionally, verify the mounting compatibility of the brackets with your wardrobe’s internal structure. Most modern wardrobes are constructed from engineered wood like particleboard or MDF, which require specific wood screws or specialized anchors to hold securely. If your wardrobe has solid wood side panels or reinforced vertical dividers, you will have greater flexibility in using standard wood fasteners for a secure hold.
Preparation and Safe Installation Steps
Before beginning the installation, gather all the necessary tools to ensure a smooth and safe process. You will need a reliable drill with wood-appropriate drill bits, a tape measure, a pencil for marking, a screwdriver, and a spirit level. Having these tools on hand prevents interruptions and helps you maintain precision throughout the installation.
Marking your drill holes accurately is the most critical step in ensuring a level installation. Hold the shoe rack bracket holder against the wardrobe wall at your planned height, and use a spirit level to verify that it is perfectly horizontal. Mark the screw holes clearly with a pencil; even a minor misalignment can cause shelves to wobble, shoes to slide off, or the brackets to experience uneven structural stress.
As you prepare to drill, take care to avoid hidden hazards within the wardrobe structure. Check the opposite side of the panels to ensure you will not drill through to the exterior or damage adjacent drawer runners, hinges, or integrated lighting wires. Avoid drilling into thin, unreinforced back panels, which lack the structural integrity to hold screws under load.
Secure the brackets strictly according to the manufacturer’s provided instructions and recommended fasteners. When driving screws into engineered wood like MDF or particleboard, work slowly to avoid stripping the pre-drilled holes. Ensure that every screw is driven straight and sits flush against the bracket, providing a solid, wobble-free foundation for your shoe shelves.
Post-Installation Verification and Adjustments
Once the brackets are securely mounted, conduct a gradual weight load test before fully stocking your new shoe shelves. Place a few lightweight pairs of shoes on the shelves first, observing the brackets and the wardrobe panels for any signs of bending, pulling, or instability. Gradually add heavier footwear until the shelves are fully loaded, ensuring the system remains perfectly stable.
Next, perform a clearance and swing check to verify that your hanging clothes do not interfere with the newly installed shoe rack. Slide your hangers back and forth along the hanging rod, observing how the hemlines interact with the shoes below. There should be a clear gap that allows garments to move freely without brushing against the shoes, preventing the transfer of dust, dirt, or moisture.
If you find that the clearances are too tight or that garments are catching on the shoes, make the necessary adjustments immediately. If you installed an adjustable bracket system, simply click the brackets into a lower slot on the vertical standards. For fixed systems, you may need to adjust the length of your hanging garments—such as folding trousers differently—or relocate bulkier shoes to lower shelves to maintain a clean, functional closet environment.
Frequently Asked Questions (FAQ)
Can I install shoe rack bracket holders on a thin wardrobe back panel?
No, you should avoid installing shoe rack bracket holders directly onto a thin wardrobe back panel. These back panels are typically made of thin plywood or hardboard (often only 3mm to 5mm thick) and are designed solely to keep the wardrobe square and dust-free, not to bear weight. Attempting to mount brackets here will likely result in the screws stripping out, damaging the panel, and causing the shelves to collapse under the weight of your shoes. Instead, always mount your brackets to the sturdy structural side panels, the solid base, or reinforced vertical dividers of the wardrobe.
How much vertical space should I leave between shoe shelves and hanging clothes?
You should aim for a minimum vertical clearance of 10 to 15 centimeters between the bottom hem of your longest hanging garment and the top of the shoes stored on the shelf below. To calculate this, measure the drop length of your longest garment from the hanging rod, then add the height of your tallest shoes (such as high heels or boots) plus an additional 10-centimeter buffer. This buffer space ensures that your clothes can swing freely without touching the footwear, provides enough room for your hands when retrieving shoes, and promotes healthy airflow to prevent mold and mildew in humid climates.

Community discussion
Share your experience or ask a question. Comments are reviewed before publication.