
Entering a home during a heavy tropical downpour often brings unwanted water indoors, turning a clean entryway into a slippery, hazardous zone. Installing a wall-mounted umbrella storage unit is an excellent way to keep your entryway organized, dry, and safe. However, rushing into the installation with a drill in hand often leads to damaged walls, loose fixtures, or poorly positioned storage that gets in the way of daily foot traffic. Taking the time to plan your setup, evaluate your entryway layout, identify your wall material, and select the correct hardware ensures a secure, long-lasting installation that protects your walls and floors from moisture damage.
Proper planning before drilling prevents unnecessary damage to your home’s structure and ensures your storage solution can handle the weight of wet umbrellas. By evaluating your entryway layout, identifying your wall material, and selecting the correct hardware, you can create a functional and reliable setup.
Evaluate Entryway Space and Ideal Placement
Before purchasing or mounting any organizer, carefully assess the physical layout of your entryway. Walkways must remain completely clear to allow family members and guests to move freely without bumping into the storage unit. Measure the exact width of the wall space where you intend to mount the rack, keeping in mind that umbrellas sticking out will add to the overall depth of the fixture.
Products mentioned in this guide
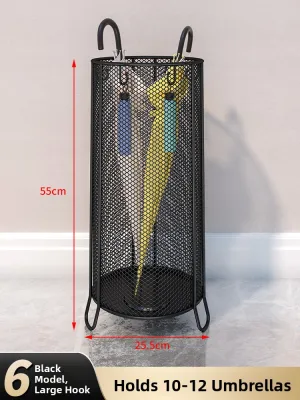
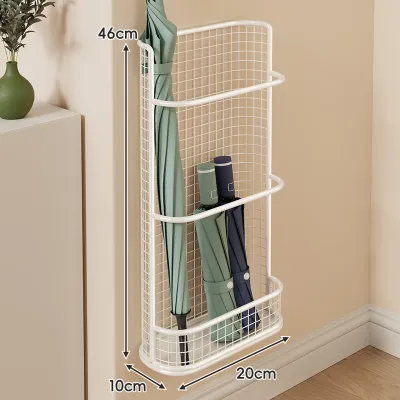
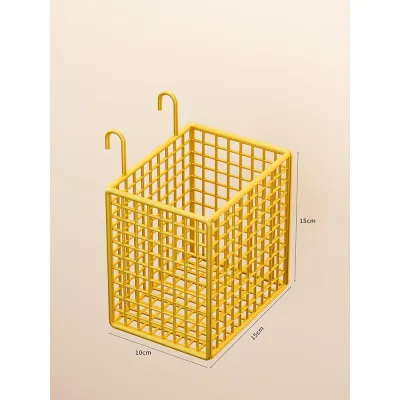
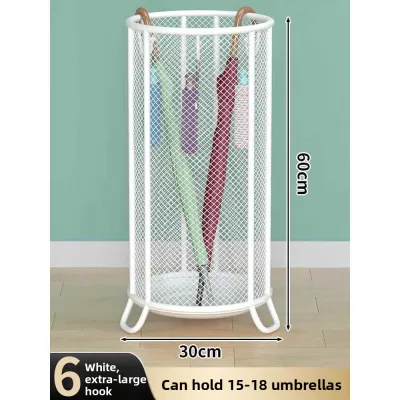
Prices are valid at publication and may change. Please refer to the product page for the latest price.
Consider how the front door swings open. The storage unit should never obstruct the door’s path or prevent it from opening fully. Additionally, check the height of nearby light switches, electrical outlets, and existing furniture like console tables or shoe racks to avoid crowding the wall.
Proximity to the entrance is crucial for catching wet umbrellas before they drip across your living space. Ideally, position the rack close to the door but slightly offset to prevent accidental bumps. If your entryway floor features polished tiles or hardwood, ensure there is enough vertical clearance beneath the rack to place a dedicated drip tray or to allow easy access for mopping up stray water droplets.
Identify Wall Types and Load-Bearing Capacity
The structural integrity of your installation depends entirely on matching your mounting method to the specific wall material in your home. In many modern residences, entryways may feature concrete, concrete hollow blocks, brick, or drywall. You can identify your wall type by tapping on it; a hollow, echoing sound typically indicates drywall or plasterboard, while a solid, dull thud points to concrete or masonry.

For drywall or plasterboard walls, finding the underlying wooden or metal studs is essential if you plan to hang a heavy storage unit or store multiple large golf umbrellas. Mounting directly into studs provides the strongest possible support. If studs are not positioned where you want to mount the rack, you must use specialized hollow-wall anchors, such as toggle bolts or heavy-duty threaded anchors, to distribute the weight safely.
Mounting a loaded umbrella rack on hollow drywall without proper anchors carries a high risk of the unit pulling out of the wall, leaving unsightly holes and potentially damaging your floor. For solid concrete or masonry walls, standard plastic expansion plugs or concrete screws are required to grip the dense material. Always check the condition of the wall surface first, looking for signs of crumbling plaster or moisture damage that could compromise the holding power of your fasteners.
Select Mounting Hardware and Gather Tools
Using the correct hardware is the difference between a secure fixture and a sagging, unstable rack. If you are mounting into concrete or brick, you will need plastic wall plugs or masonry anchors paired with matching screws. For drywall installations where no stud is available, toggle bolts or metal self-drilling drywall anchors are the most reliable options.
Gather all necessary tools before you begin the installation process to avoid mid-project delays. You will need a reliable power drill, a set of drill bits matched to your wall type (such as masonry bits for concrete or wood bits for studs), a stud finder, a pencil, and a spirit level. A spirit level is particularly important to ensure your umbrella storage sits perfectly straight, preventing umbrellas from sliding or hanging awkwardly.
Always review the manufacturer’s instruction manual for your specific umbrella storage unit. Manufacturers often specify the maximum weight capacity of the product and recommend specific screw sizes or mounting brackets. If the included hardware feels flimsy or does not match your specific wall type, do not hesitate to purchase higher-quality, heavy-duty fasteners from a local hardware store.
Pre-Installation Safety and Layout Checks
Safety should always be your top priority before drilling into any wall. Entryway walls often house hidden utility lines, including electrical wiring for light switches and outdoor lighting, as well as plumbing pipes. Use a multi-purpose wall scanner or utility detector to check the area behind your marked drilling spots for live wires or pipes.
Once you have confirmed the area is clear of hidden hazards, hold the mounting bracket or the storage unit itself against the wall at your desired height. Use a spirit level to make sure the unit is perfectly horizontal, then use a pencil to mark the exact center of each screw hole onto the wall. Double-check these marks by measuring their distance from the floor to ensure they are even.
If your detector alerts you to a hidden wire or pipe, or if you encounter unexpected resistance while drilling, stop immediately. It is far better to shift the location of your umbrella storage by a few centimeters than to risk a costly and dangerous utility puncture. If you are unsure about the structural composition of your wall or the safety of drilling in a specific spot, consult a qualified professional contractor.
Basic Installation Steps and Final Verification
With your layout marked and safety checks complete, you can begin drilling. Select a drill bit that matches the exact diameter of your wall anchors. Hold the drill completely perpendicular to the wall to ensure the hole is straight, and drill to a depth slightly longer than the length of the anchor.
Gently tap the wall anchors into the drilled holes using a hammer until they sit completely flush with the wall surface. If an anchor bends or does not fit smoothly, remove it and clear any remaining dust from the hole before trying again. Once the anchors are securely in place, align the mounting bracket or storage unit with the holes and drive the screws in, tightening them until they are snug but avoiding over-tightening, which can strip the anchors or crack the plastic.
Before placing any umbrellas in the newly installed rack, perform a gradual weight test. Gently apply downward pressure with your hands to verify that the unit is firmly anchored and does not wobble or pull away from the wall. Once you are confident in its stability, place your umbrellas in the storage unit, ensuring the weight is distributed evenly to maintain long-term balance and support.
Frequently Asked Questions (FAQ)
Can I install wall-mounted umbrella storage on a tiled entryway wall?
Yes, but drilling into tile requires specialized tools and extreme care to prevent cracking. You must use a carbide-tipped or diamond-tipped tile drill bit and run your drill at a slow, steady speed without using the hammer action mode. To prevent the drill bit from slipping on the slick tile surface, place a piece of masking tape over the marked spot before you begin drilling. Ensure that your drill bit penetrates completely through the tile and adhesive layer into the solid wall behind it, and use anchors that are long enough to grip the structural wall material rather than relying on the tile itself for support.
How do I manage water dripping from wet umbrellas on the wall?
Managing moisture is essential to protect both your wall finish and your entryway flooring from water damage, especially during heavy rainy seasons. Choose an umbrella storage unit that features an integrated, removable drip tray at the bottom to catch water as it runs off. If your storage unit does not have a built-in tray, you can place a small, water-resistant mat or a decorative tray on the floor directly beneath the hanging umbrellas. For added wall protection, consider applying a clear, water-resistant sealant or installing a thin, wipeable plastic or acrylic backing sheet on the wall surface behind the rack to prevent damp umbrellas from directly touching the paint or plaster.

Community discussion
Share your experience or ask a question. Comments are reviewed before publication.