
Finding the right bedside table with drawers for a condominium in the Philippines often requires balancing storage needs with strict rental rules against drilling into walls. Fortunately, several highly effective no-drill alternatives can maximize your bedroom space without risking your security deposit. By understanding the structural differences between freestanding, adhesive, and clamp-on designs, you can select a secure setup that withstands daily use and high tropical humidity.
Quick Answer: No-Drill Bedside Storage Options
For condo residents, the most viable no-drill bedside tables with drawers fall into three main categories: slim freestanding units, adhesive wall-mounted drawer shelves, and bed-frame clamp-on tables. Each option presents distinct trade-offs between floor space preservation and wall protection.
Freestanding slim tables require zero wall contact, making them completely safe for paint, but they do occupy valuable floor space. Adhesive wall-mounted drawers keep the floor entirely clear, though they carry a risk of peeling paint or falling if overloaded or exposed to high humidity. Bed-frame clamp-on tables offer a highly secure, wall-safe middle ground, provided your bed frame has compatible side rails.
Products mentioned in this guide
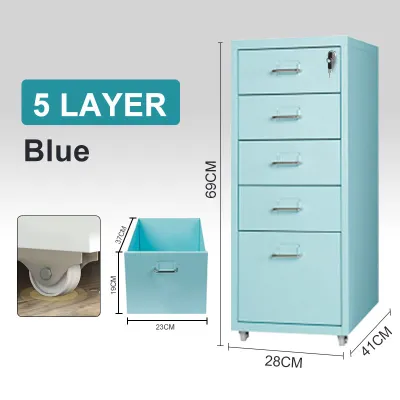
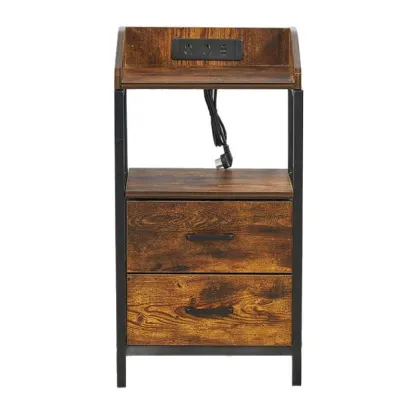
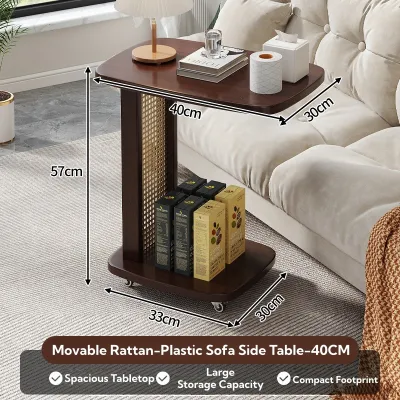
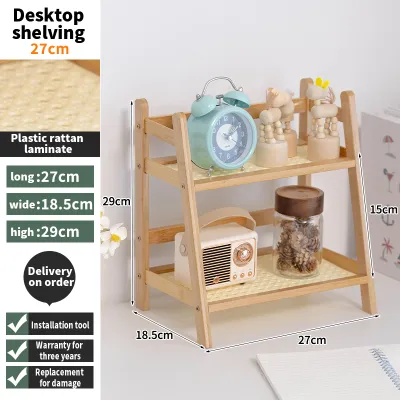
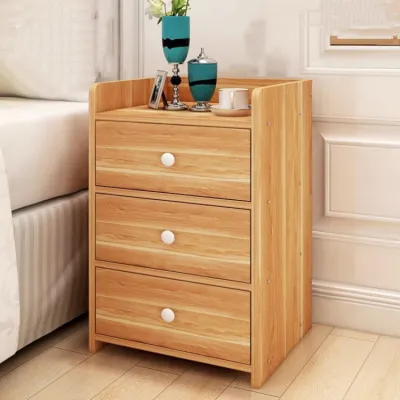
![[On Hand] Bamboo Bedside Table with drawer side table bedroom Storage Cabinet](https://img.lazcdn.com/g/p/7db3402f73f66b3bec034adb2c043828.jpg_400x400q80.jpg_.webp)
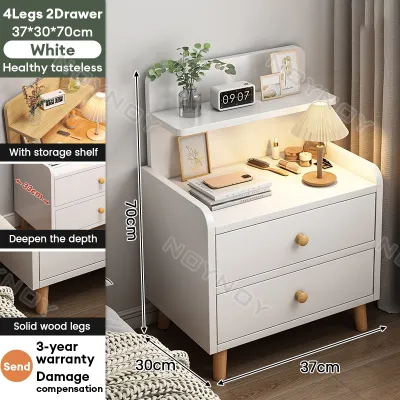
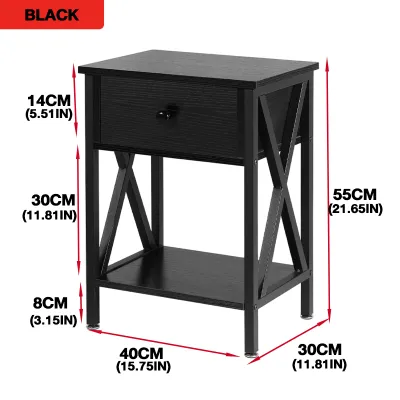
Prices are valid at publication and may change. Please refer to the product page for the latest price.
If your priority is preserving floor space in a tight studio layout, adhesive wall-mounted drawers are ideal, provided you stick to lightweight storage. If you want to store heavier items like books or large water bottles, a slim freestanding table or a frame-attached unit is the safer choice.
Types of No-Drill Bedside Tables with Drawers
Selecting the right bedside storage requires evaluating how each installation method interacts with your condo’s layout, wall finishes, and structural stability. The three primary types offer distinct advantages depending on your specific bedroom constraints.

Freestanding Slim and Nesting Tables
Freestanding slim tables are floor-based units designed with a narrow footprint to slide easily into the tight gaps typical of modern condo bedrooms. Many of these designs measure under 30 centimeters in width, allowing them to fit comfortably between the mattress and a wardrobe or wall.
Nesting tables offer a modular approach to small-space storage. These sets typically feature a larger primary table and a smaller secondary unit with drawers that slides completely underneath when not in use. This allows you to reclaim floor space during the day and pull the drawer unit out only when needed.
Stability is a critical check for narrow freestanding furniture. Because these tables have a small base, they can easily become top-heavy if the drawers are packed with heavy items. When evaluating a slim table, look for designs with a weighted lower shelf or wider feet to prevent tipping when a drawer is fully extended.
Clearance is another essential factor. Before purchasing, measure the space required to pull the drawers open completely. In narrow walking paths, a drawer that extends too far can block access to the bed or collide with wardrobe doors, rendering the storage impractical.
Adhesive Wall-Mounted Drawer Shelves
Adhesive wall-mounted drawer shelves create a floating look that keeps your bedroom floor completely clear, making it much easier to sweep and mop. These units rely on heavy-duty adhesive pads or mounting brackets that stick directly to the wall surface.
Successful adhesive installation depends entirely on your wall surface. Adhesives require a completely smooth, non-porous, and clean surface to bond correctly, such as smooth tiles, glass, or properly primed and cured painted concrete. If your condo walls have textured wallpaper, matte paint, or uneven plaster, the adhesive will not form a reliable bond.
Weight limits for adhesive units are strictly defined and must be respected. High humidity levels, common in the Philippines during the rainy season, can soften adhesive bonds over time, significantly reducing their load capacity. Exceeding these limits risks pulling the paint and drywall paper right off the wall.
Dynamic load is the most overlooked risk with adhesive drawers. When you pull a drawer open, you apply outward and downward leverage (torque) to the mounting brackets. If the drawer slides are stiff or if you pull too quickly, this force can easily break the adhesive bond, even if the static weight of the items inside is well within the rated limit.
Bed-Frame Attached and Clamp-On Tables
Bed-frame attached and clamp-on tables mount directly to the wooden or metal side rails of your bed, requiring no floor space and making zero contact with your condo walls. These units typically use adjustable screw clamps to grip the frame securely.
Compatibility is the primary check for clamp-on options. You must measure the thickness and height of your bed frame’s side rails to ensure the clamp mechanism can grip them tightly. Upholstered or padded bed frames may not provide a rigid enough surface for a stable clamp connection, while very thin metal frames might require protective rubber shims to prevent slipping.
Drawer clearance must be verified in relation to your bedding. Ensure the clamp-on unit sits at a height where the drawer can slide open without catching on thick comforters, bedsheets, or the mattress itself. Some designs allow you to adjust the mounting height to clear these obstacles.
Vibration transfer is a natural trade-off with frame-mounted furniture. Because the table is physically locked to your bed, any movement during sleep can cause items on the table to rattle or slide. To minimize this, look for clamp-on tables that feature rubber-lined clamps to help dampen vibrations and protect your bed frame’s finish from scratches.
How to Choose the Right No-Drill Bedside Table
Finding the perfect bedside table with drawers involves careful spatial planning and a close inspection of the furniture’s hardware and materials.
Measuring Critical Clearances
- Bed Height: Measure from the floor to the top of your mattress. Your bedside table should ideally sit level with or slightly below this height so you can easily reach your phone or water glass without straining.
- Walking Paths: Measure the distance between the side of your bed and the nearest wall or wardrobe. Ensure that when the bedside drawers are fully extended, there is still enough room for you to stand and move comfortably.
- Door Swings: Check the swing path of nearby wardrobe doors, bedroom doors, and cabinet drawers. A bedside table must not obstruct these daily pathways.
Evaluating Drawer Hardware
- Slide Mechanisms: Look for smooth-gliding tracks, such as ball-bearing slides or nylon rollers. Because no-drill options—especially adhesive ones—rely on minimal force to remain stable, the drawers must open with absolute ease. Avoid wooden-on-wooden runners, which can stick and require a hard pull that could dislodge the table.
- Handle Designs: In tight condo bedrooms, protruding drawer handles can easily catch on clothing or bruise your legs. Opt for recessed handles, cut-out pulls, or push-to-open mechanisms that maintain a flush, snag-free profile.
Checking Material Finishes
- Humidity Resistance: The tropical climate in the Philippines means indoor humidity can fluctuate significantly. Untreated engineered wood or poorly sealed MDF can absorb moisture, leading to warping, swelling, and mold. Look for furniture with fully sealed edge banding, water-resistant laminates, or rust-resistant metal frames.
- Edge Treatments: In a compact bedroom, sharp furniture corners pose a constant hazard. Prioritize tables with rounded corners or soft-edge profiles to prevent painful bumps in the dark.
Installation Checks and Safety Boundaries
To prevent damage to your condo’s walls and ensure your personal safety, you must follow strict installation protocols and recognize when a setup is reaching its limits.
Proper surface preparation is the foundation of any adhesive installation. Before applying any adhesive pads, clean the target wall area thoroughly with isopropyl alcohol to remove dust, oils, and fingerprints. Avoid using household glass cleaners or multi-purpose sprays, as they often leave a thin, slick residue that prevents the adhesive from bonding properly. Let the wall dry completely before proceeding.
Once the adhesive brackets are in place, press them firmly against the wall for at least 30 seconds to activate the pressure-sensitive bond. You must then respect the manufacturer’s curing time. Do not hang the drawer unit or place any items on it immediately. Let the adhesive cure completely empty for 24 to 72 hours, allowing the chemical bond to reach its maximum strength.
Calculating safe load limits requires a conservative approach. If a manufacturer states a maximum weight capacity of 5 kilograms, treat this as the absolute limit under perfect conditions. To account for the dynamic force of pulling the drawer open, aim to keep the total weight of the drawer unit and its contents under 60% of the rated limit. Store only lightweight essentials like charging cables, eye masks, and reading glasses in adhesive drawers.
Regularly monitor your setup for warning signs of failure. Inspect the gap between the wall and the adhesive pad every few weeks. If you notice any peeling, lifting at the edges, or a slight downward tilt of the drawer unit, remove all items immediately. This indicates the adhesive is failing, and the unit must be taken down before it falls and causes damage.
If you observe any structural stress, sagging, or loose clamps on a bed-frame unit, stop using it immediately. Tighten the hardware or consult the manufacturer’s instructions to re-secure the connection. Never attempt to overload a failing unit or patch a peeling adhesive pad with household tape.
Maintenance and Drawer Care
Regular maintenance keeps your no-drill bedside table functioning smoothly and extends its lifespan in a humid environment.
Keep the drawer tracks clean and free of debris. Dust, pet hair, and lint can accumulate in the slides over time, creating friction that makes the drawers difficult to open. Wipe the tracks periodically with a dry microfiber cloth. If the drawers begin to stick, apply a small amount of dry silicone lubricant to the tracks. Avoid using heavy oils or WD-40, which can attract dust and make the sticking worse.
Manage the weight distribution of your storage. For freestanding slim tables, always store heavier items like books or heavy lotions in the bottom drawer or on the lower shelf. This lowers the center of gravity and significantly reduces the risk of the table tipping forward when you open the top drawer.
Periodically check the structural integrity of your setup. For clamp-on tables, check the tightness of the mounting screws every few months, as regular bed movement can gradually loosen them. For adhesive units, ensure the brackets remain flush against the wall and show no signs of shifting.
When it is time to move out or rearrange your room, removing adhesives safely is crucial for protecting your security deposit. Never rip the adhesive straight off the wall, as this will tear the paint and drywall. Instead, use a hair dryer to gently warm the adhesive pad, softening the glue, and then slowly peel it away using the proper removal techniques.
Frequently Asked Questions (FAQ)
Can I use removable adhesive strips for heavy bedside tables with drawers?
Standard removable adhesive strips are generally not recommended for heavy bedside tables with drawers. While these strips work well for flat, static items like picture frames, they are not designed to handle the dynamic, outward forces generated when you pull a drawer open. This pulling action creates leverage that can easily peel the strips away from the wall, leading to a sudden collapse. If your bedside table is heavy or if you plan to store dense items, it is much safer to use a freestanding slim table or a clamp-on unit that attaches directly to your bed frame.
How do I remove adhesive wall-mounted drawers without damaging condo paint?
To remove adhesive wall-mounted drawers safely, start by warming the adhesive pad with a hair dryer set to medium heat. Hold the dryer a few inches away and move it constantly to soften the glue without overheating the paint. Once the adhesive is warm and pliable, take a piece of dental floss or fishing line and gently slide it behind the mounting pad. Use a sawing motion to cut through the foam backing. Once the unit is free, gently roll off any remaining adhesive residue with your fingers, or use a mild adhesive remover on a damp cloth, testing a small, hidden area of the wall first to ensure it does not discolor the paint.

Community discussion
Share your experience or ask a question. Comments are reviewed before publication.