
Maximizing storage in a compact kitchen requires a strategic approach that balances physical floor limits with vertical capacity. In many Filipino homes, particularly high-rise condominiums, townhouses, and urban apartments, kitchen space is at a premium. The key to finding the right kitchen cabinet is selecting a unit that fits your specific spatial footprint while standing up to daily cooking routines and tropical environmental factors. By focusing on smart configurations, verifying material specifications, and measuring your space with precision, you can transform a cluttered cooking area into an organized, highly functional workspace.
Assessing Your Space and Storage Needs
Before browsing online marketplaces or visiting local furniture showrooms, you must establish the exact physical boundaries of your kitchen. Start by measuring the available floor space where you intend to place the new kitchen cabinet. Use a metal measuring tape to record the width, depth, and height of the designated area. Do not rely on visual estimates; even a discrepancy of a few centimeters can prevent a cabinet from fitting or block adjacent pathways. Remember to measure the height from the floor to the ceiling, as well as the distance from the floor to any low-hanging fixtures, light switches, electrical outlets, or wall-mounted range hoods.
Beyond the footprint of the cabinet itself, you must account for operational clearances. Measure the swing radius of existing doors, refrigerator doors, oven doors, and drawers to ensure they can open fully without colliding with your new furniture. If your kitchen has a narrow galley layout, map out the walking path. A minimum clearance of 90 to 120 centimeters is generally recommended between facing cabinets or appliances to allow comfortable movement while cooking or carrying hot dishes. If you live in a condominium, also measure your building’s elevator doors, stairwells, and entryways to guarantee the packaged cabinet can actually be delivered to your unit.
Products mentioned in this guide
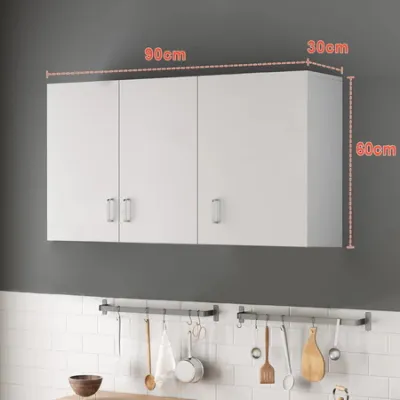
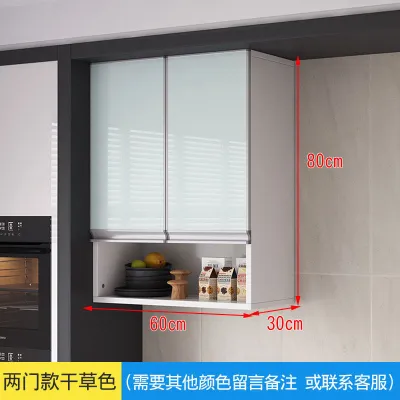
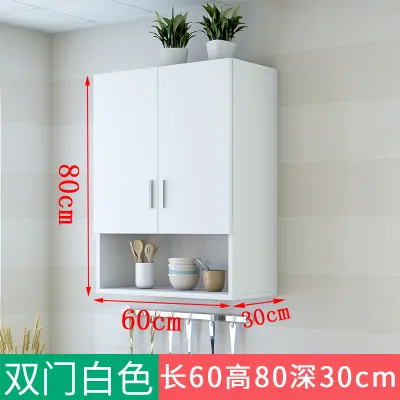
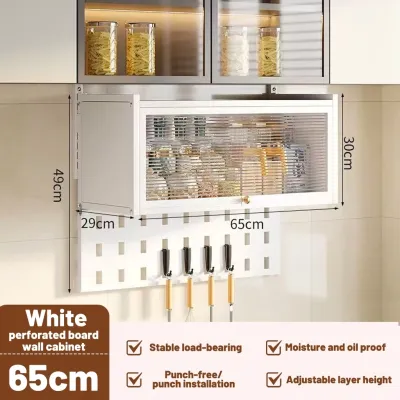
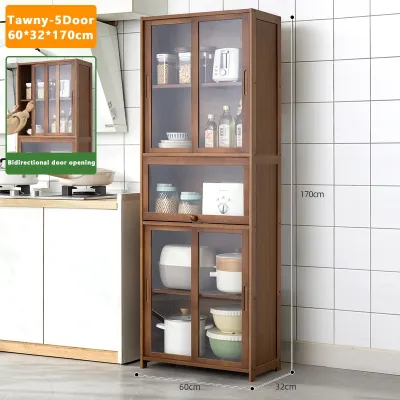
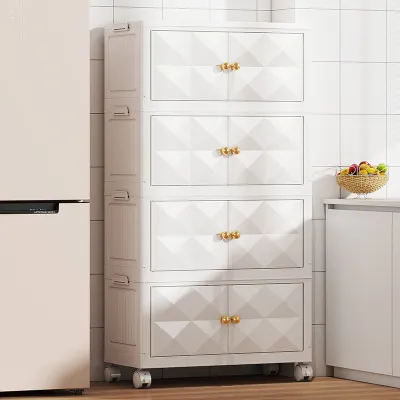
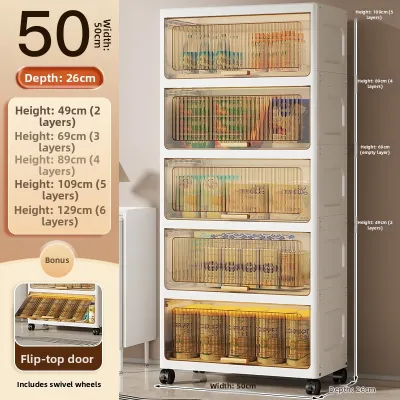
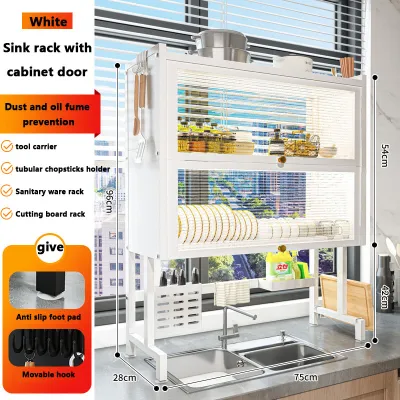
Prices are valid at publication and may change. Please refer to the product page for the latest price.
Once you have mapped the physical space, analyze your specific storage bottlenecks. Different households have different culinary habits that dictate storage needs. For instance, if your family buys rice in bulk, you will need a sturdy lower shelf or compartment capable of holding a heavy rice dispenser or container. If you cook frequently with heavy cookware like cast-iron skillets or large stockpots, prioritize deep, low-level cabinets with high weight capacities. Conversely, if your primary challenge is organizing dry goods, canned food, condiments, and small appliances like blenders or air fryers, a tall pantry unit with adjustable shelving will serve you better. Categorizing your items beforehand prevents you from buying a cabinet that looks appealing but fails to accommodate your actual belongings.
Space-Saving Cabinet Types and Design Features
When floor space is limited, vertical expansion is your most effective strategy. Tall, narrow pantry cabinets are designed specifically to maximize vertical wall space without encroaching on valuable floor area. These units typically feature a small footprint—often as narrow as 40 to 60 centimeters—but extend upward to 180 centimeters or more. By utilizing the upper reaches of your walls, you can store infrequently used items, such as seasonal serving platters or bulk pantry backups, on the top shelves, keeping daily essentials within easy reach on the lower levels. Look for models with adjustable shelving, which allows you to customize the interior height to fit tall bottles or stacked containers.

For kitchens that require both storage and extra prep space, a mobile kitchen cart or utility trolley is an excellent alternative. Many of these carts feature drop-leaf or extendable countertops that fold down when not in use, allowing you to tuck the cart against a wall or into a corner. When you need extra space for chopping vegetables or plating meals, simply raise the leaf. The lower portion of these carts often combines open shelving with concealed drawers or cabinets, providing a flexible mix of accessible and hidden storage. Because they are equipped with lockable caster wheels, you can easily roll the cart out of the way when cleaning or hosting guests.
Corners are notoriously difficult to utilize in small kitchens, often becoming dead space where items are forgotten. To reclaim these areas, look for specialized corner kitchen cabinets or units designed to accommodate pull-out mechanisms and rotating shelves, commonly known as Lazy Susans. These design features bring items stored deep in the corner directly to you, eliminating the need to reach into dark, cramped spaces. If a built-in corner system is not feasible, a freestanding diagonal corner cabinet can seamlessly bridge the gap between two perpendicular walls, turning an awkward angle into a functional storage hub.
Another often-overlooked area is the air space directly above sinks, countertops, or compact appliances like microwave ovens and mini-refrigerators. Over-sink or over-appliance shelving units are freestanding or wall-mounted frames designed to straddle these items. An over-sink rack can hold freshly washed dishes, cutting boards, and dish soap, freeing up precious counter space next to the basin. Similarly, an over-appliance shelf provides a stable platform above a microwave or toaster oven to store oven mitts, spices, or small canisters, ensuring that every cubic centimeter of your kitchen layout is put to productive use.
Material, Durability, and Climate Checks
The tropical climate of the Philippines presents unique challenges for wooden and metal furniture. High relative humidity, seasonal monsoons, and ambient heat can accelerate the wear and tear of poorly constructed cabinets. When evaluating options, always check the manufacturer’s specifications regarding moisture resistance and surface treatments. Avoid assuming that a material is inherently durable; instead, look for explicit details about protective coatings, laminates, or sealants that shield the core material from moisture ingress, which can lead to warping, swelling, or structural failure.
Engineered wood, such as Medium-Density Fiberboard (MDF) or High-Density Fiberboard (HDF), is commonly used in modern budget-friendly furniture. While these materials offer smooth finishes and uniform strength, they are highly susceptible to water damage if the edges are exposed. If you choose engineered wood, verify that all sides—especially the bottom edges and back panels—are fully sealed with high-quality melamine, laminate, or PVC edge banding. For areas close to the sink or stove, solid wood with a polyurethane finish or marine-grade plywood is generally more resilient, though they require a higher initial investment. Alternatively, powder-coated metal or high-density plastic cabinets offer excellent resistance to moisture and pests like termites, making them highly practical choices for wet kitchens or utility areas.
The longevity of a kitchen cabinet depends heavily on the quality of its moving parts. Inspect the hardware specifications, focusing on the hinges, drawer slides, and handles. In humid environments, low-grade metal hardware can rust quickly, leading to squeaky doors, jammed drawers, and misaligned panels. Look for cabinets equipped with stainless steel or rust-resistant alloy hinges, preferably with soft-close mechanisms that prevent slamming and reduce wear on the cabinet frame. Drawer slides should operate smoothly under load; ball-bearing drawer runners are generally more durable and stable than simple plastic roller tracks.
Finally, pay close attention to the joints and edge banding of the cabinet doors and shelves. Water spills are inevitable in a kitchen, and gravity will pull liquid down to the lower edges of doors and drawer fronts. If the edge banding is peeling, cracked, or poorly glued, water will seep into the core material, causing it to swell and bubble. Run your fingers along the edges of the cabinet panels to check for seamless adhesion. If you are purchasing a flat-pack cabinet to assemble yourself, ensure the kit includes clear instructions on how to seal raw edges or joints during assembly to enhance its moisture resistance.
Building Your Shortlist: Buying and Installation Checks
Once you have identified the cabinet types and materials that suit your kitchen, it is time to build a shortlist of specific models. Before making a final purchase, cross-reference the manufacturer’s stated assembled dimensions with your physical measurements. Keep in mind that walls are rarely perfectly plumb, and floors are often slightly uneven, especially in older buildings or tiled spaces. To account for these imperfections, allow a clearance buffer of at least one to two centimeters on all sides. If the cabinet features adjustable leveling feet, this can help you stabilize the unit on uneven tiles, preventing wobbling and ensuring doors align correctly.
Weight capacity is another critical safety and functional check. Manufacturers typically specify the maximum load limit for individual shelves and drawers, as well as the overall weight capacity of the entire unit. Compare these limits against the items you plan to store. For example, a standard 5-kilogram sack of rice, a heavy rice cooker, and a stack of ceramic plates can easily exceed the capacity of a flimsy shelf. Distribute heavier items on the lowest shelves to maintain a low center of gravity, which significantly improves the stability of freestanding or tall cabinets. If you are purchasing a tall pantry cabinet, check if the manufacturer includes wall-anchoring hardware to prevent accidental tip-overs.
Consider the assembly and installation process before finalizing your order. Many space-saving cabinets sold online are delivered as flat-packs that require self-assembly. Review the product description to see what tools are required—such as a screwdriver, rubber mallet, or drill—and whether the assembly instructions are provided in a language you understand. If you are not comfortable with DIY assembly, or if the cabinet is exceptionally heavy or complex, check if the retailer offers professional assembly services for an additional fee. For wall-mounted units, professional installation is highly recommended to ensure the cabinet is securely anchored to the wall studs or concrete, preventing structural failure under load.
Lastly, compare prices in ₱ across different retailers while factoring in the total cost of ownership. A lower base price on an online marketplace can sometimes be offset by high shipping fees, especially for heavy, bulky furniture items delivered outside major metropolitan areas. Read the retailer’s return policies and warranty terms carefully. Look for warranties that cover structural defects, missing parts, or shipping damage. Investing slightly more in a cabinet that comes with a reliable warranty and responsive customer support can save you from the hassle of dealing with damaged components or incomplete assembly kits.
Frequently Asked Questions (FAQ)
Can I install tall cabinets in a kitchen with low ceilings?
Yes, you can install tall cabinets in kitchens with low ceilings, provided you measure the exact vertical clearance beforehand. Measure the distance from the floor to the lowest point of the ceiling, taking into account any crown molding, surface-mounted electrical conduits, or light fixtures. Ensure there is a top clearance buffer of at least 5 to 10 centimeters to allow you to tilt the cabinet upright during assembly and to facilitate proper air circulation. Additionally, verify that the cabinet doors can swing open fully without obstructing ceiling fans, pendant lights, or overhead beams.
How do I prevent mold on kitchen cabinets in humid conditions?
To prevent mold growth on kitchen cabinets in humid environments, ensure there is adequate air circulation by leaving a small gap of about 1 to 2 centimeters between the back of the cabinet and the wall. Regularly clean the cabinet surfaces using a damp cloth and mild soap, following the manufacturer’s specific care instructions, and dry them immediately with a clean microfiber towel to prevent moisture buildup. Avoid using harsh chemical cleaners that can strip away protective sealants or laminates. Finally, inspect the installation area regularly for any plumbing leaks, wall condensation, or dampness, and address these issues promptly to protect your furniture.

Community discussion
Share your experience or ask a question. Comments are reviewed before publication.