
Finding the right shoe shelf for a standard closet requires identifying and reclaiming underutilized zones without crowding your hanging garments. The most effective approach matches your footwear collection to the vertical clearance beneath your shortest hanging clothes, the unused space behind your closet door, or the gaps between existing shelves. By selecting a configuration that aligns with these dimensions, you can keep your shoes organized and accessible while preserving valuable rod space.
Assessing Your Closet Dimensions and Hanging Needs
Before purchasing any storage unit, take precise measurements of your closet’s interior. Measure the total interior width and the usable floor depth from the back wall to the front door frame. Next, measure the vertical clearance—the distance from the closet floor to the bottom hem of your lowest-hanging clothes. This vertical measurement dictates the maximum height your floor-standing shoe shelf can be before it begins to crush or wrinkle your garments.
Footwear profiles vary significantly, which directly impacts the depth and height clearance you will need. Standard flats and sandals require less vertical clearance and can sit comfortably on shallow shelves. Conversely, bulky sneakers and boots demand greater depth and height. If you store these larger items, measure the longest shoe from heel to toe to ensure the shelf depth prevents the shoes from protruding into the door’s path.
Products mentioned in this guide
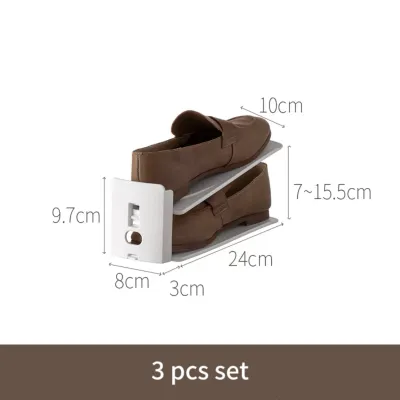
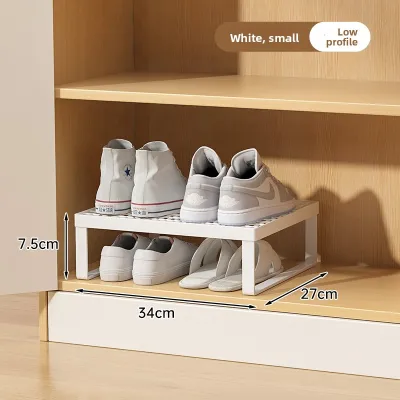
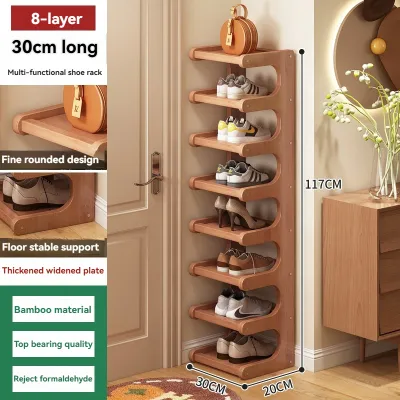
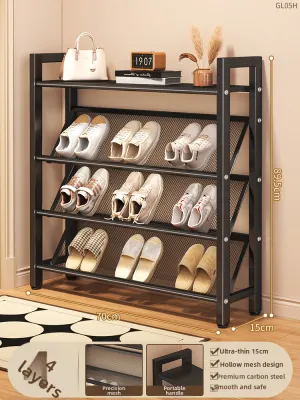
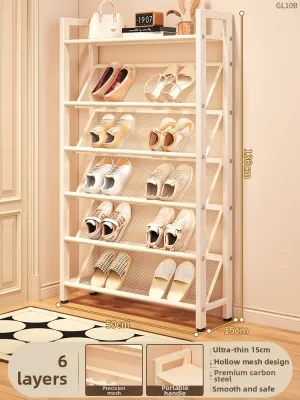
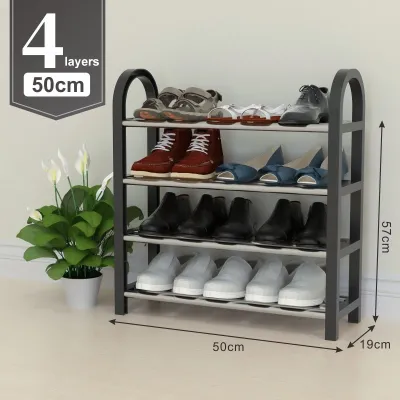
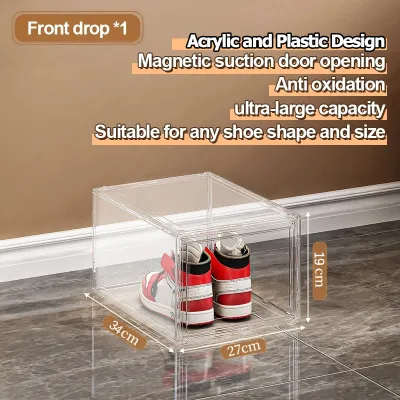
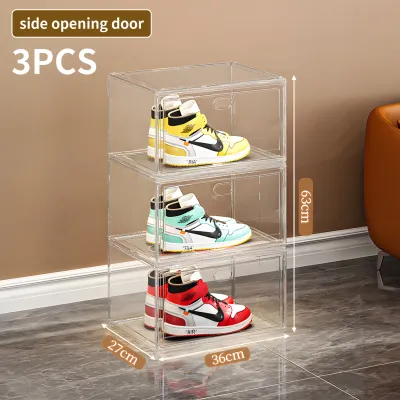
Prices are valid at publication and may change. Please refer to the product page for the latest price.
Do not forget to account for physical obstructions. Inspect the closet floor for protruding baseboards, which can prevent a freestanding shelf from sitting flush against the wall. Check the position of closet rods, light fixtures, and door frames. If your closet has hinged or bi-fold doors, map out their swing path to ensure your new shoe shelf does not block the doors from closing completely.
Space-Saving Shoe Shelf Configurations to Consider
Maximizing a compact wardrobe requires a strategic layout that targets specific, underused zones. Depending on your closet’s layout, you can choose between floor-standing units, vertical hanging systems, or micro-storage accessories. Each configuration addresses a different spatial constraint, allowing you to customize your setup based on whether you have open floor space, an unused door back, or empty shelf gaps.

Stackable and Adjustable Freestanding Shelves
Freestanding shelves are highly versatile floor-standing options, particularly when positioned beneath shorter hanging garments like shirts or folded trousers. Look for models with adjustable heights or expandable widths. This flexibility allows you to slide the unit neatly under varying hemlines and expand the frame to span the exact width of your closet floor.
Verify the unit’s footprint depth against your usable closet floor depth, making sure to subtract the thickness of any baseboards. A shelf that is too deep will prevent your closet doors from closing or force you to step over it. Additionally, check the manufacturer’s stability guidelines and weight limits, especially if you plan to stack multiple tiers. Ensure the joints lock securely and the unit remains stable on your flooring.
Hanging and Over-the-Door Organizers
If your closet floor is entirely occupied, vertical storage solutions like hanging organizers and over-the-door racks are excellent alternatives. Over-the-door options utilize the often-wasted space on the back of a hinged door. Before purchasing, measure your door’s thickness, the clearance between the top of the door and the frame, and the side hinge clearance to ensure the mounting hooks do not scrape the frame or prevent latching.
For closets with sliding doors, fabric organizers that hang directly from the closet rod are a practical choice. Always check the manufacturer’s specified weight capacity and ensure the hanging straps or hooks are compatible with your rod’s diameter. Keep in mind the trade-offs: while they offer excellent visibility, fabric organizers can sway when loaded and may slightly reduce the horizontal rod space available for hanging clothes.
Under-Shelf Baskets and Tension Rod Solutions
Micro-storage options are perfect for utilizing small, awkward gaps that larger furniture cannot fill. Clip-on under-shelf baskets slide directly onto your existing closet shelves, turning the empty air space beneath them into dedicated compartments. To ensure a secure fit, measure the thickness of your existing shelves and compare it to the basket’s bracket clearance, verifying that the brackets will not prevent items from sitting flat on the shelf above.
Tension rods offer another highly customizable, low-profile solution for narrow alcoves. By installing two parallel tension rods at slightly staggered heights, you can create a DIY shoe ramp that holds footwear at an angle. Because these micro-storage solutions rely on friction or lightweight clips, restrict their use to low-profile, lightweight footwear such as sandals, slippers, or flats to prevent slipping or sagging.
Installation and Safety Checks for Closet Shoe Storage
Proper installation is essential to prevent damage to your home and ensure daily safety. If you choose a tall, multi-tiered freestanding shoe rack, review the manufacturer’s instructions regarding wall-anchoring. Tall, narrow units can easily become top-heavy when loaded with shoes, presenting a tipping hazard if they are bumped or if the floor is slightly uneven. Anchoring the unit to a wall stud provides peace of mind and keeps the structure stable.
For over-the-door racks, inspect the structural integrity of your door hinges and frame before loading the organizer. Heavy metal racks filled with multiple pairs of shoes can place significant strain on standard residential door hinges, potentially causing the door to sag or misalign over time. If you notice any resistance when opening or closing the door, consider reducing the weight or redistributing heavier shoes to floor-level storage.
In tropical climates like the Philippines, high humidity can quickly lead to mold, mildew, and unpleasant odors in enclosed spaces. When planning your shoe storage, ensure there is adequate ventilation around your footwear. Avoid packing shoes too tightly together on shelves, and leave a small gap between the back of the shelf and the closet wall to promote airflow. Regularly clean the shelves and allow damp shoes to dry completely before placing them back inside the closet.
Common Sizing and Placement Mistakes to Avoid
One of the most frequent errors when setting up closet shoe storage is ignoring the “hems and heels” clearance. If you place a shoe shelf directly beneath hanging garments without leaving a buffer zone, the bottoms of your clothes will drag across dirty shoe soles. This not only wrinkles your garments but can also transfer dirt, dust, and oils onto your clean clothing. Always leave at least a few inches of clear space between the lowest hem and the top of your shoes.
Another common mistake is overloading lightweight hanging organizers beyond their structural limits. Fabric shelves and plastic over-the-door pockets are designed for light to medium-weight footwear. Stuffing them with heavy leather boots or chunky platform sneakers can cause the fabric to tear, the seams to split, or the closet rod itself to bend under the excessive weight. Distribute weight evenly, placing heavier shoes on the floor or on sturdy freestanding shelves.
Lastly, avoid placing deep freestanding racks in positions that block the natural swing path of your closet doors or obstruct access to other stored items. A rack that juts out even slightly can turn a simple task like grabbing a shirt into a daily frustration. Always double-check that your chosen storage solution allows you to move freely within the space and that all doors, drawers, and sliding panels can operate smoothly without obstruction.
Frequently Asked Questions (FAQ)
How many pairs of shoes can a standard closet shelf hold?
To estimate how many pairs of shoes a shelf can hold, calculate the capacity based on linear width rather than relying on a generic estimate. Measure the width of your shelf in centimeters or inches, then measure the width of the widest pair of shoes you plan to store side-by-side. Divide the shelf width by the shoe pair width to get a realistic estimate.
Keep in mind that capacity shifts dramatically depending on the style of footwear. For example, a standard 90-centimeter shelf might comfortably hold four pairs of narrow dress shoes or flats, but only three pairs of bulky athletic sneakers or wide-soled boots. To maximize space, you can alternate the direction of the shoes—placing one toe-forward and one heel-forward—which often allows you to squeeze an extra pair onto the shelf.
Can I install a pull-out shoe rack in a reach-in closet?
Yes, you can install a pull-out shoe rack in a reach-in closet, but it requires careful planning of your hardware and clearance. First, check the minimum depth and width requirements specified by the sliding hardware manufacturer. The closet opening must be wide enough for the rack to extend fully without hitting the door frame or the edge of a sliding door.
You must also consider the structural mounting method. Pull-out racks typically require either side-panel mounting to existing closet partitions or floor-mounted tracks. Side-panel mounting is highly stable but requires sturdy, solid wood or thick manufactured wood panels to support the weight of the drawer slides and loaded shoes. Floor-mounted tracks are easier to install in standard closets but require a perfectly level floor to ensure the sliding mechanism operates smoothly without rolling back or sticking.

Community discussion
Share your experience or ask a question. Comments are reviewed before publication.