
To support heavy boots and large footwear collections, a heavy-duty shoe rack must prioritize structural rigidity, verified weight capacities, and customizable vertical clearance. Instead of relying on generic material names, you must evaluate shelf thickness, joint reinforcement, and anti-tipping stability features. A truly robust organizer prevents sagging shelves, resists tropical humidity, and accommodates the physical footprint of larger, heavier footwear without compromising safety. Selecting the right system requires a methodical look at how the unit is engineered, how it distributes weight, and how it fits into your home’s layout.
Structural Features to Support Heavy Boots
When evaluating a shoe rack for heavy footwear, the specific engineering of the shelves and support structures matters far more than a simple material label like “metal” or “wood.” For metal racks, look for the gauge or thickness of the steel tubing; thinner, hollow tubes will easily bend under the concentrated weight of multiple pairs of heavy leather work boots or riding boots. If you prefer wooden or engineered wood organizers, check the thickness of the individual shelves. Heavy-duty wooden shelves should have a substantial thickness and, ideally, be supported by a metal underframe or center support bars to prevent bowing over time.
Surface treatments are equally critical, especially in tropical climates like the Philippines where high humidity, rainy season moisture, and mud are constant challenges. Wet boots can quickly ruin untreated materials, leading to rust on metal frames or warping, swelling, and mold growth on wood. Inspect the manufacturer’s specifications for protective coatings such as industrial powder coating, rust-resistant plating, or water-resistant sealants. A high-quality finish ensures that moisture and dirt brought in from the outdoors can be easily wiped away without degrading the underlying structure of the rack.
Products mentioned in this guide
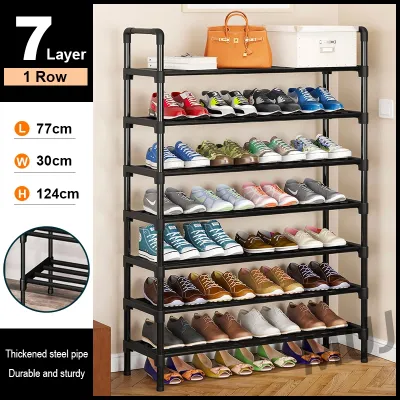
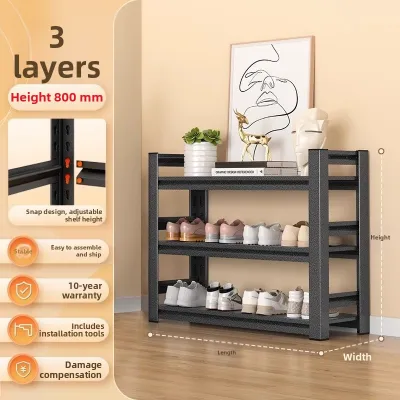
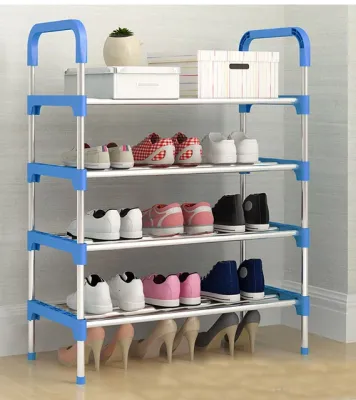

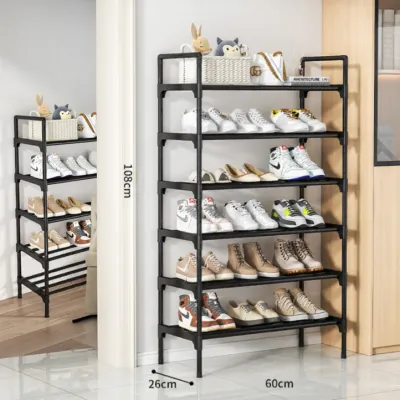
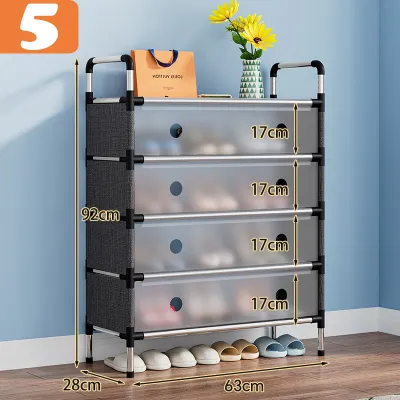
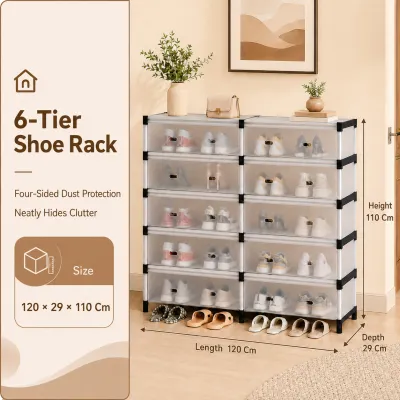
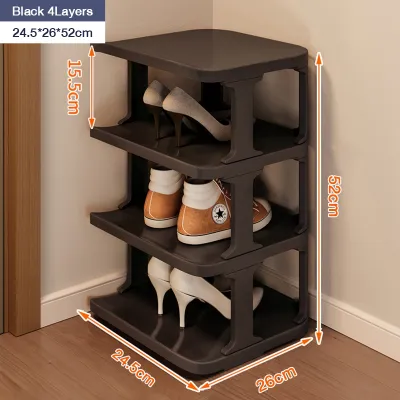
Prices are valid at publication and may change. Please refer to the product page for the latest price.
Weight capacity ratings must be analyzed with precision before making a purchase. Manufacturers typically list two different weight limits: the per-shelf capacity and the total unit capacity. A heavy-duty rack should clearly state a high per-shelf weight limit to ensure that a single tier loaded entirely with heavy boots will not collapse. Never assume that a high total weight capacity means you can concentrate all that weight on one or two shelves; the load must be distributed according to the manufacturer’s guidelines to maintain structural integrity.
The joints and connection mechanisms are the primary failure points on low-quality shoe organizers. Avoid racks that rely on plastic push-fit connectors or simple friction joints, as these materials degrade, crack, and loosen under the constant stress of heavy loads. Instead, look for units featuring welded joints, heavy-duty steel bolts, or locking collar systems. These mechanical connections distribute the load evenly across the entire frame, preventing the rack from swaying or buckling when fully loaded.
Planning Space and Capacity for Large Collections
Accommodating a large collection of heavy footwear requires a strategic approach to spatial planning that goes beyond simply counting the number of shoes you own. Begin by measuring the exact physical space where you plan to position the rack, taking into account the clearance needed for nearby doors to swing open and for household members to pass comfortably. Additionally, consider the delivery and installation path within your home. Ensure that the packaged unit, or the fully assembled frame if it is delivered pre-built, can easily clear tight hallways, stairwells, and condominium lifts.

Vertical clearance is a major variable when storing a diverse collection that includes tall boots, mid-cut work boots, and low-profile shoes. Fixed-shelf configurations often result in wasted vertical space above low shoes, while forcing you to fold or bend the shafts of taller boots, which can permanently damage leather and synthetic materials. To maximize efficiency, select a heavy-duty rack that features adjustable shelf heights or removable tiers. This flexibility allows you to customize the vertical spacing to match your specific inventory, ensuring that every pair of boots stands upright without crowding.
Shelf depth is another frequently overlooked dimension that directly impacts both storage capacity and structural safety. Standard shoe racks are often designed for average-sized footwear and may feature a shallow depth that causes larger boots to overhang the front edge. When heavy boots overhang, they shift the center of gravity forward, placing excessive stress on the front legs and increasing the risk of the entire unit tipping over. Measure the outsole length of your largest boots and compare it to the rack’s shelf depth specifications, ensuring the entire sole can rest flat on the shelf surface.
Finally, assess how the overall footprint of the rack integrates with your room’s layout and daily traffic flow. A bulky, deep rack might offer excellent storage capacity but could restrict movement in a narrow entryway or a compact walk-in closet. If floor space is limited, look for vertical heavy-duty shelving units that utilize wall height rather than floor area, provided they can be safely anchored. Balancing the physical footprint of the rack with the actual dimensions of your room ensures a functional, clutter-free living space.
Ensuring Stability and Safety Under Heavy Loads
A fully loaded heavy-duty shoe rack carries a substantial amount of weight, making stability and safety paramount considerations for your home. The base design of the rack plays a crucial role in preventing wobbles and structural shifts. Look for units that feature a wider base footprint, flared legs, or a design that naturally places more weight at the bottom of the frame. A lower center of gravity inherently resists tipping forces, providing a stable foundation even when the upper shelves are utilized.
For tall or top-heavy shoe racks, wall anchoring is not merely an optional feature; it is a critical safety requirement. When a rack is loaded with heavy boots, any sudden pull or accidental bump can cause a catastrophic tip-over. Review the product specifications to verify if wall-anchoring brackets and safety straps are included. Ensure that the provided hardware is compatible with your specific wall type, whether you are mounting into concrete, brick, or drywall, and be prepared to source heavy-duty anchors if the included ones are insufficient.
Uneven flooring is a common issue that can compromise the stability of even the most robust shoe rack. Tiled entryways, warped wooden floors, or slightly sloped surfaces cause the rack’s weight to distribute unevenly, putting twisting forces on the joints and frame. To prevent this, choose a heavy-duty rack equipped with adjustable leveling feet. These threaded feet allow you to fine-tune the height of each corner individually, ensuring the entire unit remains perfectly level, plumb, and stable on any surface.
During the assembly process, maintaining a strict standard of quality control is essential for long-term safety. If you encounter misaligned pre-drilled holes, stripped threads, or components that do not fit together snugly, do not attempt to force the assembly or proceed with loose parts. These issues are immediate stop conditions; continuing to build or load a compromised frame can lead to sudden structural failure. Always consult the manufacturer’s instructions or contact customer support if the physical parts conflict with the assembly manual.
Building Your Shortlist: An Evaluation Checklist
To find the ideal heavy-duty shoe rack without getting overwhelmed by options on online marketplaces, you should establish a systematic evaluation checklist. Start by defining your non-negotiable physical specifications based on your measurements. Write down the minimum shelf depth required for your largest boots, the total linear shelving space needed to house your entire collection, and the minimum weight capacity required per tier. Having these hard numbers on hand allows you to quickly filter out standard, light-duty organizers that will not meet your needs.
Next, compare the assembly requirements and tool needs of your shortlisted options. Some heavy-duty racks feature boltless, snap-together designs that require only a rubber mallet, while others demand complex drilling, wall mounting, and a variety of hand tools. Consider your own DIY experience and the tools you have available at home. If a rack requires extensive assembly or professional installation to guarantee its load capacity, factor that effort and potential cost into your final decision.
Warranty terms and return policies offer valuable insight into a manufacturer’s confidence in their product’s durability. Look for warranties that specifically cover structural defects, welding failures, or frame bending under normal load conditions. Be cautious of products that offer no warranty or have highly restrictive return policies, as heavy-duty furniture should be built to last. A reliable manufacturer will stand behind their load-capacity claims with clear, accessible customer support and warranty coverage.
Finally, compile your top choices into a comparison matrix based strictly on verified manufacturer specifications. Avoid relying on subjective marketing terms like “heavy-duty,” “ultra-strong,” or “premium quality.” Instead, compare the actual steel gauge, shelf thickness, weight limits, and dimensions of each unit. This objective approach ensures that your final selection is based on solid engineering and proven capacities, providing a safe and reliable storage solution for your heavy boots and growing collection.
Frequently Asked Questions (FAQ)
Can I reinforce a standard shoe rack to make it heavy-duty?
Modifying a standard, light-duty shoe rack with aftermarket brackets or thicker wooden boards is generally not recommended. While you can easily reinforce an individual shelf, these modifications do not address the structural limitations of the rack’s underlying joints, vertical supports, and overall frame. The added weight of the reinforcement materials themselves, combined with heavy boots, can place excessive stress on weak connection points, leading to sudden joint failure or a complete collapse of the unit.
Furthermore, making structural alterations to a commercial shoe rack will almost certainly void any manufacturer warranty. If the modified unit fails and causes damage to your footwear or home, you will have no recourse. Instead of spending time and money on temporary fixes that compromise safety, it is far more practical and secure to invest in a purpose-built heavy-duty unit designed from the ground up to handle substantial loads.
How should I arrange heavy boots to maintain rack balance?
To optimize the stability and longevity of your heavy-duty shoe rack, always place your heaviest footwear, such as steel-toed work boots, winter boots, or thick leather riding boots, on the bottom shelves. This loading strategy lowers the overall center of gravity of the unit, making it significantly more resistant to tipping and swaying. Lighter footwear, such as sneakers, sandals, and slippers, should be placed on the upper tiers.
Additionally, distribute the weight evenly across the width of each individual shelf rather than clustering heavy items in the center or on one side. Concentrating weight in the middle of a shelf increases the risk of bowing, while uneven side-loading can twist the frame and loosen the joints. For tall boots, consider using lightweight boot shapers or stands to keep the shafts upright; this prevents them from folding over and creating awkward point-loads on the shelves without adding unnecessary weight to the rack.

Community discussion
Share your experience or ask a question. Comments are reviewed before publication.