
Installing a wall-mounted cap organizer rack is an excellent way to declutter your living space while showcasing your favorite headwear. Before you grab a drill or purchase mounting hardware, taking the time to plan the installation ensures your caps remain secure, accessible, and free from damage. A hasty installation can lead to crooked racks, damaged walls, or a display that is difficult to reach.
In tropical environments like the Philippines, planning is even more critical. High humidity levels can affect both the wall surface and the caps themselves, making proper placement and ventilation essential. By evaluating your space, understanding your wall construction, and gathering the right tools beforehand, you can create a functional display that stands the test of time.
Assessing Your Wall Space and Cap Collection
The first step in your planning process is to measure the physical dimensions of your designated wall area. Use a reliable tape measure to determine the available width and height, making sure to account for baseboards, light switches, and door clearances. It is also wise to leave sufficient clearance around nearby furniture so that retrieving a cap does not require awkward maneuvering.
Products mentioned in this guide
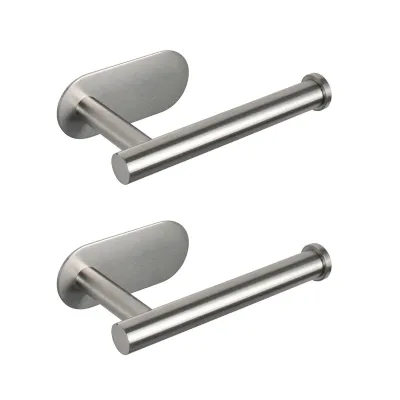
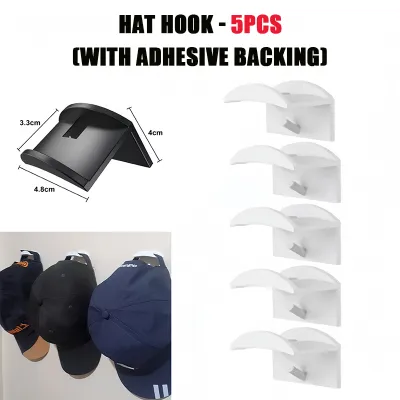
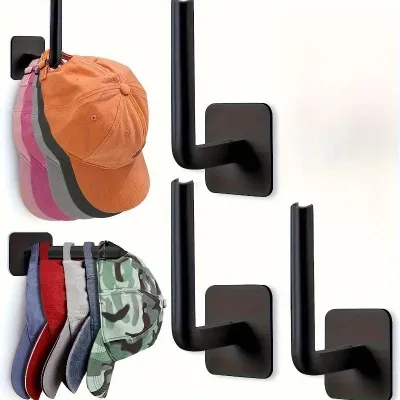
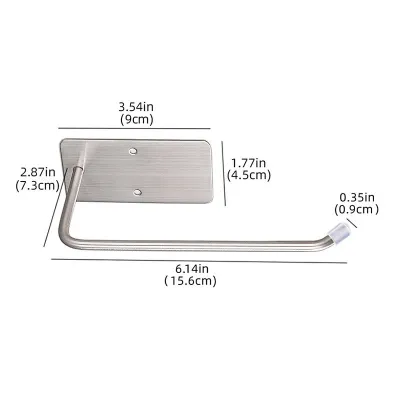
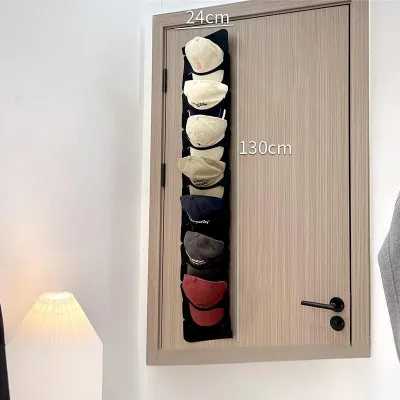

Prices are valid at publication and may change. Please refer to the product page for the latest price.
Next, take an accurate inventory of your cap collection. Count the number of caps you plan to store and group them by style, such as structured snapbacks, flexible dad hats, or wide-brimmed bucket hats. Different brim styles require different spacing; for instance, flat-brimmed caps may stick out further from the wall than curved-brimmed ones, requiring more lateral or vertical clearance.
Once you know the size of your collection, you can estimate the required length of the rack or the number of tiers needed. If you have a large collection, you might need to install multiple smaller racks side-by-side or vertically stacked rather than a single long organizer.
Finally, verify the weight capacity of your chosen organizer rack. While individual caps are lightweight, a collection of twenty or thirty caps, combined with the weight of a heavy metal or solid wood rack, can put a surprising amount of stress on wall anchors. Check the manufacturer’s specifications for weight limits and ensure your wall can support the combined load.
Choosing the Right Mounting Height and Layout
Selecting the optimal height for your cap organizer is a balance between daily convenience and visual appeal. Start by identifying the primary user of the rack and measuring their comfortable reach zone. For daily-wear caps, the rack should sit at an ergonomic height—typically between shoulder and eye level—so you can grab a hat on your way out the door without stretching or bending.

If your goal is primarily display or if you are showcasing rare collector caps, you can mount the rack higher on the wall. However, keep in mind that higher placements make cleaning and dusting more difficult. In humid climates, dust can combine with moisture to form a stubborn layer on exposed caps, so keeping them within easy reach for regular maintenance is highly beneficial.
Your layout should also account for the flow of the room. Avoid mounting the organizer directly behind a door where the door handle or the door itself could crush the caps when opened. Similarly, keep the rack away from windows where direct sunlight might cause the fabric of your caps to fade over time.
If you anticipate your collection growing, plan your layout with future expansion in mind. Leaving symmetrical empty space next to or below your initial rack allows you to add matching organizers later without having to patch, drill, and repaint your existing setup.
Identifying Wall Types and Selecting Hardware
The structural integrity of your installation depends entirely on matching your mounting hardware to the specific wall material. In many homes, interior walls are constructed from solid concrete, concrete hollow blocks, or plaster-coated masonry. Other modern partitions may use drywall (gypsum board) or simple plywood panels.
To identify your wall type, try tapping on the surface; a hollow sound usually indicates drywall or plywood, while a solid, dull thud points to concrete or masonry. You can also use a stud finder to locate the wooden or metal studs behind drywall, which provide the most secure anchoring points.
Once you know what your wall is made of, inspect the hardware included in your organizer’s packaging. Many manufacturers include standard plastic wall plugs and screws, but these are often designed for drywall and may fail if used on solid concrete. For concrete or masonry walls, you will need to purchase dedicated masonry wall plugs (often called tox plugs locally) or concrete screws that can grip the dense material securely.
If your walls are made of drywall and you cannot align the organizer with a wall stud, you must use specialized drywall anchors, such as toggle bolts or self-drilling threaded anchors. Standard plastic plugs can easily pull out of drywall under the leverage of a loaded rack.
Safety must always come first during this stage. If you are unsure about your wall material, if the plaster feels fragile and crumbly, or if you suspect that electrical wiring or water pipes run behind the target area, stop immediately. Consulting a qualified local handyman or professional installer can prevent costly damage to your home’s utility lines.
Gathering the Necessary Tools for Installation
Having the correct tools ready before you begin drilling prevents interruptions and ensures a precise, clean installation. At a minimum, you will need a tape measure, a pencil for marking drill points, and a spirit level. A spirit level is indispensable; relying on eyesight alone often results in a noticeably tilted rack once the straight lines of the caps are introduced.
You must also select the correct drill bit for your specific wall type. For concrete or masonry walls, a standard wood or metal drill bit will quickly dull and fail; you must use a carbide-tipped masonry drill bit paired with a hammer drill. For drywall or wood, a standard twist drill bit is sufficient.
Do not overlook personal safety gear when preparing your workspace. Drilling into concrete, plaster, or drywall generates fine dust that can irritate your eyes and respiratory tract. Wear safety glasses to protect your eyes from flying debris, and use a simple dust mask to avoid inhaling airborne particles.
Step-by-Step Installation and Final Checks
With your planning complete and tools gathered, you can proceed to the physical installation. Begin by holding the cap organizer against the wall at your chosen height and placing your spirit level on top of it. Adjust the rack until the bubble in the level is perfectly centered, then use your pencil to mark the exact center of each mounting hole onto the wall.
Set the organizer aside and double-check your marks against the mounting brackets to ensure nothing shifted. When you are ready to drill, hold the drill completely perpendicular to the wall surface. Drilling at an angle will cause the wall plugs to sit crookedly, preventing the screws from tightening fully. Drill to the depth recommended by your anchor manufacturer, which is typically slightly longer than the anchor itself.
Clear any dust out of the drilled holes before inserting your wall anchors. Gently tap the plastic plugs or anchors into the holes until they sit flush with the wall surface. If an anchor sticks out, do not force it; remove it, clear the dust from the hole, and drill slightly deeper if necessary.
Align the organizer’s mounting brackets with the installed anchors and insert the screws. Tighten them gradually and evenly, moving from one screw to another rather than tightening one completely before starting the next. Avoid over-torquing the screws, as this can strip the plastic anchors or crack the organizer’s mounting plate.
Before hanging your entire collection, perform a gentle load test. Apply light downward pressure with your hand to verify that the rack is firmly anchored and does not wobble or pull away from the wall. Once you are satisfied with its stability, begin hanging your caps, placing the heaviest items closest to the mounting brackets to distribute the weight evenly.
Frequently Asked Questions (FAQ)
Can I install a cap organizer without drilling into the wall?
Yes, it is possible to install a cap organizer without drilling by using heavy-duty adhesive strips or adhesive hooks. This is a popular option for renters or those who want to avoid making permanent holes in their walls. However, adhesive solutions have strict weight limits and are highly sensitive to environmental conditions.
In warm, humid climates, the moisture in the air can gradually degrade the adhesive backing, causing the hooks or strips to fail unexpectedly over time. Additionally, when it comes time to remove them, strong adhesives can sometimes peel away paint or damage drywall paper if not removed with extreme care.
Before choosing this route, check the backplate design of your cap organizer. The backplate must have a flat, smooth, and non-porous surface that provides enough surface area for the adhesive strip to bond securely. Racks with thin wire frames or uneven wooden backings are generally incompatible with adhesive mounting and require traditional screws.

Community discussion
Share your experience or ask a question. Comments are reviewed before publication.